• Training
    • Injury Prevention
    • Training Tips
  • How To
    • Bike Fit
    • Gear
  • Nutrition
    • Nutrition Tips
    • Weight Loss
  • Repair
  • Reviews
  • Stories
    • Funny Stories
    • Jokes
    • Quotes
    • Videos
    • Funny Videos

I Love Bicycling

I Love Bicycling is a website that is geared towards cycling for beginners with road cycling tips, training articles, nutrition tips, weight loss, how to’s and bike repair articles.

Is the Paleo Diet for Cyclists?

October 29, 2013 by Lee Agur

Paleo Diet For Cyclists
Paleo Diet for Cyclists

Is the Paleo diet for cyclists? Yes! and no… but more Yes than no!

Why the Paleo Diet for Cyclists Works

Amino Acids

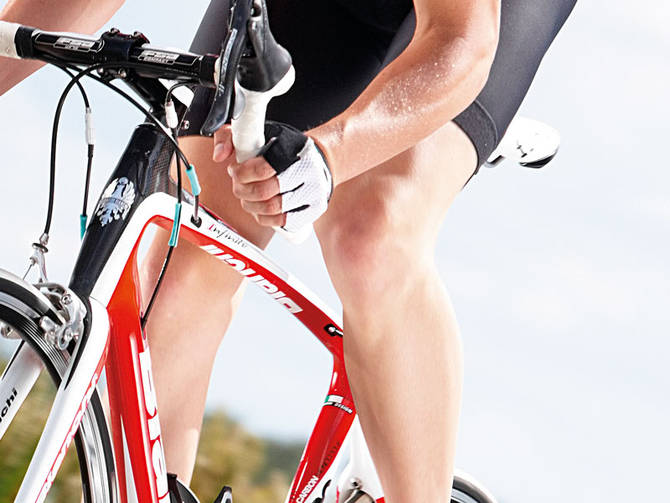
The Paleo diet is high in animal proteins which contain important amino acids for recovery. As you know from previous posts, one of the keys to becoming a great cyclist is fast recovery. The faster you recover the harder you can train.

Alkaline vs. Acidic

When you eat food it goes to the kidney as acidic or alkaline. The idea is to obtain a more alkaline pH (approximately 7.35 – 7.45) because that is what we were used to “back in the day” (Paleolithic period).

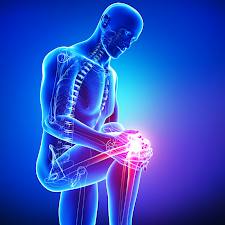
Acid foods such as grains, cheese, dairy, salty processed foods and meat cause the body to think it is out of balance (pH wise). When the body thinks it is out of balance it uses up essential minerals such as potassium, magnesium, calcium and sodium to restore equilibrium. What is even worse is the body will break down muscle tissue, that you have worked so hard to build, to restore a balanced pH level;however, the paleo diet does counteract this with all the fruits and vegetables (fruits and vegetables make you more alkaline). An acidic pH makes people more prone to colds and illness. If you are sick, you are not able to train.

To summarize, the paleo diet will help muscle growth (by not eating away at the muscle you worked hard to build) and keep you from getting sick.

Why the Paleo Diet for Cyclists Doesn’t Work

Glycogen

Any cyclist/athlete must maintain muscle stores of glycogen, it is your bodies fuel for high performance activities. If you were to follow the strict Paleo diet, fruits and vegetables (relatively low on the glycemic index) would be your only source of replacement. Unfortunately, you would have to eat pounds of fruits and vegetables (read as pounds of fiber… or… lots of bathroom time) after high intensity workouts.

So… you need carbs for high performance. What to do?

The Ideal Paleo Diet For Cyclists

The ideal diet for cyclists requires tweaking the Paelo diet. Follow the Paleo diet except for: immediately before cycling, during cycling, and 30 minutes to an hour after cycling. During these periods you can and should eat carb loaded foods. (Details of what to eat and when to eat it in later posts so subscribe to my newsletter… or buy The Paleo Diet for Athletes if you simply can’t wait)

I read The Paleo Diet for Athletes and I am a firm believer in its health benefits. I have never “subscribed” to a “diet” before this, but this one just makes sense! I strongly recommend that you at least try it out… if you haven’t then you don’t have an opinion, you are just speculating.

I did not go cold turkey Paleo Diet for Athletes, but at least I am now aware of what I should be doing and when I should be doing it so I can make more informed decisions.

If you have already read The Paleo Diet for Athletes, (as many of you likely already have as it is at the top of the best selling list for diets) then I have also included some Paleo Cookbooks and Mealplans for people who want more ideas or need a meal plan that I have used and enjoy. As I said in The Basics to Cycling Nutrition the key to becoming a good cyclist is nutrition! Click on the pictures below to learn more:


The Paleo Diet for AthletesPaleo Diet Cookbook & Mealplan for CyclistsThe Paleo Diet for Cyclists

ATTACK Those Rollers

October 28, 2013 by Lee Agur

Cycling Rolling Hils
The key to rollers is maintaining your cadence and gearing!

Stay in the gear that you started the hill climb for as long as possible. Shift only when your cadence starts to slow below 75. A cadence between 70 to 90 is ideal. If you shift too early you will lose valuable momentum; however, if you shift too late then you might stall out.

Attack the bottom of the roller and gradually increase effort as you climb the hill until you must shift. Short rollers are like mini intervals. Just remember you are going to be able to rest on the other side. But wait… the climb is not over yet… make sure to power over the top and only stop pedaling once you have crested and the gravity has kicked in to high gear. Make sure to not lose any valuable momentum by stopping pedaling just as you crest.

An important thing to remember is when you are shifting try to “easy pedal” for a split second to allow the shift to happen. If you don’t, you run the risk of dropping your chain… or even worse breaking it! You attack rollers with a lot of intensity so there is going to be a lot of pressure on the chain if you just try and shift, it may also result in not shifting at all and again you will lose valuable momentum by slowly stalling out. If you have been cycling long enough this has inevitably happened to you… not fun! You look down as if there is something wrong with the bike… but it is usually just how you use it.

I try and stay seated as long as possible by keeping my cadence high in the beginning, but once the cadence starts to slow, I get out of the saddle and find a nice rhythm to finish off the climb powering over the top and cruising down the backside.

Cycling rolling hills is FUN! I Love it!

The complete guide to climbing – by John Summerson

Subscription

If you liked this post subscribe to my newsletter at the top right of the page to receive more like it!


You Want to Bike Faster? Then Bike Faster!

October 28, 2013 by Lee Agur

Bike FasterWhat??? Obviously… Well… not so obvious to too many.

So many people are so focused on increasing their endurance that they forget to focus on speed. People go out and continuously bike 3-4 mph under their goal race pace. Hell… I was one of those people! I just focused on increasing my distance each week…

When I first started biking I had one speed… Medium fast! I would get on my bike ride 30 miles medium fast. A few days later… 20 miles medium fast. Next ride… guess what medium fast.

I figured if I could do 60 miles at a certain speed that I could kick it up a few mph during a race due to adrenaline and pure will. It was true, I could kick it up a notch… but that was usually just in the first quarter and then it was pure survival mode from there… I usually came across the finish line looking like the grim reaper was drafting behind me and about to overtake me!

I would fall to the ground in agony from the lactic acid build up in my legs… cramping up, dehydrated and feeling awful. I just thought that meant that I left everything out there on race day and was usually quite pleased with myself. Stupid.

What I did not know at the time was that if I had trained a little faster I would have gotten my muscles used to the intensity. Your muscles and body adapt to be able to handle the stresses it is given. The best way to bike faster is to increase your speed and allow your body to adapt!

Once your body adapts to a faster speed it will be able to handle the slower pace at which you biked before much more easily. Once I discovered this all too/not so obvious fact I did speed intervals. Yes intervals! I biked faster than my goal race pace for 20 minute segments, took a bit of a rest and then did it again. It worked!

To Bike Faster You Need to Bike Slower!

Seriously? Yes seriously!

I learned that in order to bike faster you need to bike faster and once I did… gone were the days of medium fast and now I just biked fast fast! I did not learn that in order to bike faster you also need to bike slower. So I spent too much time overtrained and tired, and it actually resulted in me slowing down.Bike Faster!!!

Soo… what’s the deal? Well… You can’t bike fast all of the time, your body just cannot handle the high-intensity training. You have to allow your body to recover and adapt. When you rest and go slower this is when all the physiological changes take place and you actually get faster! All that stress that you cause your body with the high intensity training is wasted if you do not allow your body to recover and adapt. It is actually the single most important thing I have ever learned in cycling! Now it is the single most important thing you have ever learned!

Knee Pain Cycling – Causes and Solutions

October 24, 2013 by Lee Agur

Knee Pain Cycling
Knee Pain Cycling

Unfortunately, I have had a lot of experience with knee problems. What is even worse is that most of the knee injuries I had could have been prevented if I knew what I know now.

Even though cycling is prescribed for so many different injuries as a rehabilitation process due to its low impact nature, it is a very repetitive motion and so overuse injuries can occur. On average a cyclist will pedal 5000 strokes an hour, that is 1 million pedal strokes every 200 hours! Per knee!

If something is out of line, you are likely going to feel it after 1 million pedal strokes… if not before. Make sure you are set up properly.

Bike Fit

One of the first things that should be looked at is the overall bike fit. If you are able to afford a professional bike fitting I highly recommend it, not only will it save your knees but it will put you in the most comfortable and powerful cycling position. Some key areas are as follows:

Cleat Position and Cleat Float

Your cleat position and amount of cleat float have a lot to do with knee injuries. For a proper cleat position read my previous post by clicking here.

Cleat float refers to your ability to move your foot side to side while still clipped in. Suggested ranges are from 5 – 13 degrees of rotation. Many people tighten the pedal as tight as humanly possible so that they do not loose any power; however, in most cases, this does not allow your knee to track in its most natural line. It also prevents your foot from being in its most natural position. If this is you try loosening your cleats.

Saddle Height

If your saddle is too high you may develop knee pain in the back of the knee, if it is too low the knee pain will be at the front of the knee.

A quick check on proper saddle height can be done by measuring your inseam while barefoot, with your feet shoulder width apart. (Floor to crotch) Multiply this result by 0.883. This height should approximate your saddle height from the middle of the bottom bracket axle to the top of the saddle. (Measurement taken along the seat tube).

This is just an approximate height, adjust it according to your riding style i.e. if you point your toes excessively then the seat height should be slightly higher.

Saddle Fore and Aft Position

Get on a stationary trainer and rotate the cranks to the 3 and 9 o’clock position. Have someone grab a plumb line and measure from your forward tibial turberosity (the bony bump below the knee cap) to the pedal axel. Move your seat position fore or aft until the tibial tuberosity is in line with the pedal axel.

On a triathlon specific bike your knee will actually be a bit more forward than this.

Pedal Stroke

Make sure you have good pedaling technique bicycling and do not allow your knees to push outwards or pull inwards.

Too Much, Too Hard, Too Soon

When spring arrives it is nearly impossible for me to contain myself in any of these three categories… Hence all my knee injuries. Instead of cutting back when spring arrives I have beat indoor trainer boredom and prepped myself for the spring!

A general rule of thumb in cycling is not to increase these categories by more than 10% a week.

If I start to feel knee pain now, I am confident it is not my bike fit so I decrease these categories slightly (too much, too hard, too soon) and I actually switch to mountain biking more. Strangely enough, mountain biking hurts less because I am constantly changing my position, where as in road biking I am generally always in the same position doing the same repetitive motion.

Knee Pain Cycling Bonus Tips

Less likely to be the source of your knee pain cycling, but why risk it? Plus a great preventative measure.

Warm up

Let your joints, tendons and muscles warm up before committing to a hammerfest right out of the gate. Much more on this in a previous post called Cycling warm up benefits.

Spin More Mash Less

Especially on hills try to keep your cadence up, if your cadence slows then stand up out of the saddle to continue. Standing while climbing will be less strenuous on your knees if the grade is too steep to spin.

Keep Your Knees Warm

What is worse than cycling in the cold? Being cold and cycling in the cold! I wear some nice tights or bib tights, and if it gets really cold I actually wear the tights under some pants (Get it at your Local bike shop because you want to try it on first). I do not need any more excuses to not brave the cold. Dress properly and it can still be very enjoyable.

Different Leg Length

Knee pain cyclingI am hesitant to post this as I know people get shims in their shoes unnecessarily all the time.

A quick test is it to lie on floor and make a 90 degree angle with your knees while your feet are flat against the wall. If one knee sticks out more (away from the wall) then that tibia is longer. If one knee is higher up the wall (further from the ground) then the femur of the respective leg is longer. This is a quick test and is a starting point to investigate further. X-rays would be more reliable.

For most of us the left leg can be shorter one day and then the right leg shorter the next. Lie with your back on the ground and have someone pull your legs out… are they even? Good! You probably do not need shims you just need to stretch it out and have someone pull on your legs once in a while. More on this later.

Post Ride Massage – Prevention

A post ride massage on a foam roller was what saved my knees in the end. I had VERY tight IT bands and now I just spend a few minutes after a few hour ride on a roller and I am good to go. Read post ride massage – selfie for more information.

Summary

Knee pain cycling can change your world very quickly. My issue was always that I was doing too much, too soon and not allowing my body to recover. Listen to your body, it is designed to let you know something is wrong before it is a chronic problem. Act sooner rather than later. Ease up on your training and seriously consider your bike fit.

Cycling Warm Up Benefits

October 23, 2013 by Lee Agur

Cycling Warm up
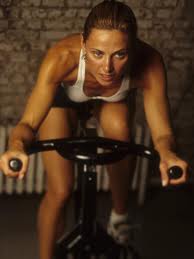
I used to show up to an event with just enough time to put my helmet and shoe’s on and get to the start line before the gun went off. (I Love my bed) Then I learned how important a proper cycling warm up actually was!

What are the benefits of a cycling warm up?

  1. Accelerates oxygen uptake by dilating your blood vessels
  2. Warms up the muscles
  3. Increases force and speed of contraction of muscles
  4. Increases anaerobic metabolism
  5. Increases efficiency of joints

Great, so what does this actually mean?
It means more fuel going to your body faster, and waste (like lactic acid) getting cleared from your body faster. It prevents you from going anaerobic at the start and getting out of breath early or too easily.

More benefits of warming up listed here. (Wikipedia)

How long should you warm up?

15-20 minutes! What about longer? Not for me!

A study done by Elias K. Tomaras and Brian R. MacIntosh suggest that warming up longer than this will fatigue you. I agree. Read their findings here. (It is a very short read)

I warm up by slowly increasing my effort from 50% to 80% of maximal heart rate/power/perceived effort for 10 minutes followed by 3 one minute bursts of 85%, 90% and 95% between each burst I take one minute to recover while spinning at about 50%.

The goal is to prepare your body for the start of the event, wake the legs and body up and get mentally prepared. In my own terms, it is to let your body know something AWESOME is about to happen! Try to end your warm up as close to the event start time as possible.

Here is how Team Sky does their cycling warm up:


As mentioned in the video, it does not matter if you are a professional or a beginner cyclist, the goal of the cycling warm up is the same and you should do it the same (you may not push as much power as them, but the theory does not change).

If you don’t warm up what happens?

You feel like I did at the start of your event… like crap! Gun went off and I immediately went anaerobic wasting more energy than was necessary, breathing so heavy it sounded like I was going to keel over and die. You feel sluggish and you swear your legs have been replaced with a sack of hammers!

Should I warm up before every event?

Cycling warm up benefitsNo, you actually do not need to warm up before every event.

Here is my general rule of thumb, if you have not biked that far during the year then do not warm up, no need to waste the energy. ie. century rides and granfondo’s. (The exception here is if you plan to start out fast!)

For short distances always warm up if you want to perform your best. For longer distance races it all depends on how you plan on starting the race, if you plan on easing into it at a slow gradual pace you can likely skip the warm up.

In hot temperatures you are able to warm up less because a lot of the physical characteristics you are trying to achieve are already occurring and vice versa for the cold… warm up a little longer.

There is no doubt that a warm up will enhance performance. Just find out what works the best for you.

Subscription

If you liked this post subscribe to my newsletter at the top right of the page to receive more like it! If you didn’t… subscribe anyway… It is my Birthday.

Move Your Cleat Position

October 21, 2013 by Lee Agur

bike cleat position cycling
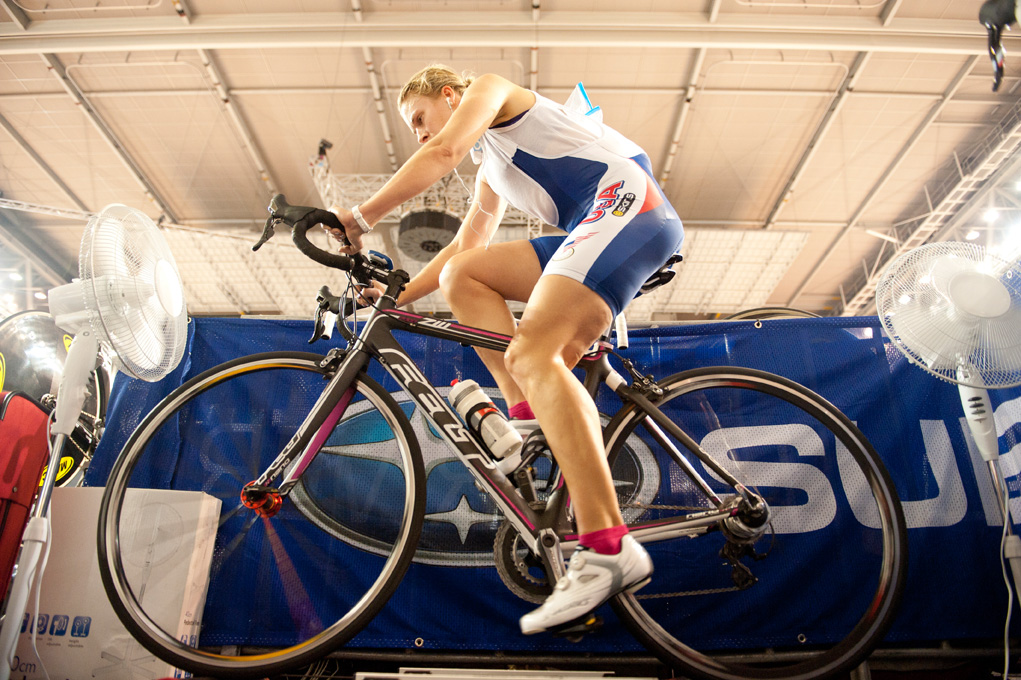
I went to a professional bike fitting and was surprised that one of the first questions that was asked was related to my cleat position:

Professional bike fitter while examining my shoes: So… why did you choose this cleat position?

My response: Because they came like that…

Embarrassing but true. I just thought the cleat should be positioned so that the ball of your foot was over the pedal axle; unfortunately, my position was a little forward of that.

What followed was a discussion of where the cleat position should actually be cycling and why. I took his advice, moved it back nearly 14mm, and found significant power and efficiency gains. Upon further reading and personal testing here is what I found.

Concept

The further forward the cleat position is, the harder your calf muscle has to work as a stabilizer muscle. The energy the calf is using does not actually go into driving the bike forward but rather is used to stabilize the foot and the ankle. However, with a forward cleat position cycling you are able to attain a higher peak torque.

The goal is to find the cleat position that gives you the torque you require without unnecessary calf fatigue.

Where to position the cleat?

cleat position
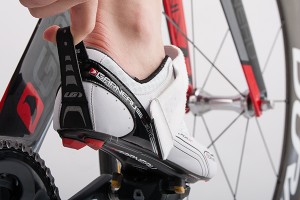
Steve Hogg, a world-renowned expert on bike fitting, recommends the following cleat positions:

Shoe size 36 – 38: Center of ball of foot 7- 9 mm in front of the centre of the pedal axel

Shoe size 39 – 41: 8-10 mm in front

Shoe size 42 – 43: 9 – 11 mm in front

Shoe size 44 – 45: 10 – 12 mm in front

Shoe size 46 – 47: 11 – 14 mm in front

Shoe size 48 – 50: 12 – 16 mm in front


Before adjusting anything you should consider the fact that the type of cycling you do should dictate your cleat position.

Sprinter

If endurance is not a factor, say for instance you are a sprinter on a track, then ignore this post, as you will not care about calf fatigue and you require high torque.

Road Rider/Mountain Biker

I assume many of you fall into this category and the suggested cleat positions above are likely going to serve you well. If you are more focused on endurance then move the cleat to the high end of the spectrum (further back) i.e. century rides and road races. However, if you are more focused on sprinting move it to low end of the spectrum (further forward) ie. crit races and cyclocross.

Time Trials/Ultra Distance Biker

Steve Hogg and other big names such as Joe Friel (The author of The Cyclist’s Training Bible and many other great training books) have gone so far as to say that midfoot cleat position is optimal for individuals purely focused on endurance. Individuals focused on time trials and ultra distance would be the beneficiaries of this advice.

I have not personally tested this out but I must say I am curious. To me it makes sense, as I always found my calves cramping up, but you have to decide what is right for you.

Moving Your Cleat Position

If you do happen to move your cleat position back remember to lower your seat and your bars. Also, if you are thinking of switching your cleat position then read this more detailed article by Steve Hogg.

One thing to watch out for if you change to midfoot is your foot striking the wheel on a slow sharp U turn because your foot overhangs so much.

Make a conscious informed decision about the bike cleat position because it does make a difference!

The Perfect Pedaling Technique

October 19, 2013 by Lee Agur

Pedaling technique
Pedaling the bicycle is what cycling is all about! Why would you not want to be the most efficient at this one thing? It is what I have focused on the most this year! Testing what works and what does not work.

Quiet Upper Body

I believe one of the most important things (that is not stressed enough in the proper pedal stroke) is keeping a quiet upper body. You may have heard “keep a quiet upper body” but why?

Keeping a quiet upper body sets the rest of the pedal stroke up for success. I started by pedaling up a hill and as soon as I started to get sloppy (head moving back and forth – happened very quickly as explained in my previous post about hill climbing) I either turned around and went down or got out of the saddle to continue to climb. No sloppiness allowed!

After keeping a quiet upper body it all runs down from there…

Alignment

Have your hip, knee and ankle in a line, this is your most efficient and powerful position! Unfortunately, not all of us do this. It is a good idea to set yourself up on a trainer and either use a mirror or a spotter to watch your natural pedal stroke.

I think we have all seen the bow-legged cyclists heading down the highway; don’t let that person be you! This type of pedaling technique is inefficient and can even lead to knee injuries… trust me! (I used to be “that” guy!)

Pedal in a circle!

pedal stroke
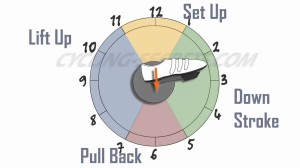
Doesn’t everyone pedal in a circle? No, they actually do not!

It is easier said than done! Your goal is to accomplish a smooth circle that applies force all around the pedal stroke. Let’s break it down…

Down stroke

Your down stroke happens between 1 and 5 o’clock, if we were comparing your pedal stroke to a clock.

This is where most of the power happens. Most of us do not struggle here, we all know how to push down. Your heel should be even to the ground or even slightly below your toe by as much as 20 degrees.

Pull Back

The pull back happens between 5 and 7 o’clock.

This motion should feel as if you are scraping mud off of your shoes. You will be engaging your calf here and pointing your toe down approximately 10 degrees.

Lift up

The lift up happens between 7 and 11 o’clock.

Your goal here is to lift the pedal up and start pulling toward the sky and later the bar top. Have your ankle at approximately 20 degrees. This is where your knee is going to want to push to the outside (bow legged). Do not let this happen, keep a strong core.

It feels as if you will be lifting the pedal up here and generating a lot more power than you actually are! What you actually are doing is lifting the weight of your leg and making it so your opposing leg is not lifting it up with the down stroke.

At a slower cadence you actually are generating power on the upstroke.

Set up

The set up happens between 11 and 1 o’clock.

Drive your foot forward. Your ankle should be transitioning from 20 degrees to 0 degrees here. It is a good idea to have someone film your natural pedaling technique.

Train Each Phase Then Integrate

Each of these phases mentioned above should be focused on separately and then integrated. It is very difficult to combine them all at once.

I have been focusing on perfecting my pedaling technique for an entire year and I am still not where I want to be. It is difficult! For me it is very quantifiable as I have a computrainer that rates me on efficiency. (If you do not know what this is do not worry I will explain it in a future post).

Improve Your Pedaling Technique

perfect pedaling techniqueThere are several ways to improve your pedaling technique.

  1. Spin on your way downhill – Try to achieve a high cadence in a small gear downhill without bouncing on your saddle. Again focus on a quiet upper body and a strong core.
  2. One leg drills – Pedal with one foot. This will force you to pedal all the way through and develop your “smooth pedal stroke” muscles.
  3. Rollers – When you feel like you have good balance try out some trainer rollers and this will do wonders for your pedaling technique. It will force you to pedal smoothly or you will fall! I do not suggest rollers for the beginner cyclist. They are difficult and frustrating and you should start on trainer.
  4. Fixed gear – Kid style! Fixed gear bikes force you to pedal in circles or you will get bounced around.

Focus

If you were to focus on one thing in the next few months this would be it! Your greatest efficiency gains are in your pedal stroke! In average human standings… I went from 0 to pretty awesome just by improving my pedaling technique.

I still focus on my cycling technique nearly every ride. When I began I could hold a good technique for 15 to 30 seconds before I started to get sloppy and my hip flexors were screaming. It takes time and focus to build up, but it is worth it! Your muscles develop faster than you would think and in no time you will be flying up hills and along the flats efficiently and with a quiet upper body.

Striving to achieve the perfect pedaling technique is worth the time and energy, I promise!

Subscription

If you liked this post subscribe to my newsletter at the top right of the page to receive more like it!

Proper Cadence Cycling!

October 16, 2013 by Lee Agur

Criterium Race Cadence - proper cadence cycling
A higher cadence during a criterium race is preferable to accelerate out of corners and respond to attacks (90 – 100rpm)

Finding your ideal cycling cadence can give you free speed! Yes… I said free speed! Who does not like to go faster with the same amount of effort?

What is Cadence?

Cadence is the amount of times your foot completes a full pedal stroke in one minute (also known as rpm). You can measure this by counting each revolution or you can buy a cycle computer. I personally love all things garmin.

Efficiency

From the month I started cycling I compared myself to a car. You may think that odd… but here is why….

In my car I have a gauge that measures current and average fuel consumption. Every time I drive, my goal is to see how little fuel I can consume. In order to do this, I have to find the “sweet spot” or the speed at which my vehicle travels the most efficiently.

Over thousands of miles I have discovered that my most efficient speed is 42mph in 5th gear at 1700rpm. So… how does this translate to cadence?

At your ideal cadence you will use less energy to travel the same distance at a certain speed. It can be broken down into simple science… Imagine you have to lift 1000 pounds over your head. If you try and do it all at once you will not be able to do it, if you lift it in one pound increments you are likely wasting energy just doing the motion. If you lift the 1000 pounds in 20 pound increments, that might be just right. Cadence is similar, you just have to find what is just right for you.

How do I find my ideal cadence?

It may be a bit obsessive, but you can test yourself with a heart rate monitor (that hopefully came with your cycle computer). I suggest you find a flat stretch of road that takes approximately 10 – 15 minutes to complete. Do a 20 minute warm up and then start one lap at 80rpm, on a different day do one at 85 under the same conditions then again at 90 and so on… try to maintain approximately the same speed and then compare your heart rates. The lap with the lowest heart rate is your ideal cadence.

When I began cycling I was quite obsessed with cadence, it was one of the only things I had showing on my cycle computer. As I continued to cycle and increase my fitness I focused on this less and less. If you listen to your body it will know what your ideal cadence is. I now know within a couple of rpms when I should shift up or down.

As you continue to cycle more and more your cadence will likely increase along with your fitness, so just because your ideal cadence was 85 two months ago does not mean it is your ideal now. Try to listen to your body.

TT Cadence - proper cadence cycling
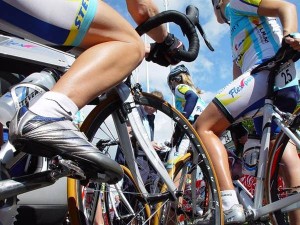
What is the suggested cadence?

There is no hard set and fast rule on ideal cadence, and it actually depends on what kind of cycling you are doing, body type and fitness level.

In a criterium race you want to have a higher cadence (90-100rpm) than in a time trial (80-90rpm). A higher cadence in a criterium allows you to accelerate faster out of a corner or respond to an attack, where as in a time trial you are focused on power and not on attacks. In mountain biking you want a low cadence because a high cadence causes you to get bounced around on rocky and uneven terrain.

Endurance Rides

If you plan on endurance cycling the suggested cadence is between 85 to 100. My first attempt at an endurance ride my cadence was an average of 78 for the entire ride… (actually… I didn’t finish… I got off my bike deflated my front tire and called my sister to come pick me up due to the “mechanical difficulties” I was having).

My cadence was low due to my fitness level and my dumb testosterone male thinking of: slower cadence = more power = faster. In reality the equation looked more like: slower cadence = using more energy and cooking the legs = bonking.

My last endurance ride of 112 miles was at an average cadence of 97. (This is on the high end of recommended cadence… but it is my ideal cadence) You will continue to adapt so do not feel discouraged if your cadence is low, as you can see, it will progress.

Find some free speed by finding your ideal cadence cycling and save energy!


20 Essential Bike Repair Tools

October 11, 2013 by Lee Agur

Essential bike repair tools
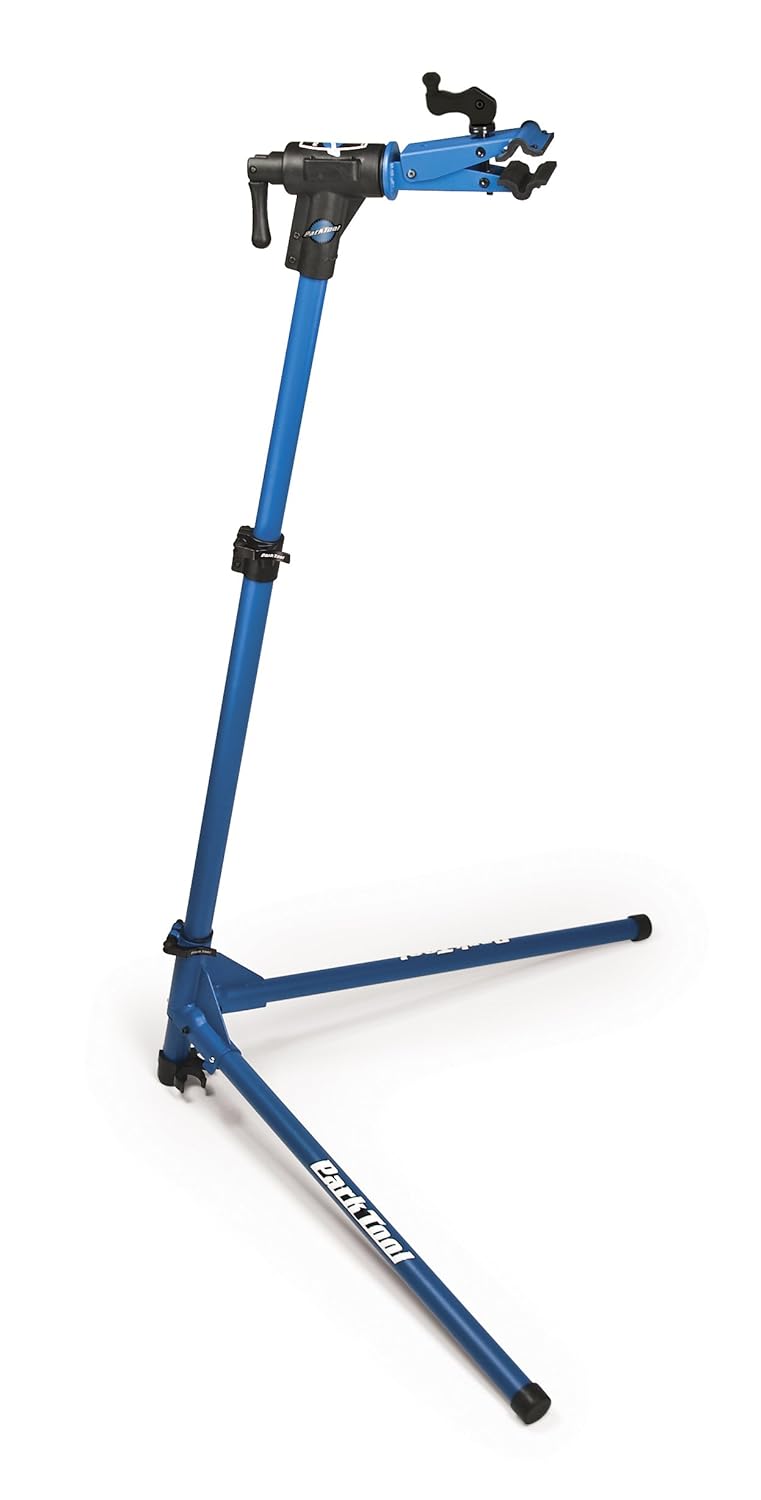
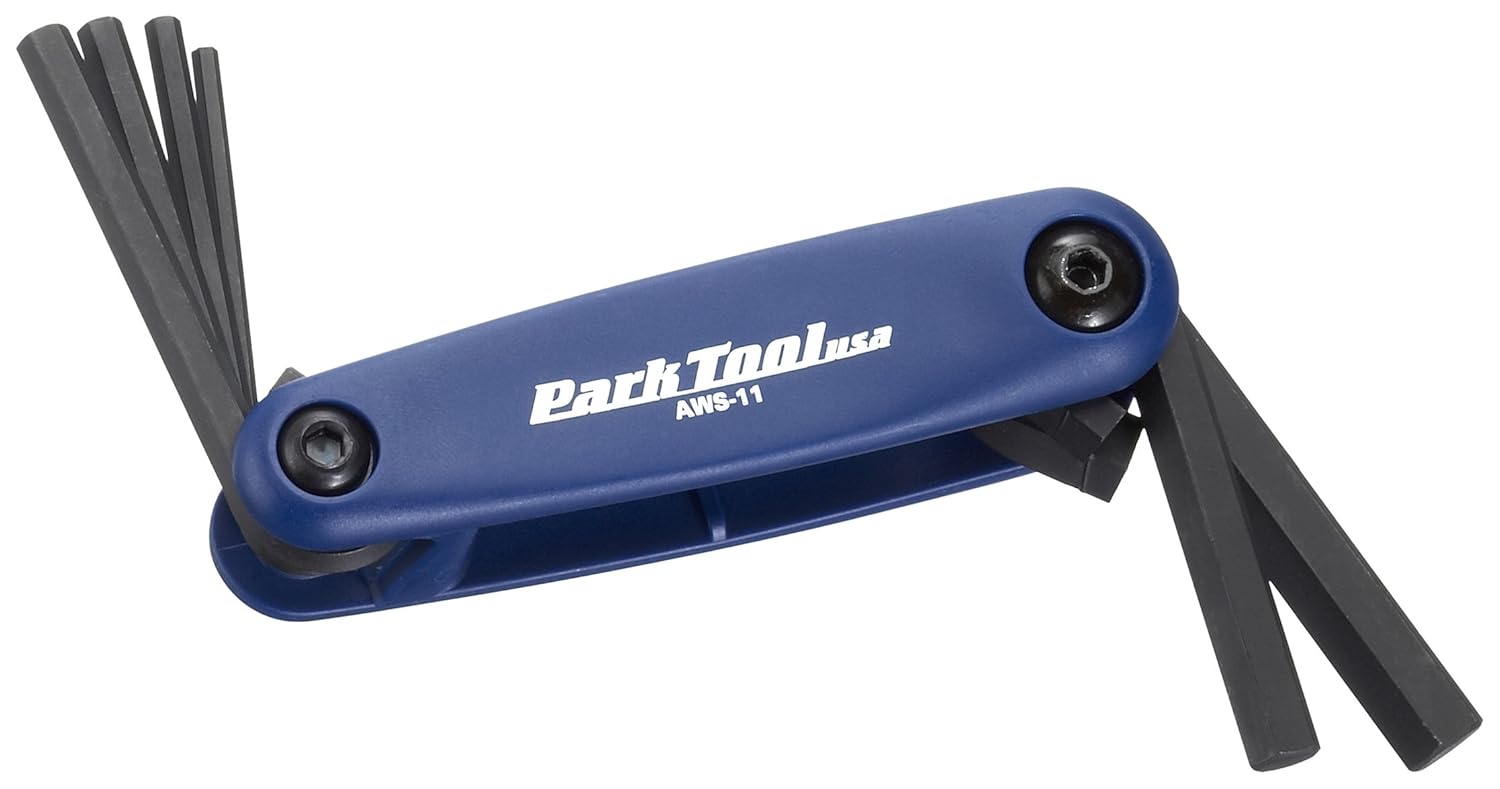
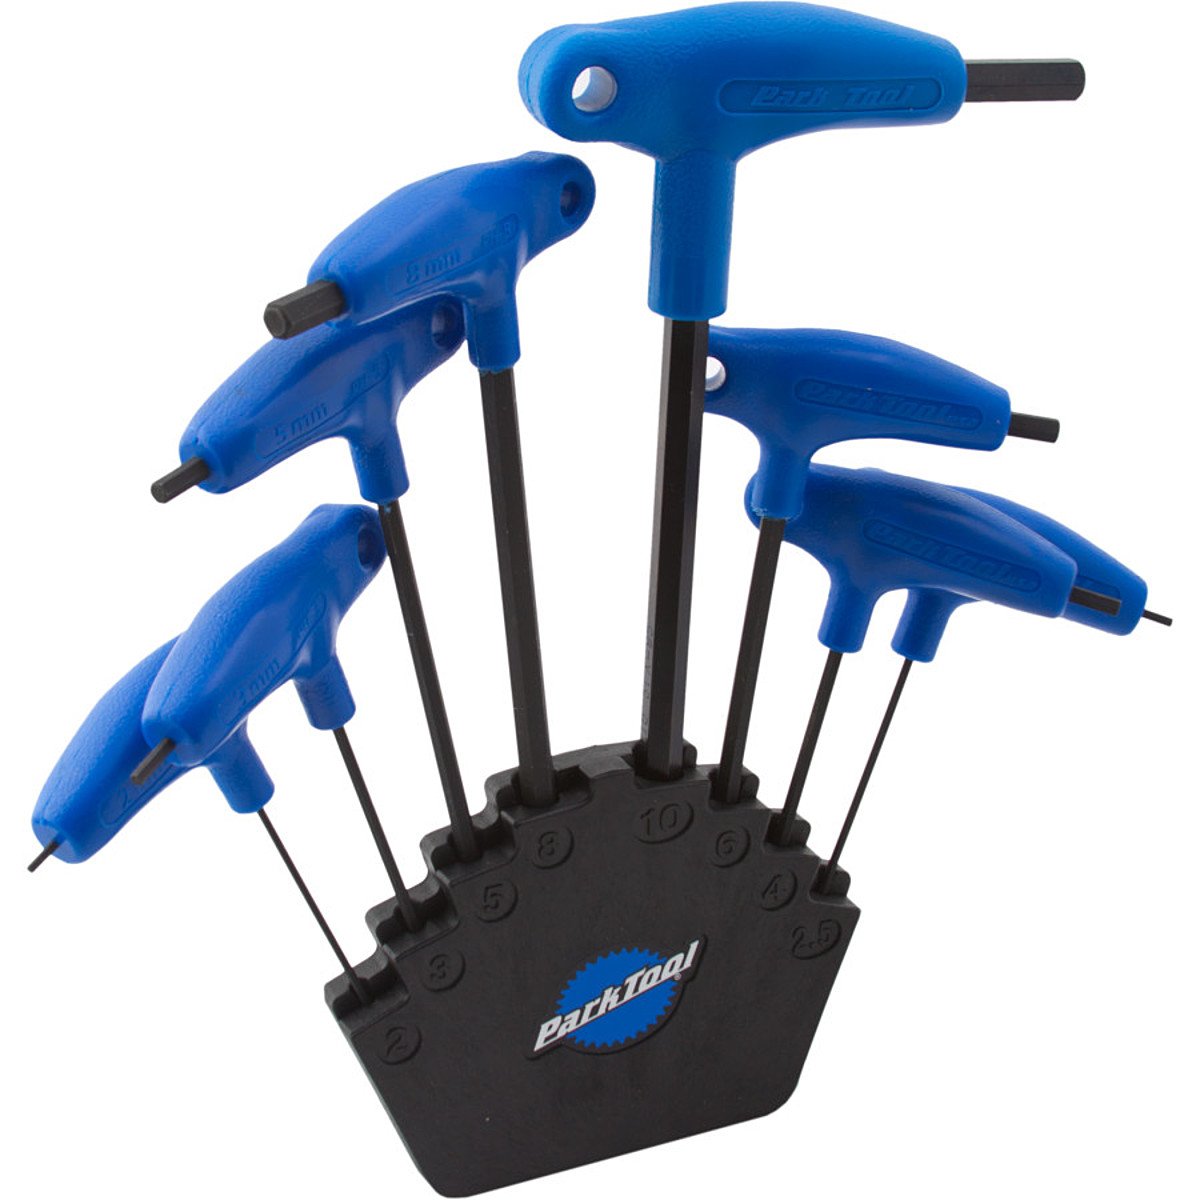
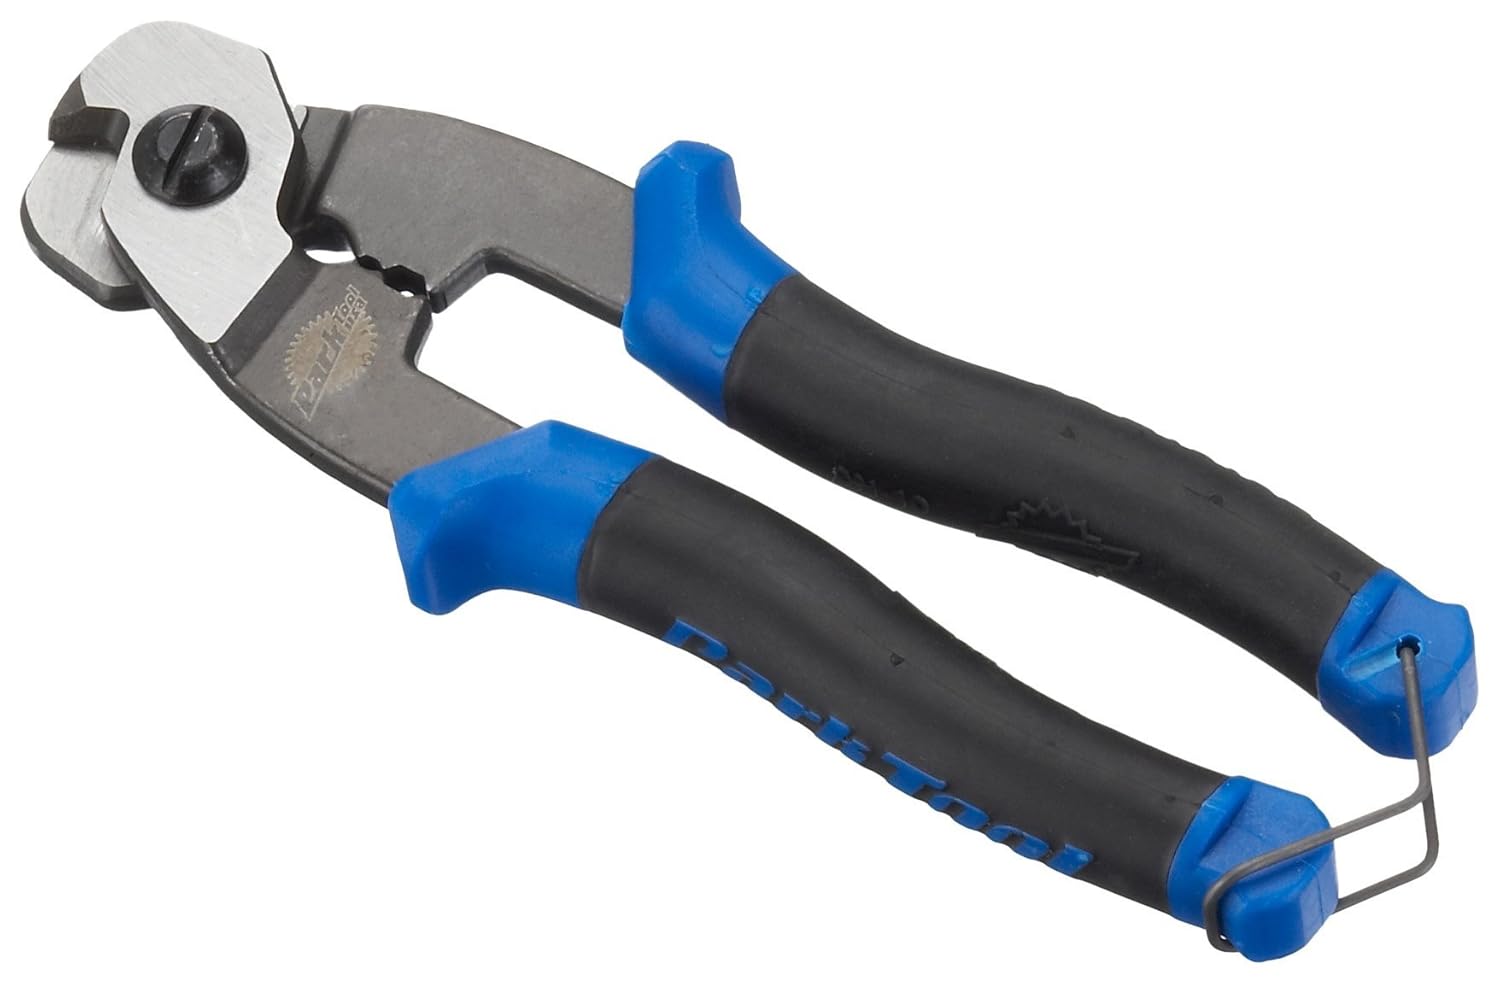
You do not need a lot of bike repair tools, but you do need the right ones.
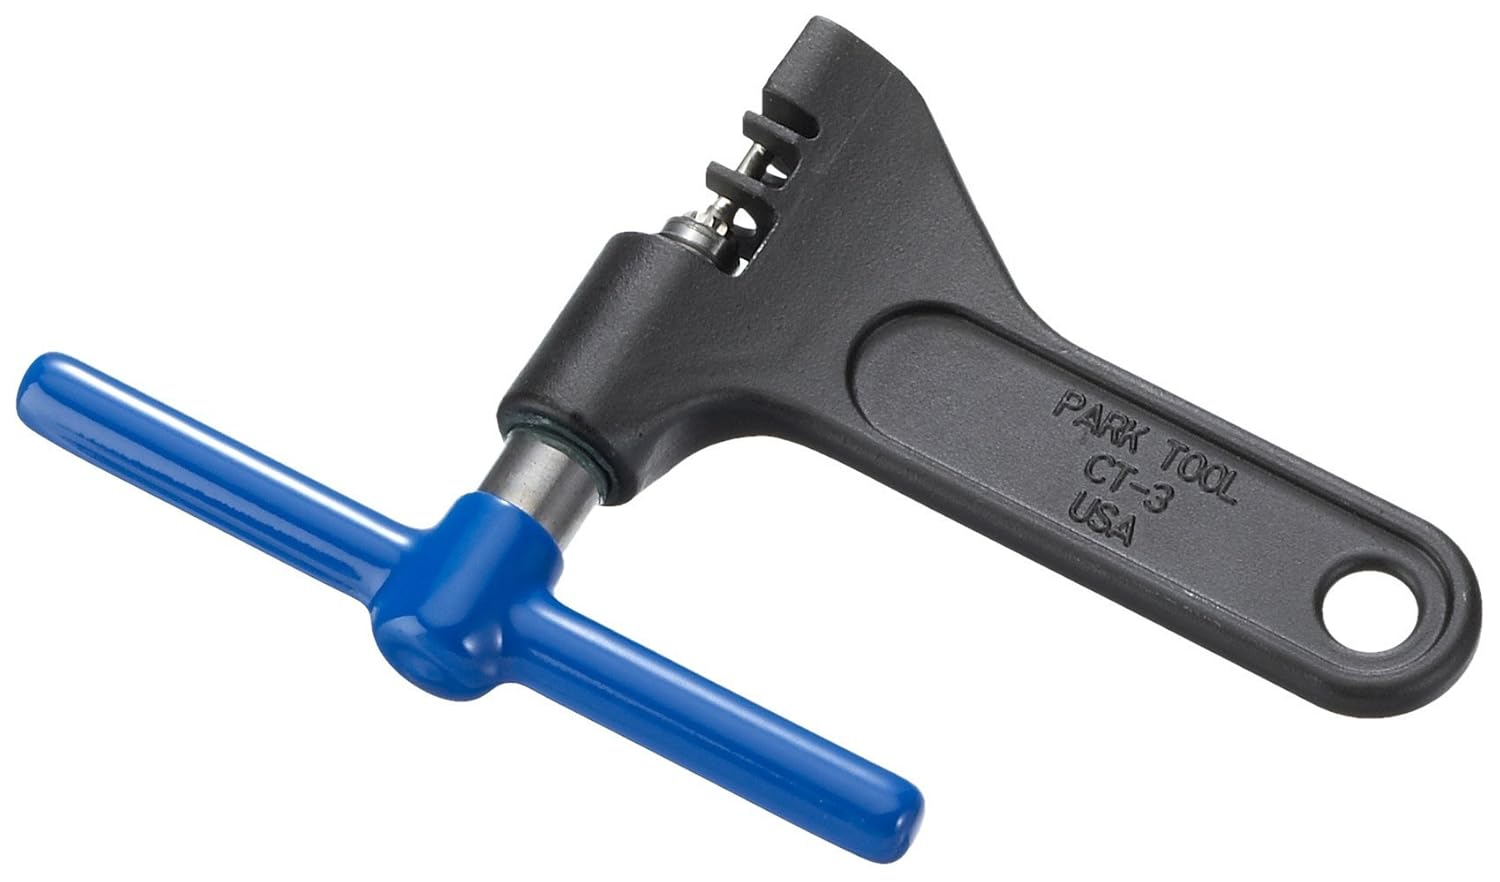
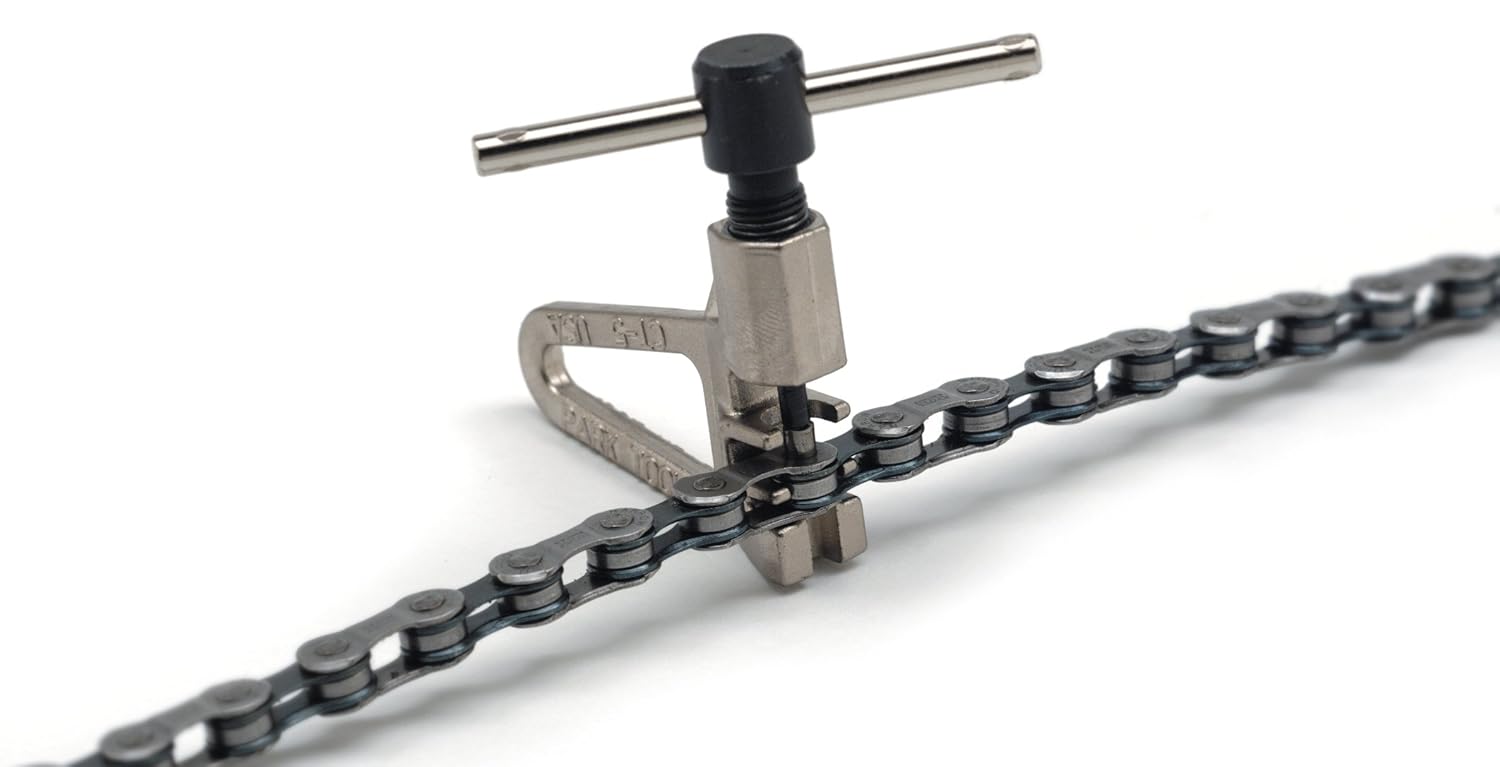
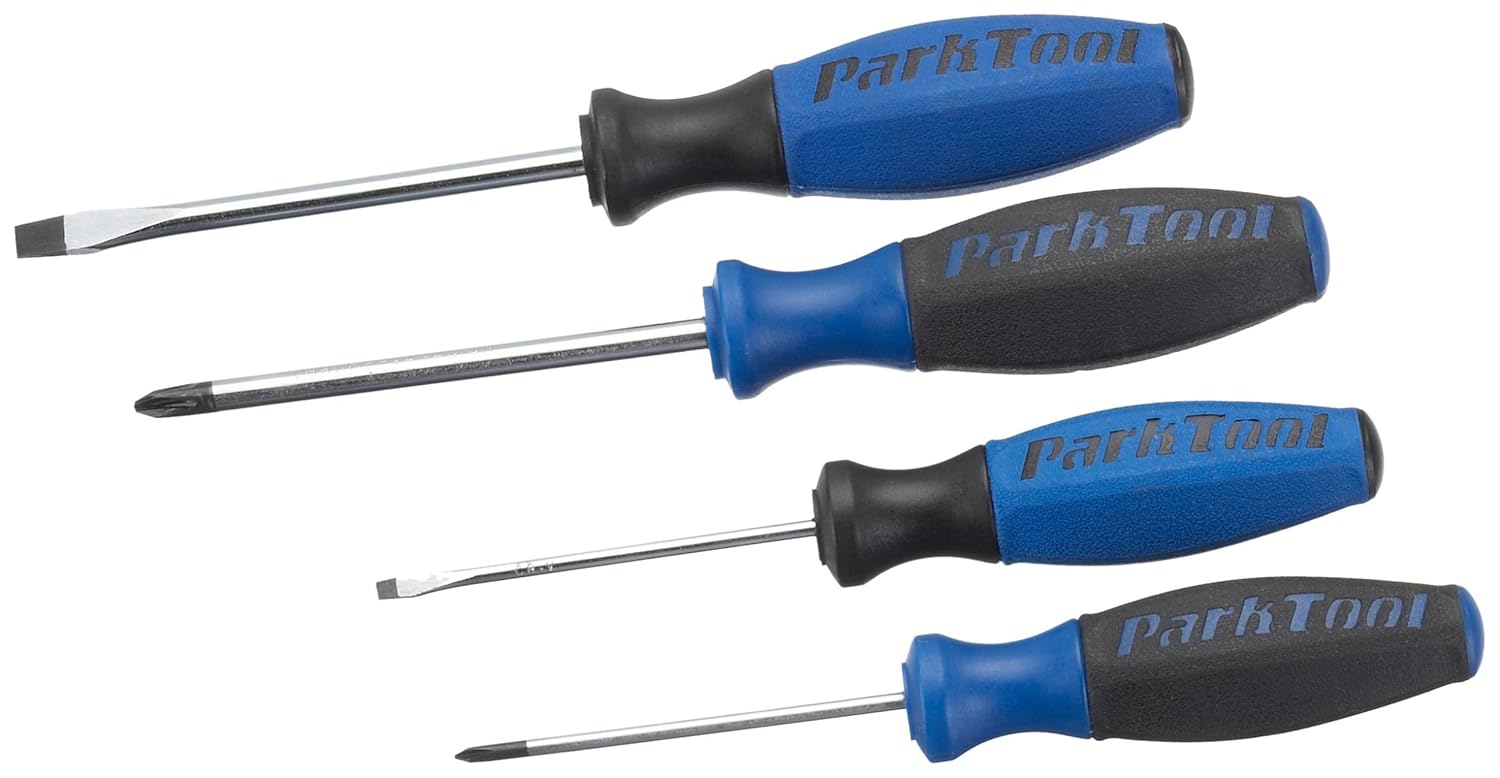
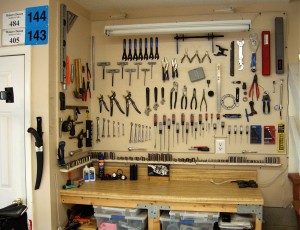
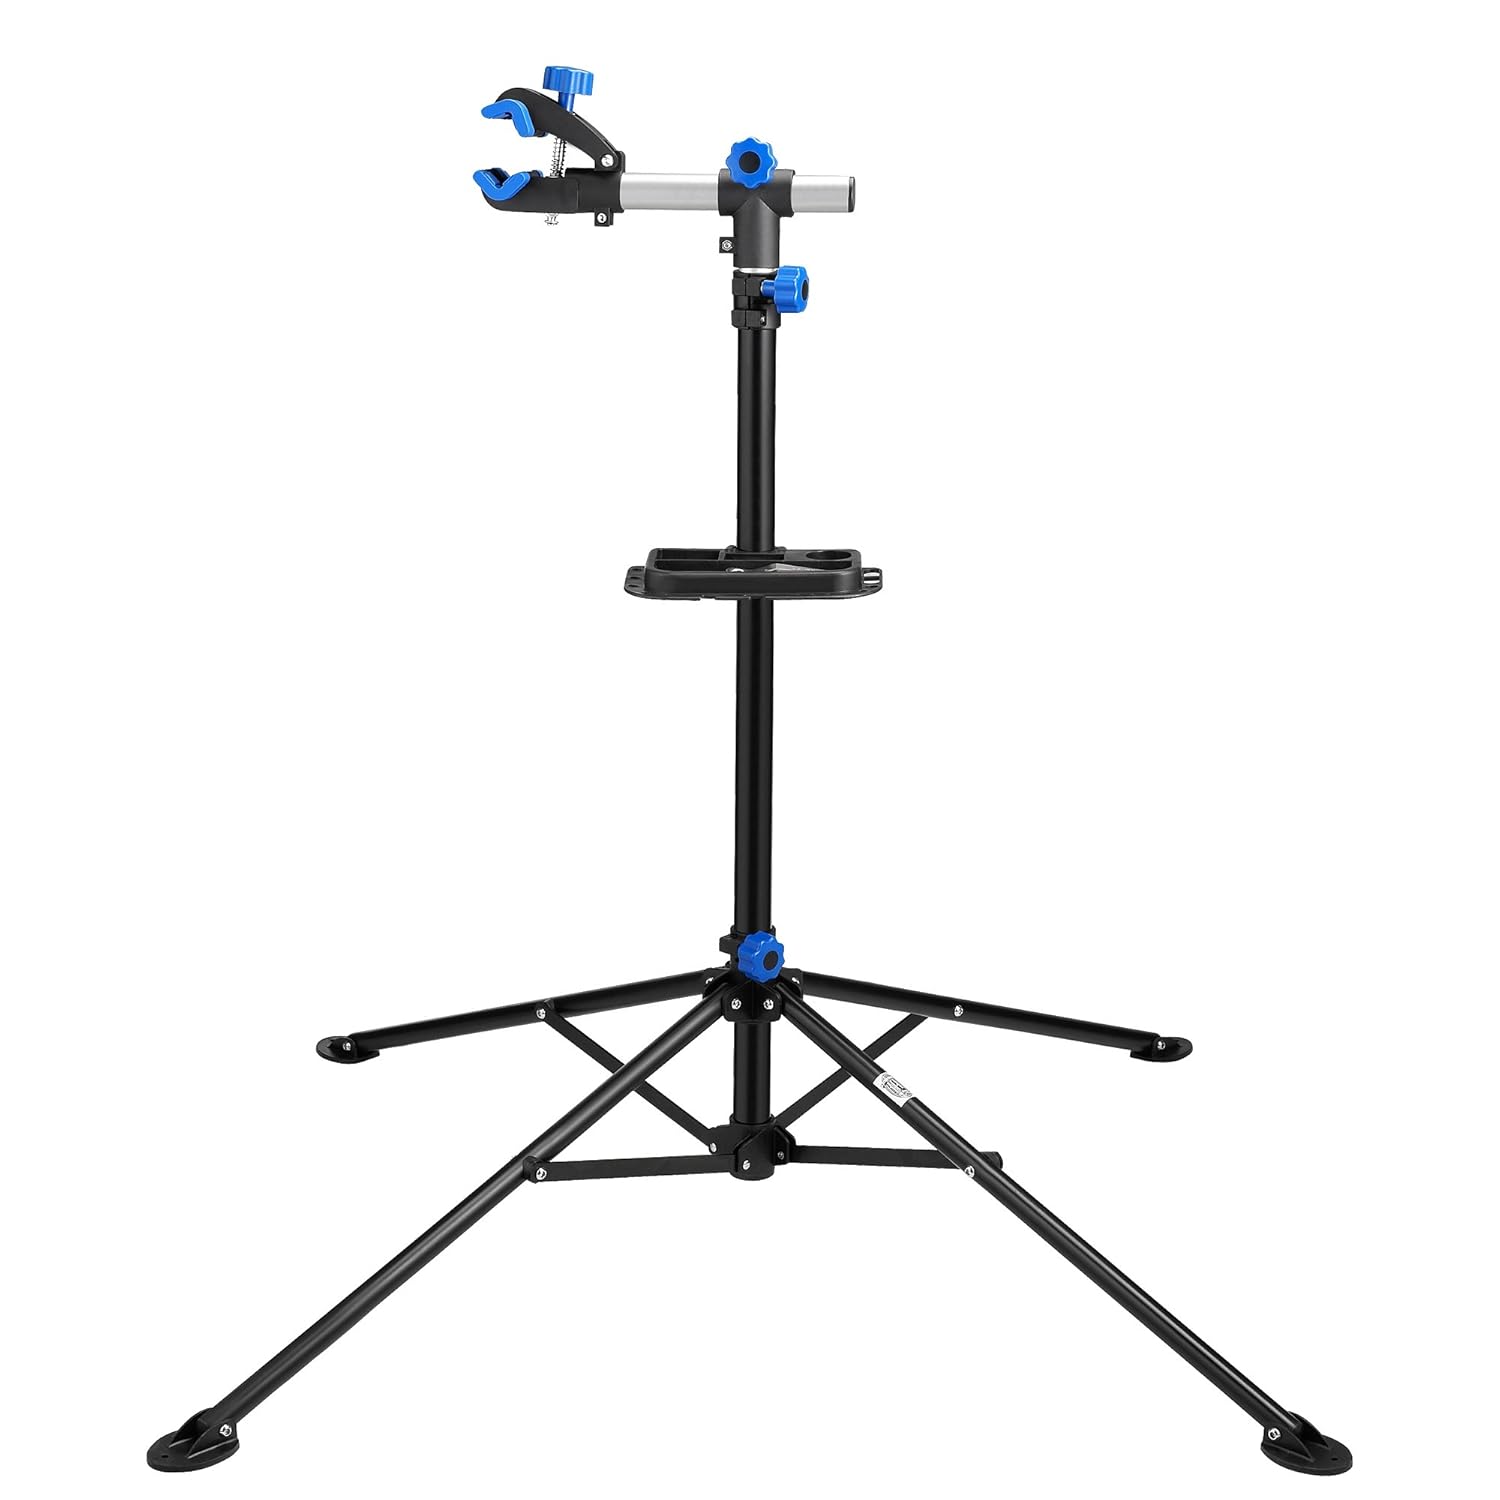
You do not want to be forced to go to your local bike shop every time there is a little squeak or creak. Getting the essential bike repair tools can save you time and money. Time? Yes time, unless you are lucky enough to have a mobile bike shop like Velofix in your town, then you have to drop off and pick up your bike. I have 5 bikes and one small car… you do the math… it is frustrating.

To be honest, I like going to the local bike shop to catch up and see what is going on, but not for small bike repair maintenance issues. If you have a real problem leave it for the professionals.

Before we even get to the tools, you have to know how to do the repairs. This 101 Bike Repair and Maintenance Tips article is sure to have the info on what you need to get rolling. And if you’re looking for a hard-copy book or videos, I highly recommend Dave Delgado’s bike repair book & videos. I personally prefer watching a very short clip than reading through a bike repair book and trying to figure it out from the pictures. All the videos are short and to the point!

Ok… on to the tools…

20 Essential bike repair tools

Note: Click on the images to compare prices and read reviews.

1. Bike Repair Stand

Have you ever tried to work on a bike without a bike stand? That is the way I used to work on bikes, not recommended…

RAD Cycle Products Pro Bicycle Adjustable Repair Stand
Park Tool Repair Stand

Recommendation: You can get the economy one at amazon as well. The one thing I do not like about the RAD Cycle Products Stand is that the legs are large and there are 4 of them… might be in your way. (I love park tools)

2. Bike Pump

Well… I think we all know what this does… but… you do want to make sure that the bike pump works on both presta and schrader valves… all of these do.

Recommendation: To be honest I have never really found a difference in bike pumps… Get a cheaper one… their air is just as good, I promise.

 3. Hex Wrenches

Want to adjust something? Hex wrenches are an integral part of bike repair. You will use these quite often and I suggest the P wrenches and not the inexpensive all in one.

Recommendation: Using the inexpensive set is very annoying but it is good if you’re traveling.

 4.  Cable Cutters

Cable cutters for your cable housing and cables.

5. Electrical Tape

The duct tape of the cycling world! How I Love you!

Recommendation: Go support your local department store next time you are there. Electrical tape is everywhere.

6. Chain Tool

Did you break your chain? Need to take a link out?.

-Expensive
-Inexpensive

Recommendation: Just get a multitool that has one in it (below)

 7. Chain Lube

Everyone likes a lubed chain.

bike repair tools

8. Screwdrivers

To adjust derailleur stops and other jobs.

9. Tire Levers

Need to change a flat? Put your race tires on?

bike repair tools

Bike Repair Tools10. Hammer

Everyone needs to give their bike a little love tap once in a while. Just make sure it is a soft one… you don’t want to hurt your baby.

Park Tool Shop Hammer

Recommendation: Having a hammer with a rubber end is a good idea!

11. Scissors

Want to open that brand new package? Cut some Zip ties? Cut the handle bar tape?

Recommendation: Pick up from your local department store.

12. Adjustable wrench

Need to take those fenders off?

bike repair tools

Recommendation: Pick up from your local department store.

13. Gear brush

A clean bike is a fast bike! You can actually lose power if there is buildup in your chain and rings. Keep it squeaky clean.

14. Grease

Metal on metal? Grease it up… I didn’t put grease on the pedals with my first bike… never going to come off… I will have to buy a new crank arm just to replace the pedals. Whoops.

bike repair tools

15. Multitool

Do not leave home without it! I have made that mistake a few times… unfortunately walking home is much slower than biking!

bike repair tools        bike repair tools – Fully Loaded

Recommendation: If you don’t mind a little extra weight go with the Amazon fully loaded option – it is the Topeak Alien II 26-Function Bicycle Tool. The reason you have a multitool is to be prepared for anything… this bike repair tool will do that.

16. Minipump

A phone does not pump up your tires! It is still amazing how many people do not bring a pump on a ride. All it takes is once… especially if you are out of cell service!

         bike repair tools          bike repair tools

Recommendation: C02 or non-C02? I use both! I have a C02 for my road bike because it is much faster than a hand pump (races etc.). I use a hand pump for my mountain bike because they are more reliable.

17. Chain whip

Chain whips are used to replace cassettes.

bike repair tools

Recommendation: No need to get an expensive chain whip, it is unlikely you will use it too often.

18. Lock Ring Tool

You use the lock ring tool in combination with the chain whip to take the cassette off.

bike repair tools

Recommendation: It is easier to use a lock ring tool with a guiding pin.

19. Spoke Wrenches

bike repair tools

20. Beer! Just me?

Essential Bike Repair Tools

Not an essential bike repair tool for everyone? Personal preference I guess.

Bonus

If you are just getting started and do not have any of the items it is better to start off with purchasing a whole kit like these ones:

Park Tool AK-38 Advanced Mechanic Kit from Amazon
Starter tool kit from Amazon

Bike repair tool kits are a great way to start. It is a large upfront investment that will save you money in the future.

There are many other tools that are helpful i.e.. Permanent marker, paper, measuring tape, zip ties to name a few, but the above list should get you started and then you can continue to add items on an as needed basis.

Bike maintenance can be very rewarding. I hope you are able to learn and enjoy it.

Upset Stomach Cycling? Fix it!

October 9, 2013 by Lee Agur

Upset stomach cycling?

Upset Stomach Cycling? Fix it!

Painful stomach cramps and bloating can make it very difficult to continue cycling. Adjustments in nutrition, effort and position are the key to changing your enraged gut to a settled tummy.

The Stomach

The stomach is able to process approximately one gram of carbohydrate a minute or 60 an hour. If you eat more than this, it will not make the process go any faster, you will just get an upset stomach cycling.

If you mix sugars it is said that you can increase the carbohydrate intake to around 90 grams per hour. (Ie. mix glucose and fructose – I am still looking for this study)

So, per hour plan on having 45-60 grams of carbs if just from glucose and 55-75 grams if from glucose and fructose. (another reason I like honey stingers so much – glucose:fructose ratio of 1:1)

Note: Gels are approximately 23 grams of carbohydrate, energy bars are approximately 47 grams of carbohydrate and sports drinks are approximately 50 grams of carbohydrate.

Effort

At high levels of exertion most of your blood will be in your legs in order to maintain your effort… this means that your stomach is competing with your legs as your stomach needs the blood in order to digest food. Unfortunately, your stomach is going to lose the competition and it will slow digestion considerably.

As you continue to eat your belly is going to get full. Now you have three problems you:

  1. Have not been getting enough food digested into usable fuel
  2. Likely are starting to get dehydrated
  3. Are starting to get full AND feel like making a mess on the pavement is inevitable. (vomiting)

I used to think that this is just the way it is in cycling. You cram power bars and gatorade down until you feel like vomiting, and then you continue to eat and drink as much as you can until the ride is over and that is how you knew you did nutrition properly. Oops.

If you start to feel this way switch to water immediately… and if you can convince yourself to slow down to about 70-75% of your aerobic capacity that would be a great idea as well. The water is to decrease the sugar content as it is too high and difficult to process. Going forward you may need a mixture of sports drink and water. Slowing down will allow the blood to return to the stomach and help to digest.

Position

Perhaps the easiest thing to quickly look at is your position. If you continually get an upset stomach cycling it could be because your position is too aggressive (leaning over too much with a rounded back, or your hips are not open) and that can put undue pressure on your abdomen making it difficult to digest food.

I have tried all of this and still have an upset stomach cycling

Happy Stomach Cycling
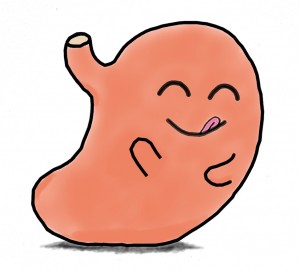
If you have tried this already and still are having stomach/vomiting issues then it is time to look at what you are doing off the bike. Your esophagus has muscles that help push the food down and at the bottom is a sphincter that keeps the food from coming back up!

Now some of you may not want to acknowledge this part… but… caffeine, alcohol and smoking all relax the ever important esophagus muscles and sphincter. So if you continue to have problems look to cut these items out. Also, only eat 2 hours or longer before cycling, longer is better if you have a sensitive tummy.

Catch an upset stomach cycling early!

An upset Stomach cycling can destroy a ride, but if you know the signs and catch it early enough you can fix it without it slowing you down.

« Previous Page
Next Page »
  • Facebook
  • Tumblr
  • Twitter

Latest Articles

JOIN Cycling: A New Training Platform for Cyclists

May 27, 2024 By Eric Lister

cold exposure

The Benefits of Cold Exposure for Cycling & Life

June 13, 2023 By Eric Lister

hill climb

The Ultimate Hill Climb Training Guide

May 31, 2023 By Eric Lister

shoulder pain cycling

How to Treat & Avoid Shoulder Pain While Cycling

April 12, 2023 By Eric Lister

psoas stretch

The Importance of the Psoas Stretch for Cyclists

April 6, 2023 By Eric Lister

cycling neck pain

The Ultimate Guide to Cycling Neck Pain: Causes and Solutions

March 21, 2023 By Eric Lister

Useful Info

  • Contact
  • Finally, A Global Cycling Club That Is Focused On Community And Love Of Cycling!
  • Privacy Policy
  • Share Your Story!
  • Terms And Conditions Of Use
  • Welcome to I Love Bicycling
  • What Happened When I Stretched Every Day For a Month

Recent Posts

  • JOIN Cycling: A New Training Platform for Cyclists
  • How to Hang Bikes in Your Garage: 4 Inexpensive Options
  • Gravel Bike Vs. Road Bike: Which One Is Better For You?
  • The 6 Types of Mountain Bikes & How to Choose the Best One for You
  • What Is a Touring Bike Good For? 5 Benefits We Know You’ll Love

Search I Love Bicycling

Connect with Us

  • Facebook
  • RSS
  • Tumblr
  • Twitter

Copyright © 2025 · Magazine Pro Theme on Genesis Framework · WordPress · Log in