• Training
    • Injury Prevention
    • Training Tips
  • How To
    • Bike Fit
    • Gear
  • Nutrition
    • Nutrition Tips
    • Weight Loss
  • Repair
  • Reviews
  • Stories
    • Funny Stories
    • Jokes
    • Quotes
    • Videos
    • Funny Videos

I Love Bicycling

I Love Bicycling is a website that is geared towards cycling for beginners with road cycling tips, training articles, nutrition tips, weight loss, how to’s and bike repair articles.

Proper Cadence Cycling!

October 16, 2013 by Lee Agur

Criterium Race Cadence - proper cadence cycling
A higher cadence during a criterium race is preferable to accelerate out of corners and respond to attacks (90 – 100rpm)

Finding your ideal cycling cadence can give you free speed! Yes… I said free speed! Who does not like to go faster with the same amount of effort?

What is Cadence?

Cadence is the amount of times your foot completes a full pedal stroke in one minute (also known as rpm). You can measure this by counting each revolution or you can buy a cycle computer. I personally love all things garmin.

Efficiency

From the month I started cycling I compared myself to a car. You may think that odd… but here is why….

In my car I have a gauge that measures current and average fuel consumption. Every time I drive, my goal is to see how little fuel I can consume. In order to do this, I have to find the “sweet spot” or the speed at which my vehicle travels the most efficiently.

Over thousands of miles I have discovered that my most efficient speed is 42mph in 5th gear at 1700rpm. So… how does this translate to cadence?

At your ideal cadence you will use less energy to travel the same distance at a certain speed. It can be broken down into simple science… Imagine you have to lift 1000 pounds over your head. If you try and do it all at once you will not be able to do it, if you lift it in one pound increments you are likely wasting energy just doing the motion. If you lift the 1000 pounds in 20 pound increments, that might be just right. Cadence is similar, you just have to find what is just right for you.

How do I find my ideal cadence?

It may be a bit obsessive, but you can test yourself with a heart rate monitor (that hopefully came with your cycle computer). I suggest you find a flat stretch of road that takes approximately 10 – 15 minutes to complete. Do a 20 minute warm up and then start one lap at 80rpm, on a different day do one at 85 under the same conditions then again at 90 and so on… try to maintain approximately the same speed and then compare your heart rates. The lap with the lowest heart rate is your ideal cadence.

When I began cycling I was quite obsessed with cadence, it was one of the only things I had showing on my cycle computer. As I continued to cycle and increase my fitness I focused on this less and less. If you listen to your body it will know what your ideal cadence is. I now know within a couple of rpms when I should shift up or down.

As you continue to cycle more and more your cadence will likely increase along with your fitness, so just because your ideal cadence was 85 two months ago does not mean it is your ideal now. Try to listen to your body.

TT Cadence - proper cadence cyclingWhat is the suggested cadence?

There is no hard set and fast rule on ideal cadence, and it actually depends on what kind of cycling you are doing, body type and fitness level.

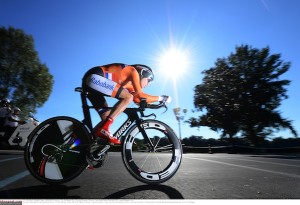
In a criterium race you want to have a higher cadence (90-100rpm) than in a time trial (80-90rpm). A higher cadence in a criterium allows you to accelerate faster out of a corner or respond to an attack, where as in a time trial you are focused on power and not on attacks. In mountain biking you want a low cadence because a high cadence causes you to get bounced around on rocky and uneven terrain.

Endurance Rides

If you plan on endurance cycling the suggested cadence is between 85 to 100. My first attempt at an endurance ride my cadence was an average of 78 for the entire ride… (actually… I didn’t finish… I got off my bike deflated my front tire and called my sister to come pick me up due to the “mechanical difficulties” I was having).

My cadence was low due to my fitness level and my dumb testosterone male thinking of: slower cadence = more power = faster. In reality the equation looked more like: slower cadence = using more energy and cooking the legs = bonking.

My last endurance ride of 112 miles was at an average cadence of 97. (This is on the high end of recommended cadence… but it is my ideal cadence) You will continue to adapt so do not feel discouraged if your cadence is low, as you can see, it will progress.

Find some free speed by finding your ideal cadence cycling and save energy!


20 Essential Bike Repair Tools

October 11, 2013 by Lee Agur

Essential bike repair tools
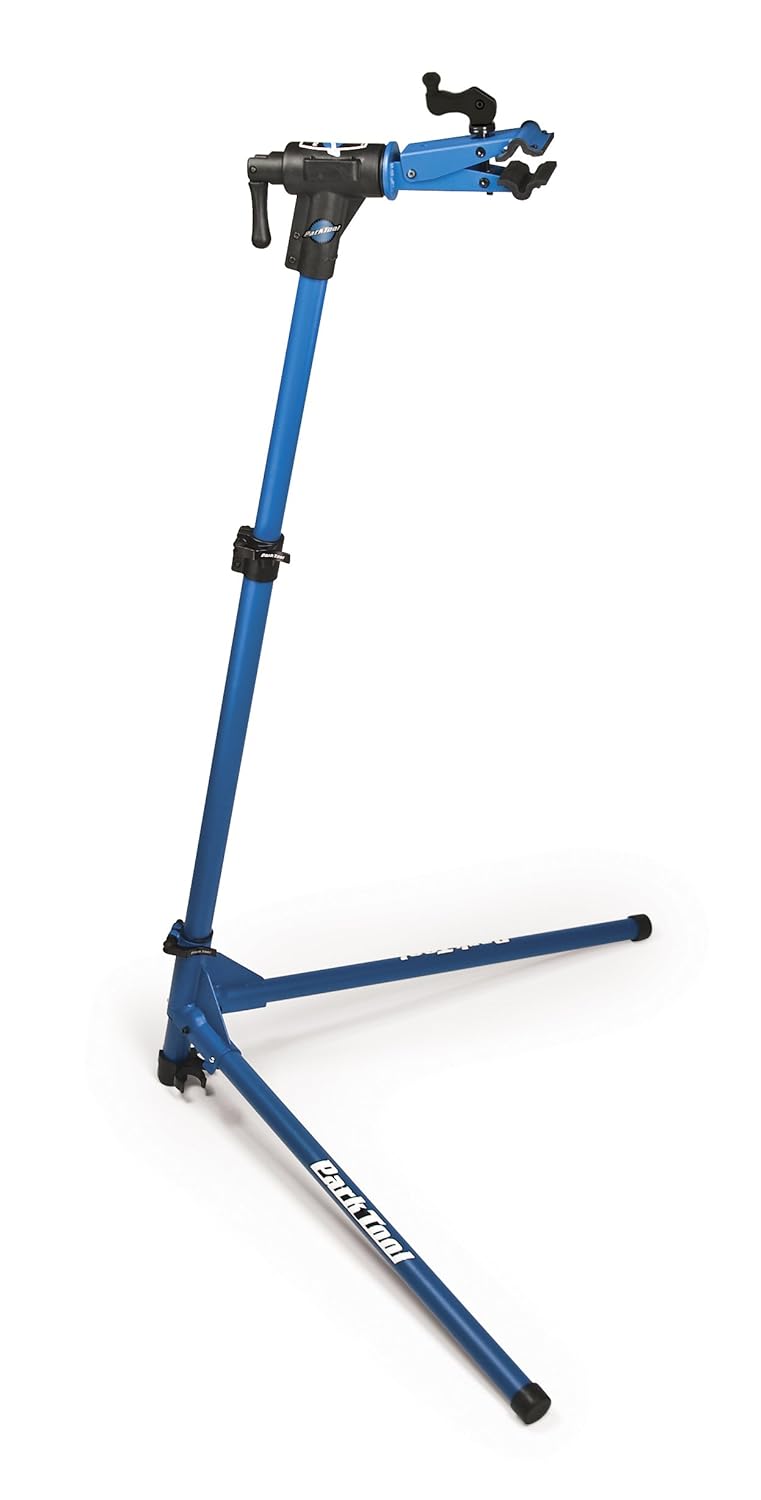
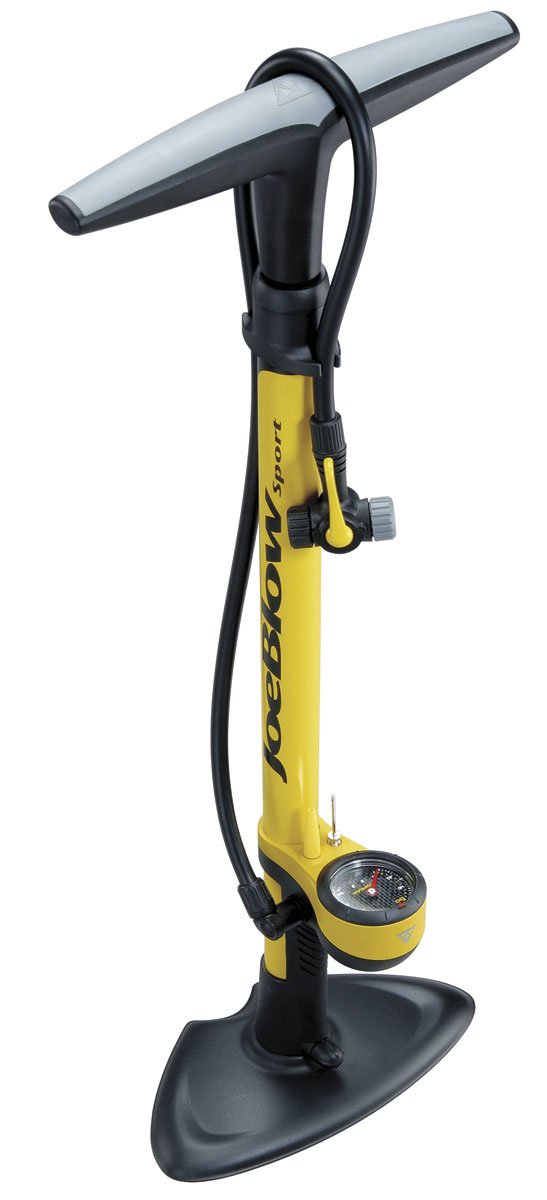
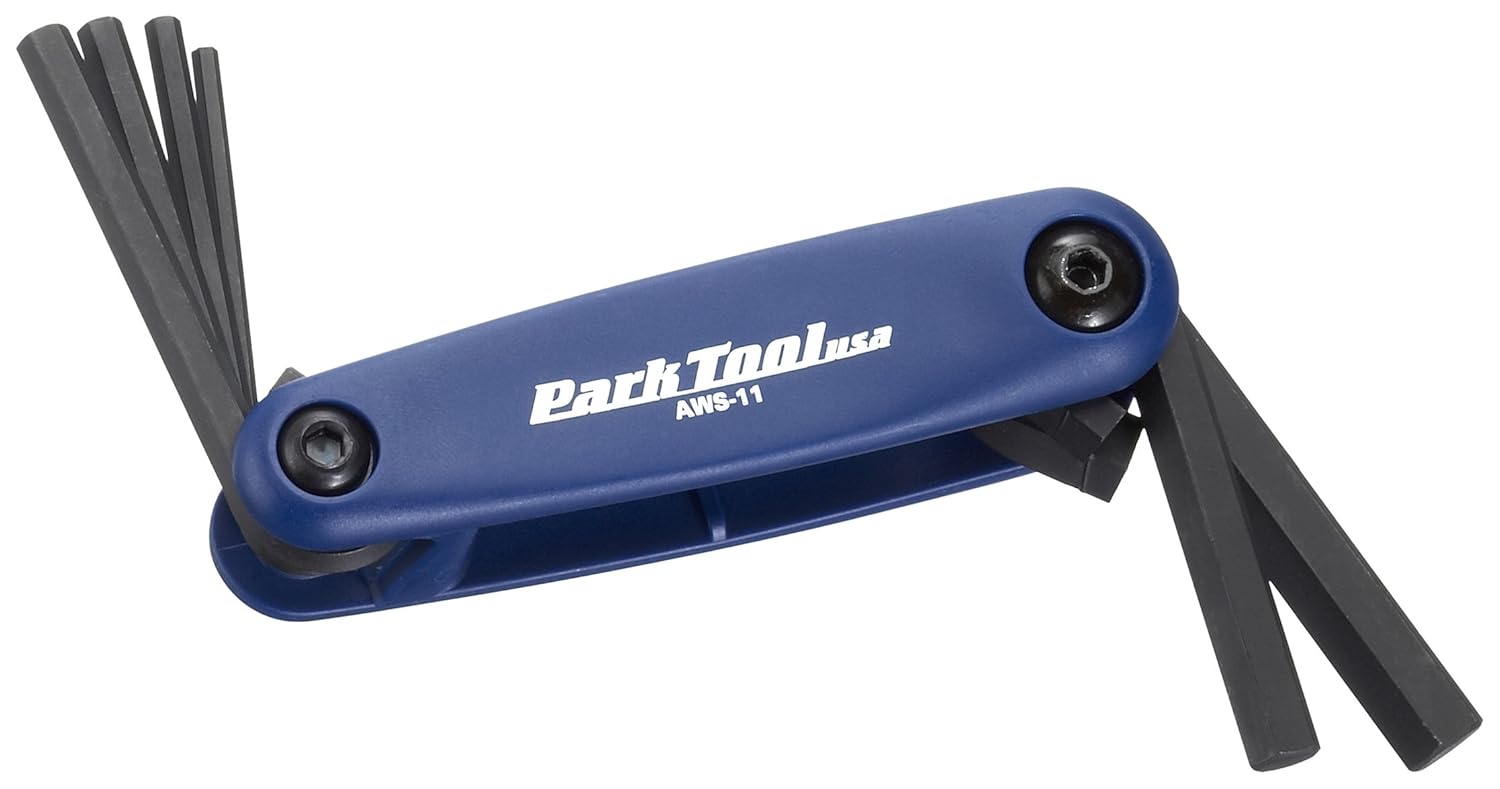
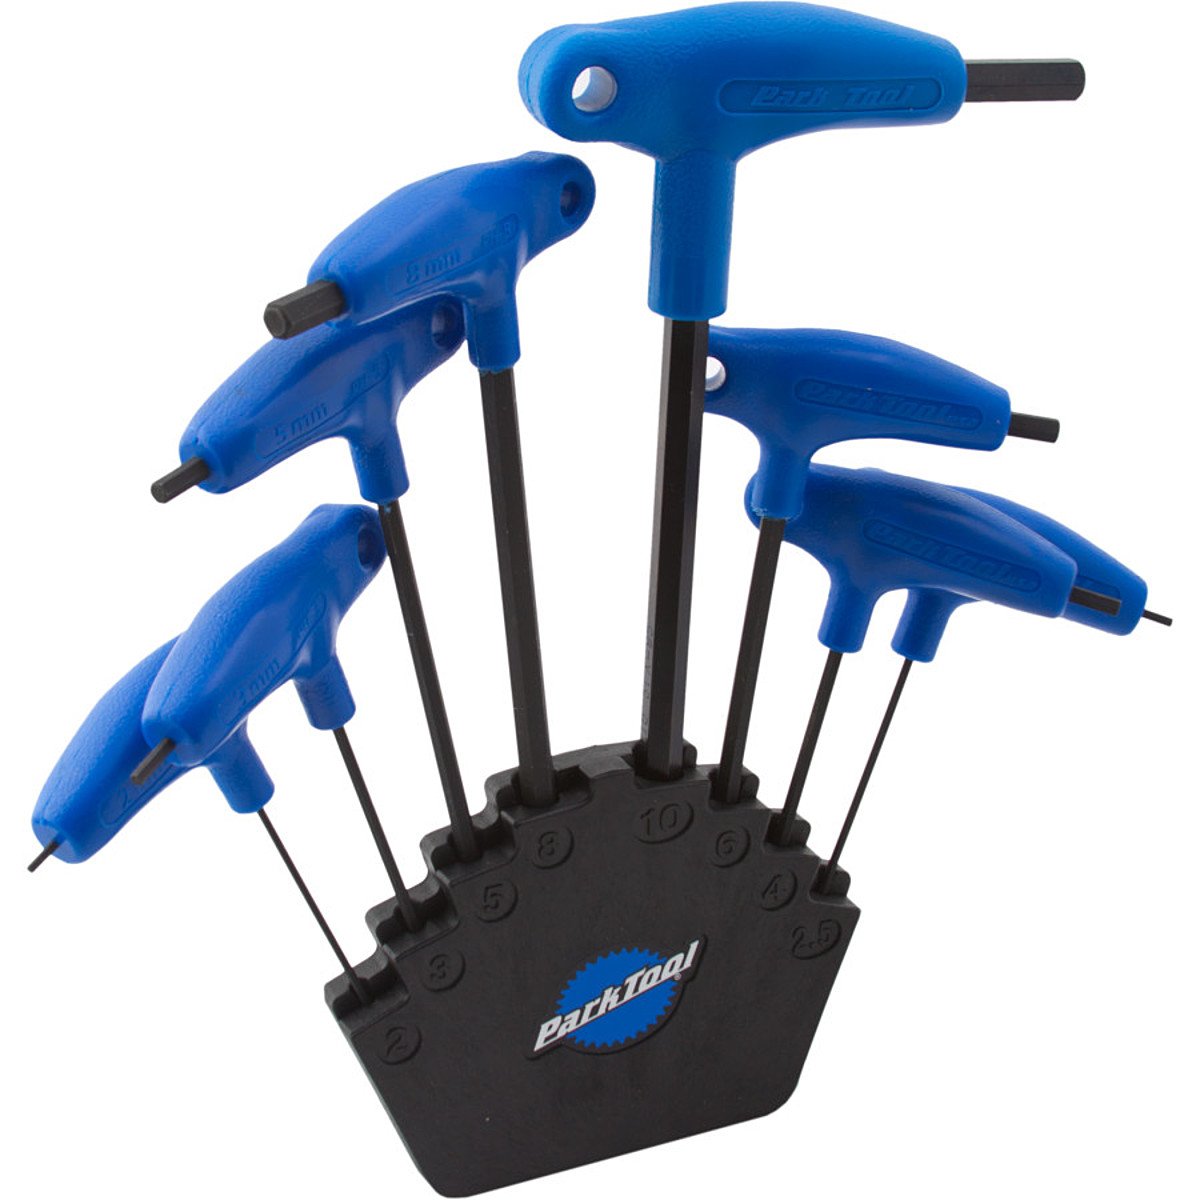
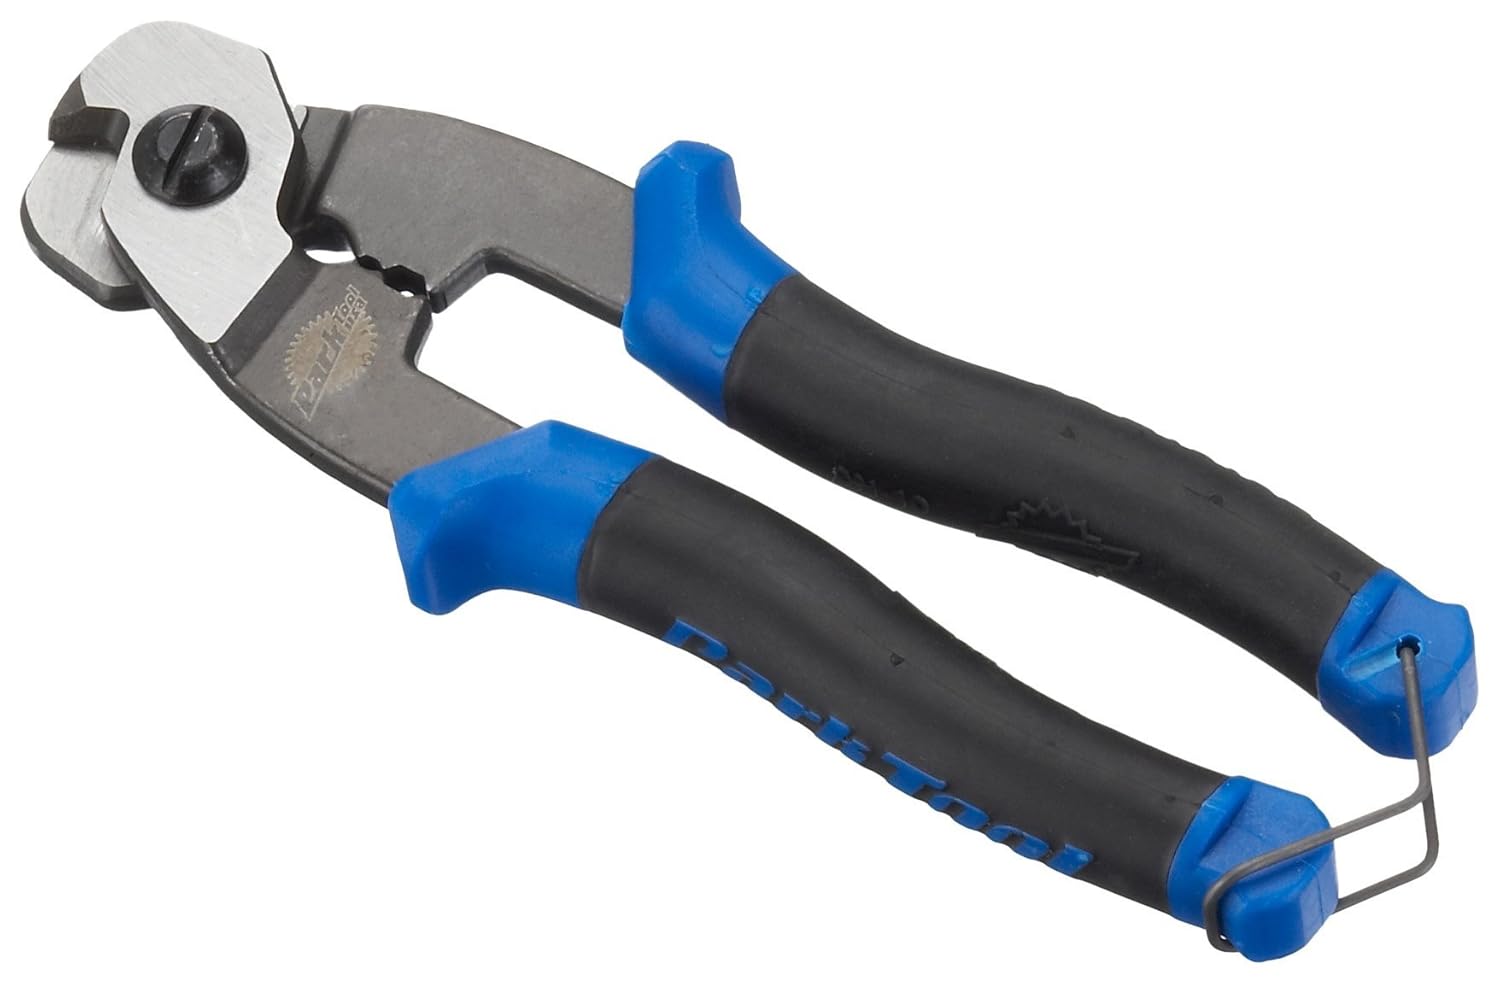
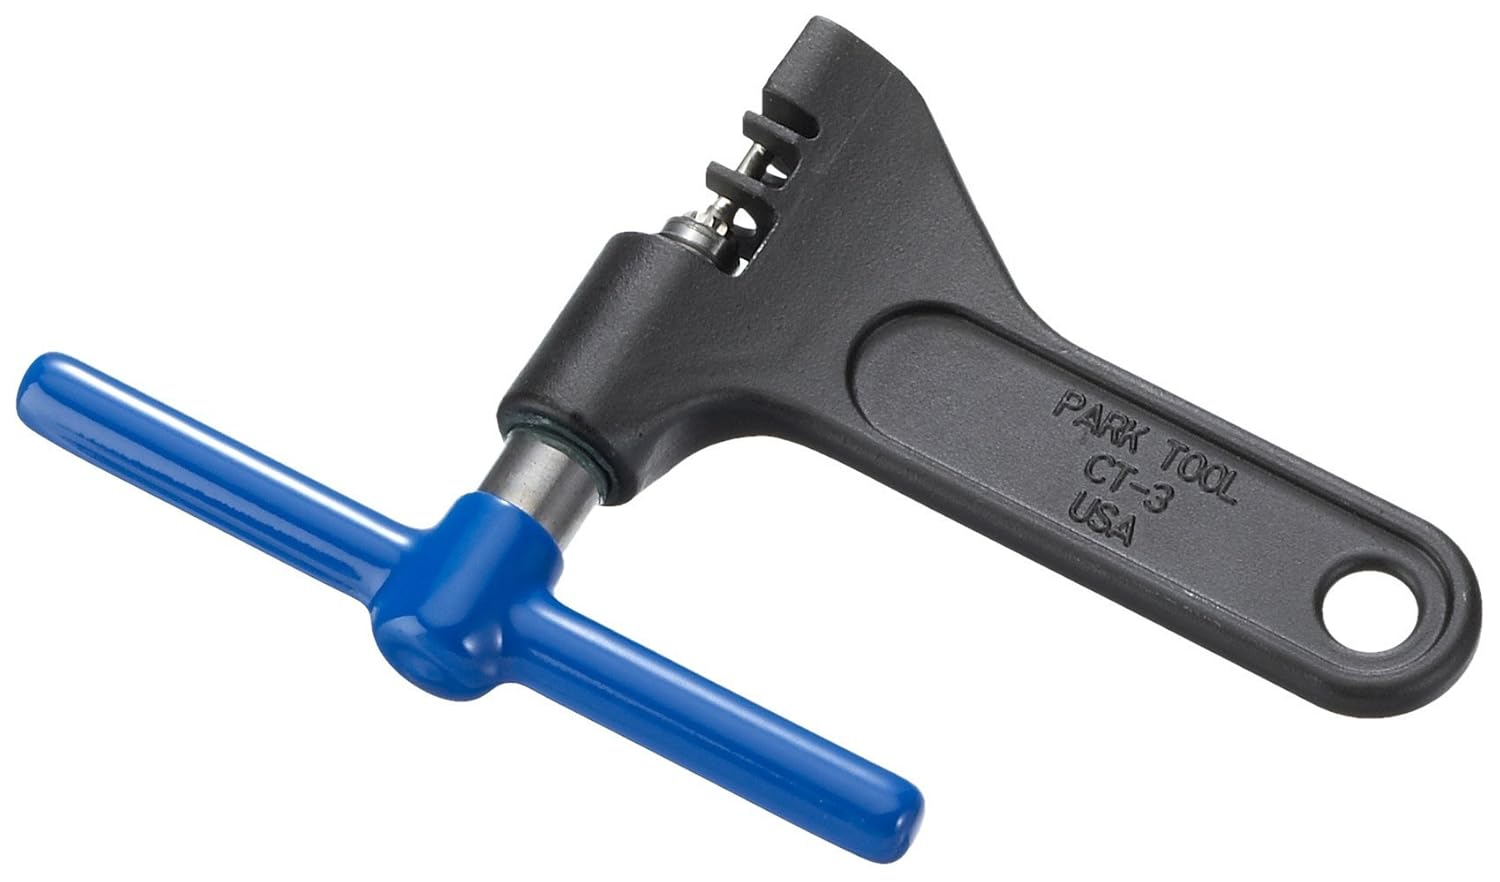
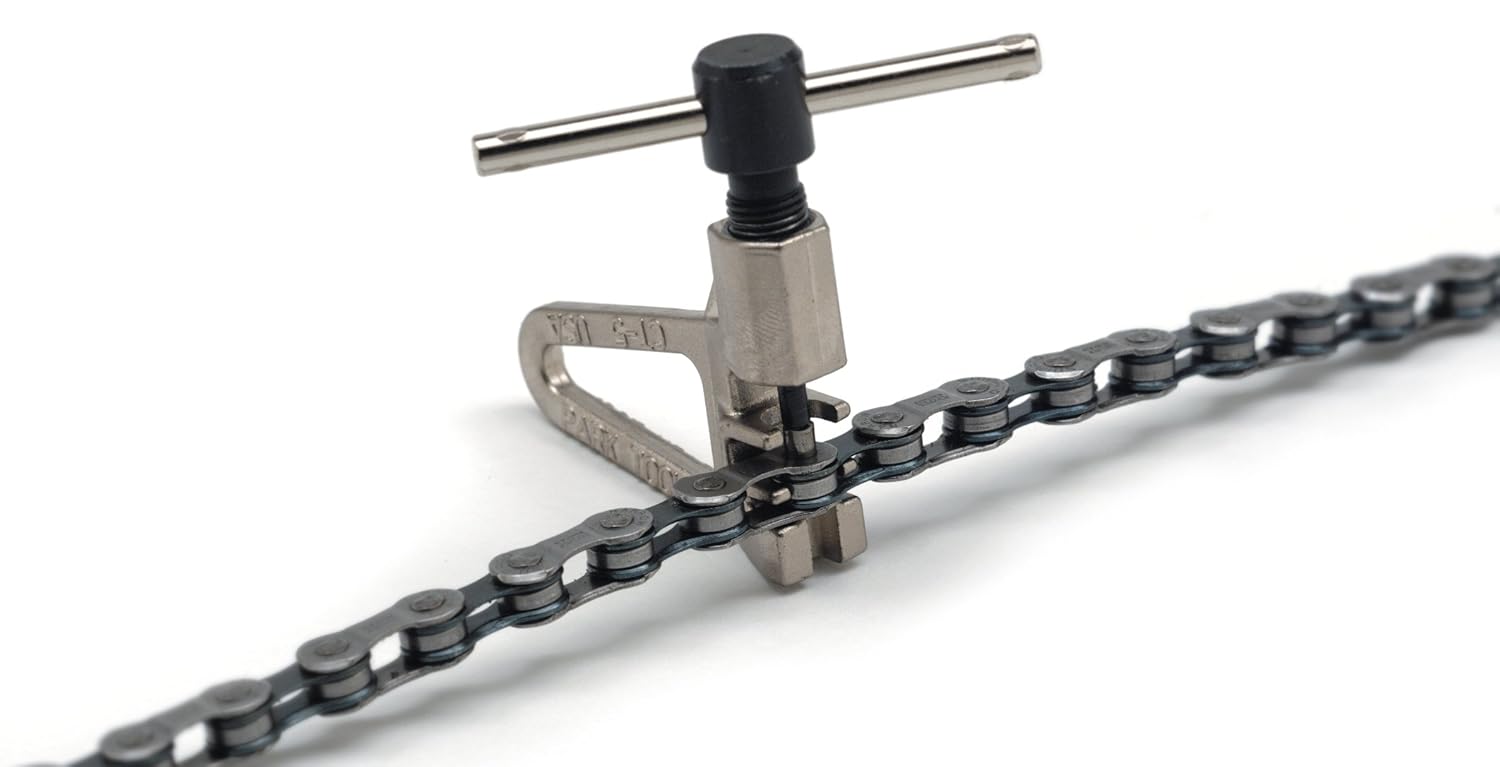
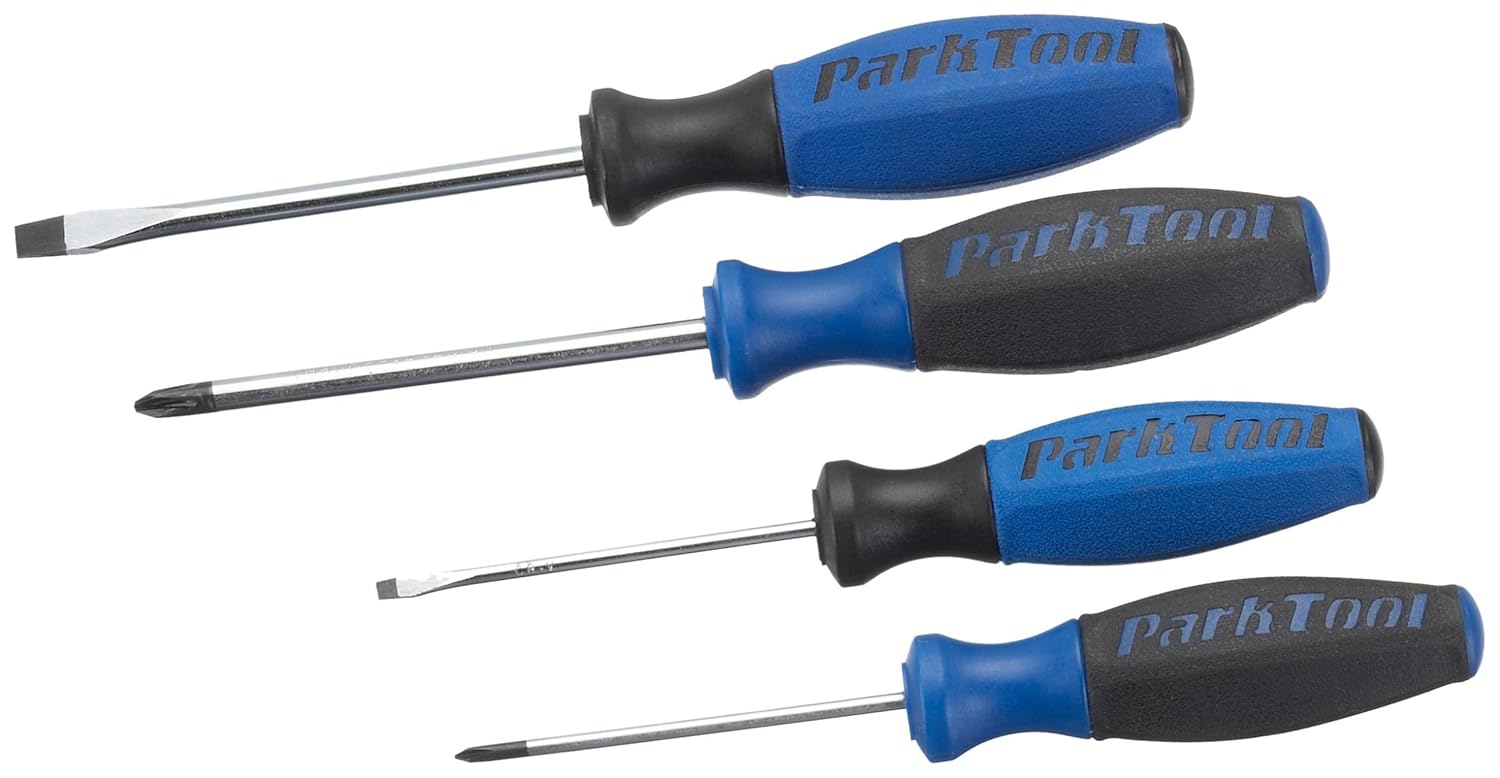
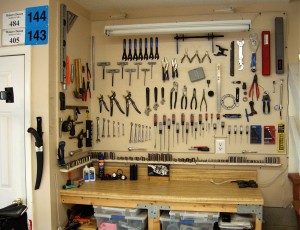
You do not need a lot of bike repair tools, but you do need the right ones.
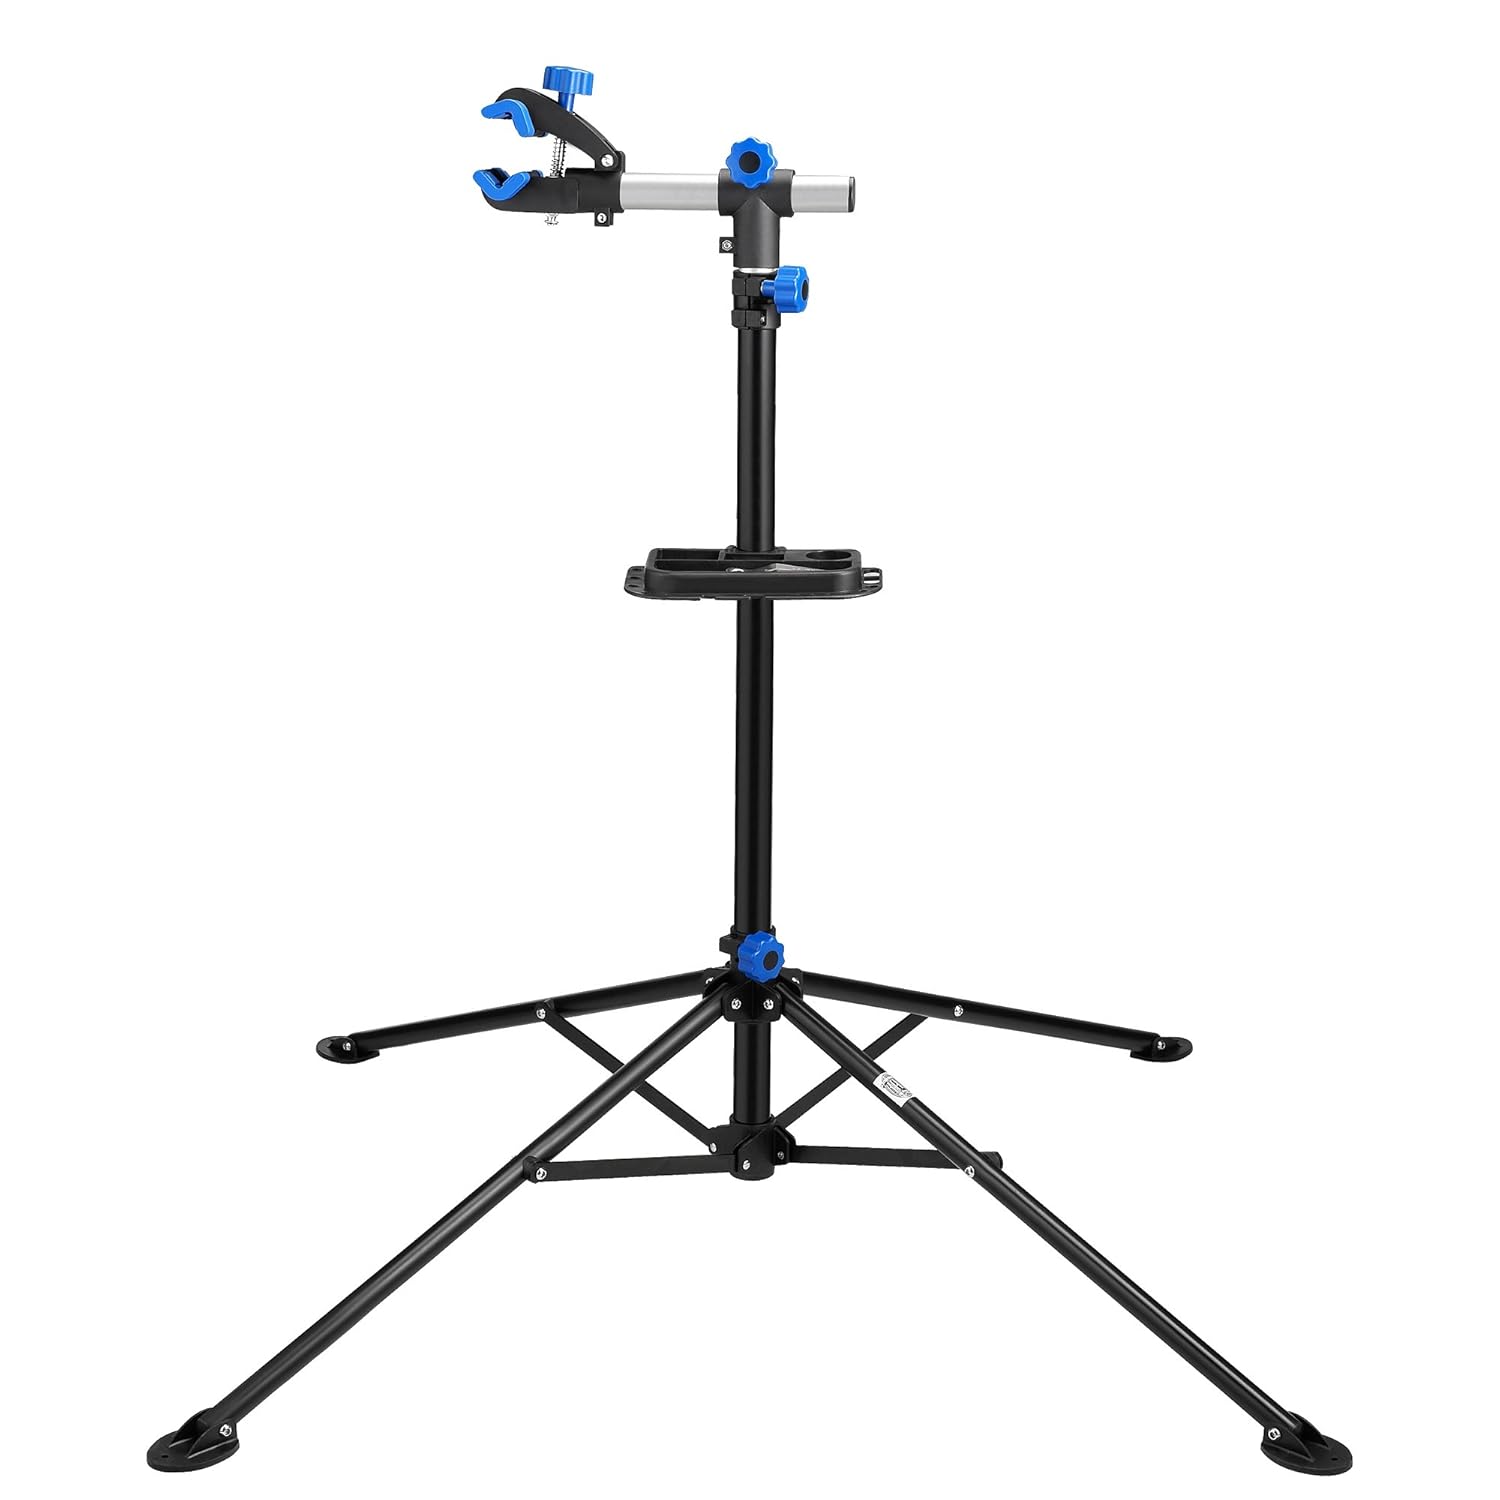
You do not want to be forced to go to your local bike shop every time there is a little squeak or creak. Getting the essential bike repair tools can save you time and money. Time? Yes time, unless you are lucky enough to have a mobile bike shop like Velofix in your town, then you have to drop off and pick up your bike. I have 5 bikes and one small car… you do the math… it is frustrating.

To be honest, I like going to the local bike shop to catch up and see what is going on, but not for small bike repair maintenance issues. If you have a real problem leave it for the professionals.

Before we even get to the tools, you have to know how to do the repairs. This 101 Bike Repair and Maintenance Tips article is sure to have the info on what you need to get rolling. And if you’re looking for a hard-copy book or videos, I highly recommend Dave Delgado’s bike repair book & videos. I personally prefer watching a very short clip than reading through a bike repair book and trying to figure it out from the pictures. All the videos are short and to the point!

Ok… on to the tools…

20 Essential bike repair tools

Note: Click on the images to compare prices and read reviews.

1. Bike Repair Stand

Have you ever tried to work on a bike without a bike stand? That is the way I used to work on bikes, not recommended…

RAD Cycle Products Pro Bicycle Adjustable Repair Stand
Park Tool Repair Stand

Recommendation: You can get the economy one at amazon as well. The one thing I do not like about the RAD Cycle Products Stand is that the legs are large and there are 4 of them… might be in your way. (I love park tools)

2. Bike Pump

Well… I think we all know what this does… but… you do want to make sure that the bike pump works on both presta and schrader valves… all of these do.

Recommendation: To be honest I have never really found a difference in bike pumps… Get a cheaper one… their air is just as good, I promise.

 3. Hex Wrenches

Want to adjust something? Hex wrenches are an integral part of bike repair. You will use these quite often and I suggest the P wrenches and not the inexpensive all in one.

Recommendation: Using the inexpensive set is very annoying but it is good if you’re traveling.

 4.  Cable Cutters

Cable cutters for your cable housing and cables.

5. Electrical Tape

The duct tape of the cycling world! How I Love you!

Recommendation: Go support your local department store next time you are there. Electrical tape is everywhere.

6. Chain Tool

Did you break your chain? Need to take a link out?.

-Expensive
-Inexpensive

Recommendation: Just get a multitool that has one in it (below)

 7. Chain Lube

Everyone likes a lubed chain.

bike repair tools

8. Screwdrivers

To adjust derailleur stops and other jobs.

9. Tire Levers

Need to change a flat? Put your race tires on?

bike repair tools

Bike Repair Tools10. Hammer

Everyone needs to give their bike a little love tap once in a while. Just make sure it is a soft one… you don’t want to hurt your baby.

Park Tool Shop Hammer

Recommendation: Having a hammer with a rubber end is a good idea!

11. Scissors

Want to open that brand new package? Cut some Zip ties? Cut the handle bar tape?

Recommendation: Pick up from your local department store.

12. Adjustable wrench

Need to take those fenders off?

bike repair tools

Recommendation: Pick up from your local department store.

13. Gear brush

A clean bike is a fast bike! You can actually lose power if there is buildup in your chain and rings. Keep it squeaky clean.

14. Grease

Metal on metal? Grease it up… I didn’t put grease on the pedals with my first bike… never going to come off… I will have to buy a new crank arm just to replace the pedals. Whoops.

bike repair tools

15. Multitool

Do not leave home without it! I have made that mistake a few times… unfortunately walking home is much slower than biking!

bike repair tools        bike repair tools – Fully Loaded

Recommendation: If you don’t mind a little extra weight go with the Amazon fully loaded option – it is the Topeak Alien II 26-Function Bicycle Tool. The reason you have a multitool is to be prepared for anything… this bike repair tool will do that.

16. Minipump

A phone does not pump up your tires! It is still amazing how many people do not bring a pump on a ride. All it takes is once… especially if you are out of cell service!

         bike repair tools          bike repair tools

Recommendation: C02 or non-C02? I use both! I have a C02 for my road bike because it is much faster than a hand pump (races etc.). I use a hand pump for my mountain bike because they are more reliable.

17. Chain whip

Chain whips are used to replace cassettes.

bike repair tools

Recommendation: No need to get an expensive chain whip, it is unlikely you will use it too often.

18. Lock Ring Tool

You use the lock ring tool in combination with the chain whip to take the cassette off.

bike repair tools

Recommendation: It is easier to use a lock ring tool with a guiding pin.

19. Spoke Wrenches

bike repair tools

20. Beer! Just me?

Essential Bike Repair Tools

Not an essential bike repair tool for everyone? Personal preference I guess.

Bonus

If you are just getting started and do not have any of the items it is better to start off with purchasing a whole kit like these ones:

Park Tool AK-38 Advanced Mechanic Kit from Amazon
Starter tool kit from Amazon

Bike repair tool kits are a great way to start. It is a large upfront investment that will save you money in the future.

There are many other tools that are helpful i.e.. Permanent marker, paper, measuring tape, zip ties to name a few, but the above list should get you started and then you can continue to add items on an as needed basis.

Bike maintenance can be very rewarding. I hope you are able to learn and enjoy it.

Upset Stomach Cycling? Fix it!

October 9, 2013 by Lee Agur

Upset stomach cycling?

Upset Stomach Cycling? Fix it!

Painful stomach cramps and bloating can make it very difficult to continue cycling. Adjustments in nutrition, effort and position are the key to changing your enraged gut to a settled tummy.

The Stomach

The stomach is able to process approximately one gram of carbohydrate a minute or 60 an hour. If you eat more than this, it will not make the process go any faster, you will just get an upset stomach cycling.

If you mix sugars it is said that you can increase the carbohydrate intake to around 90 grams per hour. (Ie. mix glucose and fructose – I am still looking for this study)

So, per hour plan on having 45-60 grams of carbs if just from glucose and 55-75 grams if from glucose and fructose. (another reason I like honey stingers so much – glucose:fructose ratio of 1:1)

Note: Gels are approximately 23 grams of carbohydrate, energy bars are approximately 47 grams of carbohydrate and sports drinks are approximately 50 grams of carbohydrate.

Effort

At high levels of exertion most of your blood will be in your legs in order to maintain your effort… this means that your stomach is competing with your legs as your stomach needs the blood in order to digest food. Unfortunately, your stomach is going to lose the competition and it will slow digestion considerably.

As you continue to eat your belly is going to get full. Now you have three problems you:

  1. Have not been getting enough food digested into usable fuel
  2. Likely are starting to get dehydrated
  3. Are starting to get full AND feel like making a mess on the pavement is inevitable. (vomiting)

I used to think that this is just the way it is in cycling. You cram power bars and gatorade down until you feel like vomiting, and then you continue to eat and drink as much as you can until the ride is over and that is how you knew you did nutrition properly. Oops.

If you start to feel this way switch to water immediately… and if you can convince yourself to slow down to about 70-75% of your aerobic capacity that would be a great idea as well. The water is to decrease the sugar content as it is too high and difficult to process. Going forward you may need a mixture of sports drink and water. Slowing down will allow the blood to return to the stomach and help to digest.

Position

Perhaps the easiest thing to quickly look at is your position. If you continually get an upset stomach cycling it could be because your position is too aggressive (leaning over too much with a rounded back, or your hips are not open) and that can put undue pressure on your abdomen making it difficult to digest food.

I have tried all of this and still have an upset stomach cycling

Happy Stomach CyclingIf you have tried this already and still are having stomach/vomiting issues then it is time to look at what you are doing off the bike. Your esophagus has muscles that help push the food down and at the bottom is a sphincter that keeps the food from coming back up!

Now some of you may not want to acknowledge this part… but… caffeine, alcohol and smoking all relax the ever important esophagus muscles and sphincter. So if you continue to have problems look to cut these items out. Also, only eat 2 hours or longer before cycling, longer is better if you have a sensitive tummy.

Catch an upset stomach cycling early!

An upset Stomach cycling can destroy a ride, but if you know the signs and catch it early enough you can fix it without it slowing you down.

Honey Stinger Chews Review

October 8, 2013 by Lee Agur

Honey Stinger Chews Reviews
Honey Stinger Chews – My favorite nutritious snack

Honey Stinger Chews Description:

Honey stinger chews are small soft chews and are a healthy way to fuel your workout. Enjoy the sweet taste of honey and organic tapioca syrup. Made with USDA certified Organic ingredients. 160 calories per package Gluten-free, dairy-free, non-GMO ingredients. 0g Trans Fats and no partially hydrogenated oils.

Pro’s

  • Does not dry out your mouth or hurt back of the throat like a lot of other nutrition
  • Goes down easy – Is not so dry you have to flush it down with water/sports drink
  • Good taste – lots of flavors listed below, tastes like candy without being too sweet [Read more…]

Hill Climbing Technique – Get Fast!

October 7, 2013 by Lee Agur

Hill climbing technique cycling

Hill Climbing Technique – Get Fast!

Hill climbs make cycling challenging… and worth it! Some people love them, some people hate them. I choose to love them, or at least that is what I tell myself and so should you!

Effort

The most important aspect of hill climbing is maintaining a steady effort from the bottom all the way to the top. [Read more…]

How to Beat Indoor Trainer Boredom

October 4, 2013 by Lee Agur

Indoor trainer - sometimes you are forced to cycle indoors
Indoor trainer – sometimes you are forced to cycle indoors

How I Beat the Indoor Trainer!

Watching the Lord of the Rings trilogy for the 10th time is fun and all, but you have to switch it up on an indoor trainer to keep it fresh and “exciting”.

The Commercial Break Game

It is simple and free, every time a commercial break comes on… you sprint! Commercials last about 2 to 3 minutes so plan an effort that you can sustain for that period of time. I generally watch 1 or 2 shows while playing. This will build strength and ability up short climbs. You can also play this in reverse! Hard efforts during your show and easy efforts during the commercials. If you play this way you may even learn to love commercials.

Intensity

I mix in as many intervals as I possibly can so I do not have to be on the indoor trainer more than an hour. Lots of 2-5 minute max efforts. (All out sprint 15 second sprints don’t work well on a trainer)

Test Yourself

Every few weeks I test myself with a 10 minute warm up, 20 minute max sustainable effort, 5 minute easy, 20 minute max sustainable effort, 5 minute cool down. I have a power meter on my bike so I can see if I can hold a certain power for each 20 minute segment; however, if you put a cycling computer on (non GPS) you can see what speed you can hold or how far you can go in each 20 minute segment. Remember to set up your indoor bike trainer the same way every time and inflate tires to similar pressure.

Secret weapons

Ok… so I mentioned what I do at the start of the winter season above, but when I start getting bored of that I turn to cycling videos. There are so many out there, a few I recommend are Charmichael Training Systems indoor trainer workout, ERock Rocks! Indoor trainer workout, and I have heard great things about sufferfest videos (my next purchase). Ask friends which cycling videos worked for them and why or read reviews on different videos before purchasing. Everyone is looking for something different.

Outdoors

Truthfully, I can’t survive the whole winter indoor training, I get on my mountain bike and bike to the ski hill.

Subscription

If you liked this post subscribe to my newsletter at the bottom of the page to receive more like it!

Importance of Salt Sticks

October 3, 2013 by Lee Agur

Salt stick jerseyHave You Ever Seen This On Your Jersey?

Two weeks before my 112 mile race I went out for a training ride and I tried something new! People have been telling me for years about this and I simply ignored them. So what is it?

Salt Sticks

Salt sticks! I do not know if you have tried them or not… but it might change your life! I generally faded after about 60 miles. I took one of these every half an hour and I swear that these salt capsules allowed me to push over 10% harder (I have a power meter so I can tell).

To be honest I do sweat quite a bit. I am not an ogre, or a hairy monster I am actually just a little guy… 160lbs, but the more I talk to people, the more I realize people are taking them quite often. Maybe this was common sense to everyone, but it was not to me.

If you ever get cramps, or have a jersey that looks like the picture above I can nearly guarantee that these electrolyte caps will change your life as well.

The salt caps replace the important sodium, potassium, calcium and magnesium that you lost and contrary to what you might think, they allow you to rehydrate and absorb nutrients faster.

Post Ride Massage – Selfie

October 2, 2013 by Lee Agur

Foam Roller

If you can spend an hour or two riding a bike, you can spend 5 to 10 minutes stretching and giving yourself a post ride massage. Unfortunately, I did not always believe this and it resulted in lower back pain and a few knee injuries. It all could have been prevented!

Post ride massages help you: recover faster, reduce/prevent injury, relax/elongate your muscles, improve circulation, flush metabolic cellular waste byproducts, calm your nervous system, relieve pain and feel better.

Now I do not know about you, but not many people are lining up to give me a massage. Weird. I use a foam roller, a lacrosse ball and a hand held massage device. I have a quick little ritual I do.

I start rolling on my lower back which usually cracks a few times and it instantly makes me feel better. Then I move to my IT band (source of my knee injuries) and I pretend my leg is on a rotisserie, rolling up and down… moving from the IT band to the quads, to the inner thigh and finally the hamstring. After my legs are done I massage my glutes, and most of the time I forget the calves… but I recommend hitting them up as well. 5 minutes down 5 to go.

After rolling it is likely you found some “awesome” spots (read as: “sore” spots). I try and spend a few minutes concentrated on them with the lacrosse ball. If they were “awesome” with the roller they are going to be really “awesome” with the lacrosse ball. Sometimes these areas just hurt too much and I remember that I need to focus on them later.

In the evenings I generally come back to the “awesome” spots and use the handheld massage device to focus on these areas while laying down and watching a TV-show or a movie.

« Previous Page
  • Facebook
  • Tumblr
  • Twitter

Latest Articles

JOIN Cycling: A New Training Platform for Cyclists

May 27, 2024 By Eric Lister

cold exposure

The Benefits of Cold Exposure for Cycling & Life

June 13, 2023 By Eric Lister

hill climb

The Ultimate Hill Climb Training Guide

May 31, 2023 By Eric Lister

shoulder pain cycling

How to Treat & Avoid Shoulder Pain While Cycling

April 12, 2023 By Eric Lister

psoas stretch

The Importance of the Psoas Stretch for Cyclists

April 6, 2023 By Eric Lister

cycling neck pain

The Ultimate Guide to Cycling Neck Pain: Causes and Solutions

March 21, 2023 By Eric Lister

Useful Info

  • Contact
  • Finally, A Global Cycling Club That Is Focused On Community And Love Of Cycling!
  • Privacy Policy
  • Share Your Story!
  • Terms And Conditions Of Use
  • Welcome to I Love Bicycling
  • What Happened When I Stretched Every Day For a Month

Recent Posts

  • JOIN Cycling: A New Training Platform for Cyclists
  • How to Hang Bikes in Your Garage: 4 Inexpensive Options
  • Gravel Bike Vs. Road Bike: Which One Is Better For You?
  • The 6 Types of Mountain Bikes & How to Choose the Best One for You
  • What Is a Touring Bike Good For? 5 Benefits We Know You’ll Love

Search I Love Bicycling

Connect with Us

  • Facebook
  • RSS
  • Tumblr
  • Twitter

Copyright © 2025 · Magazine Pro Theme on Genesis Framework · WordPress · Log in