Seldom will you come across a more frustrating and annoying problem than the sudden deflation of your bicycle tire while out on a ride. A sure way to mitigate the stress of this inevitable situation is by familiarizing yourself with your bike and learning how to fix a flat all on your own.
While it may be intimidating at first, a few practice run-throughs of the steps involved can make all the difference when you have to do it in an unfamiliar environment, perhaps tired from the journey, or even after a resultant spill or injury.
A saying, attributed commonly to the Greek poet Archilochus, could be most appropriately referred to in our preparation:
“We don’t rise to the level of our expectations, we fall to the level of our training.”
So let us train properly! And learn one of the most fundamental skills any cyclist should know, one with the potential to get you home in any variety of sticky situations anytime out there on the road or trails.
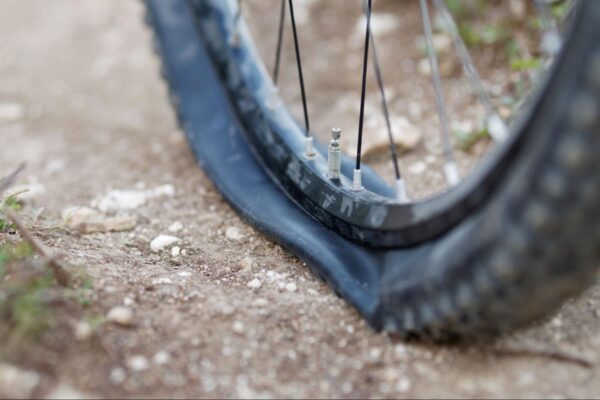
(Image credit: Andrei/Adobe Stock)
Things to Carry With You
The following items should be carried with you so you’re prepared to fix a flat on your bicycle at any time in any place:
- Spare inner tube (same size as your tire)
- Patch repair kit
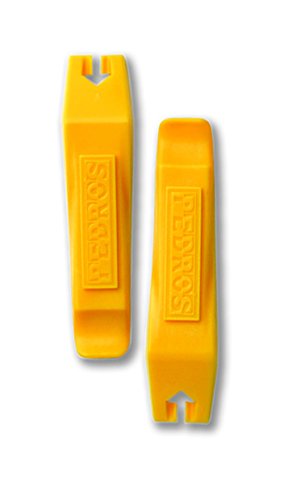
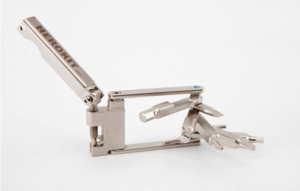
- Tire levers
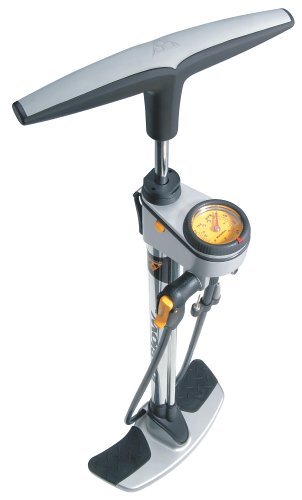
- Pump
Once you have these items, the next step is learning where and how to use them. Here is how to fix a flat, step-by-step, using the tools above.
Step 1: Remove the Wheel
Depending on whether it is your front or rear wheel with the flat will vary this step a little bit. Regardless of which one, it will be easier to place the bike upside down resting on the saddle and handlebars so you don’t have to worry about balancing it while working.
Front Wheel
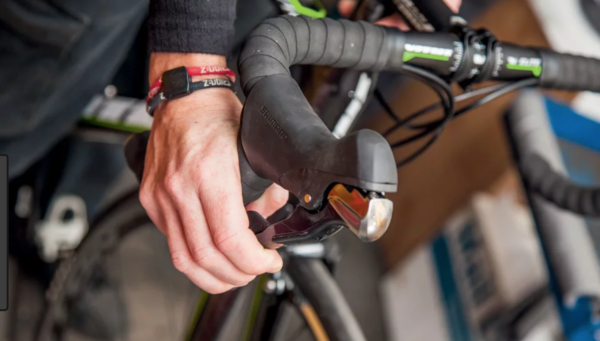
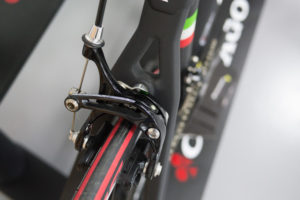
On modern bikes, the front wheel usually has a quick release lever that can simply be opened to free the front tire from the forks it sits in. It can also be helpful to release the brakes by looking for a caliper lever up near the top of the forks and opening it. This allows more room between the tire and the brake pads, making it easier to remove the tire.
Rear Wheel
A little more tricky, but easy to master with just a bit of practice.
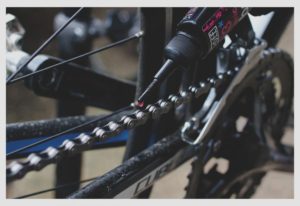
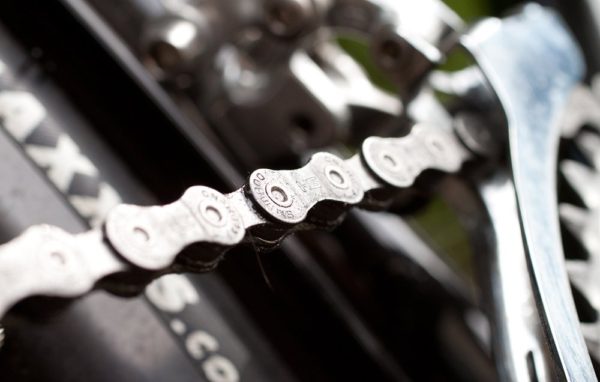
- Start by putting your gears to the smallest cog (gets the chain out of the way)
- Then, as with the front wheel, open up the brake pads by using the release lever
- Many wheels today have a quick release axle system, if this is present on your bike, you’ll have to open the lever to release the wheel
- Pull the derailleur gently backwards to free the wheel
- Remove the wheel and be sure it is free from the chain
These processes can vary depending on your style of bike, so be sure to refer to specific instructions or follow-along videos, and practice the procedure(s) prior to going out on the road.
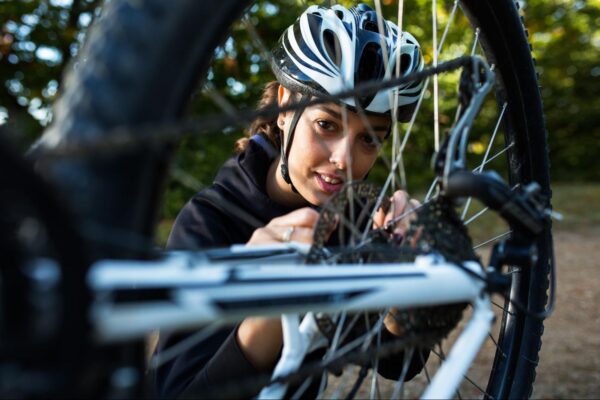
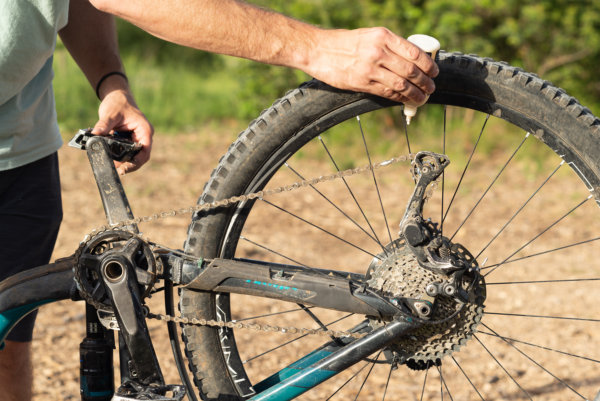
(Image credit: Novak/Adobe Stock)
Step 2: Deflate & Remove the Inner Tube
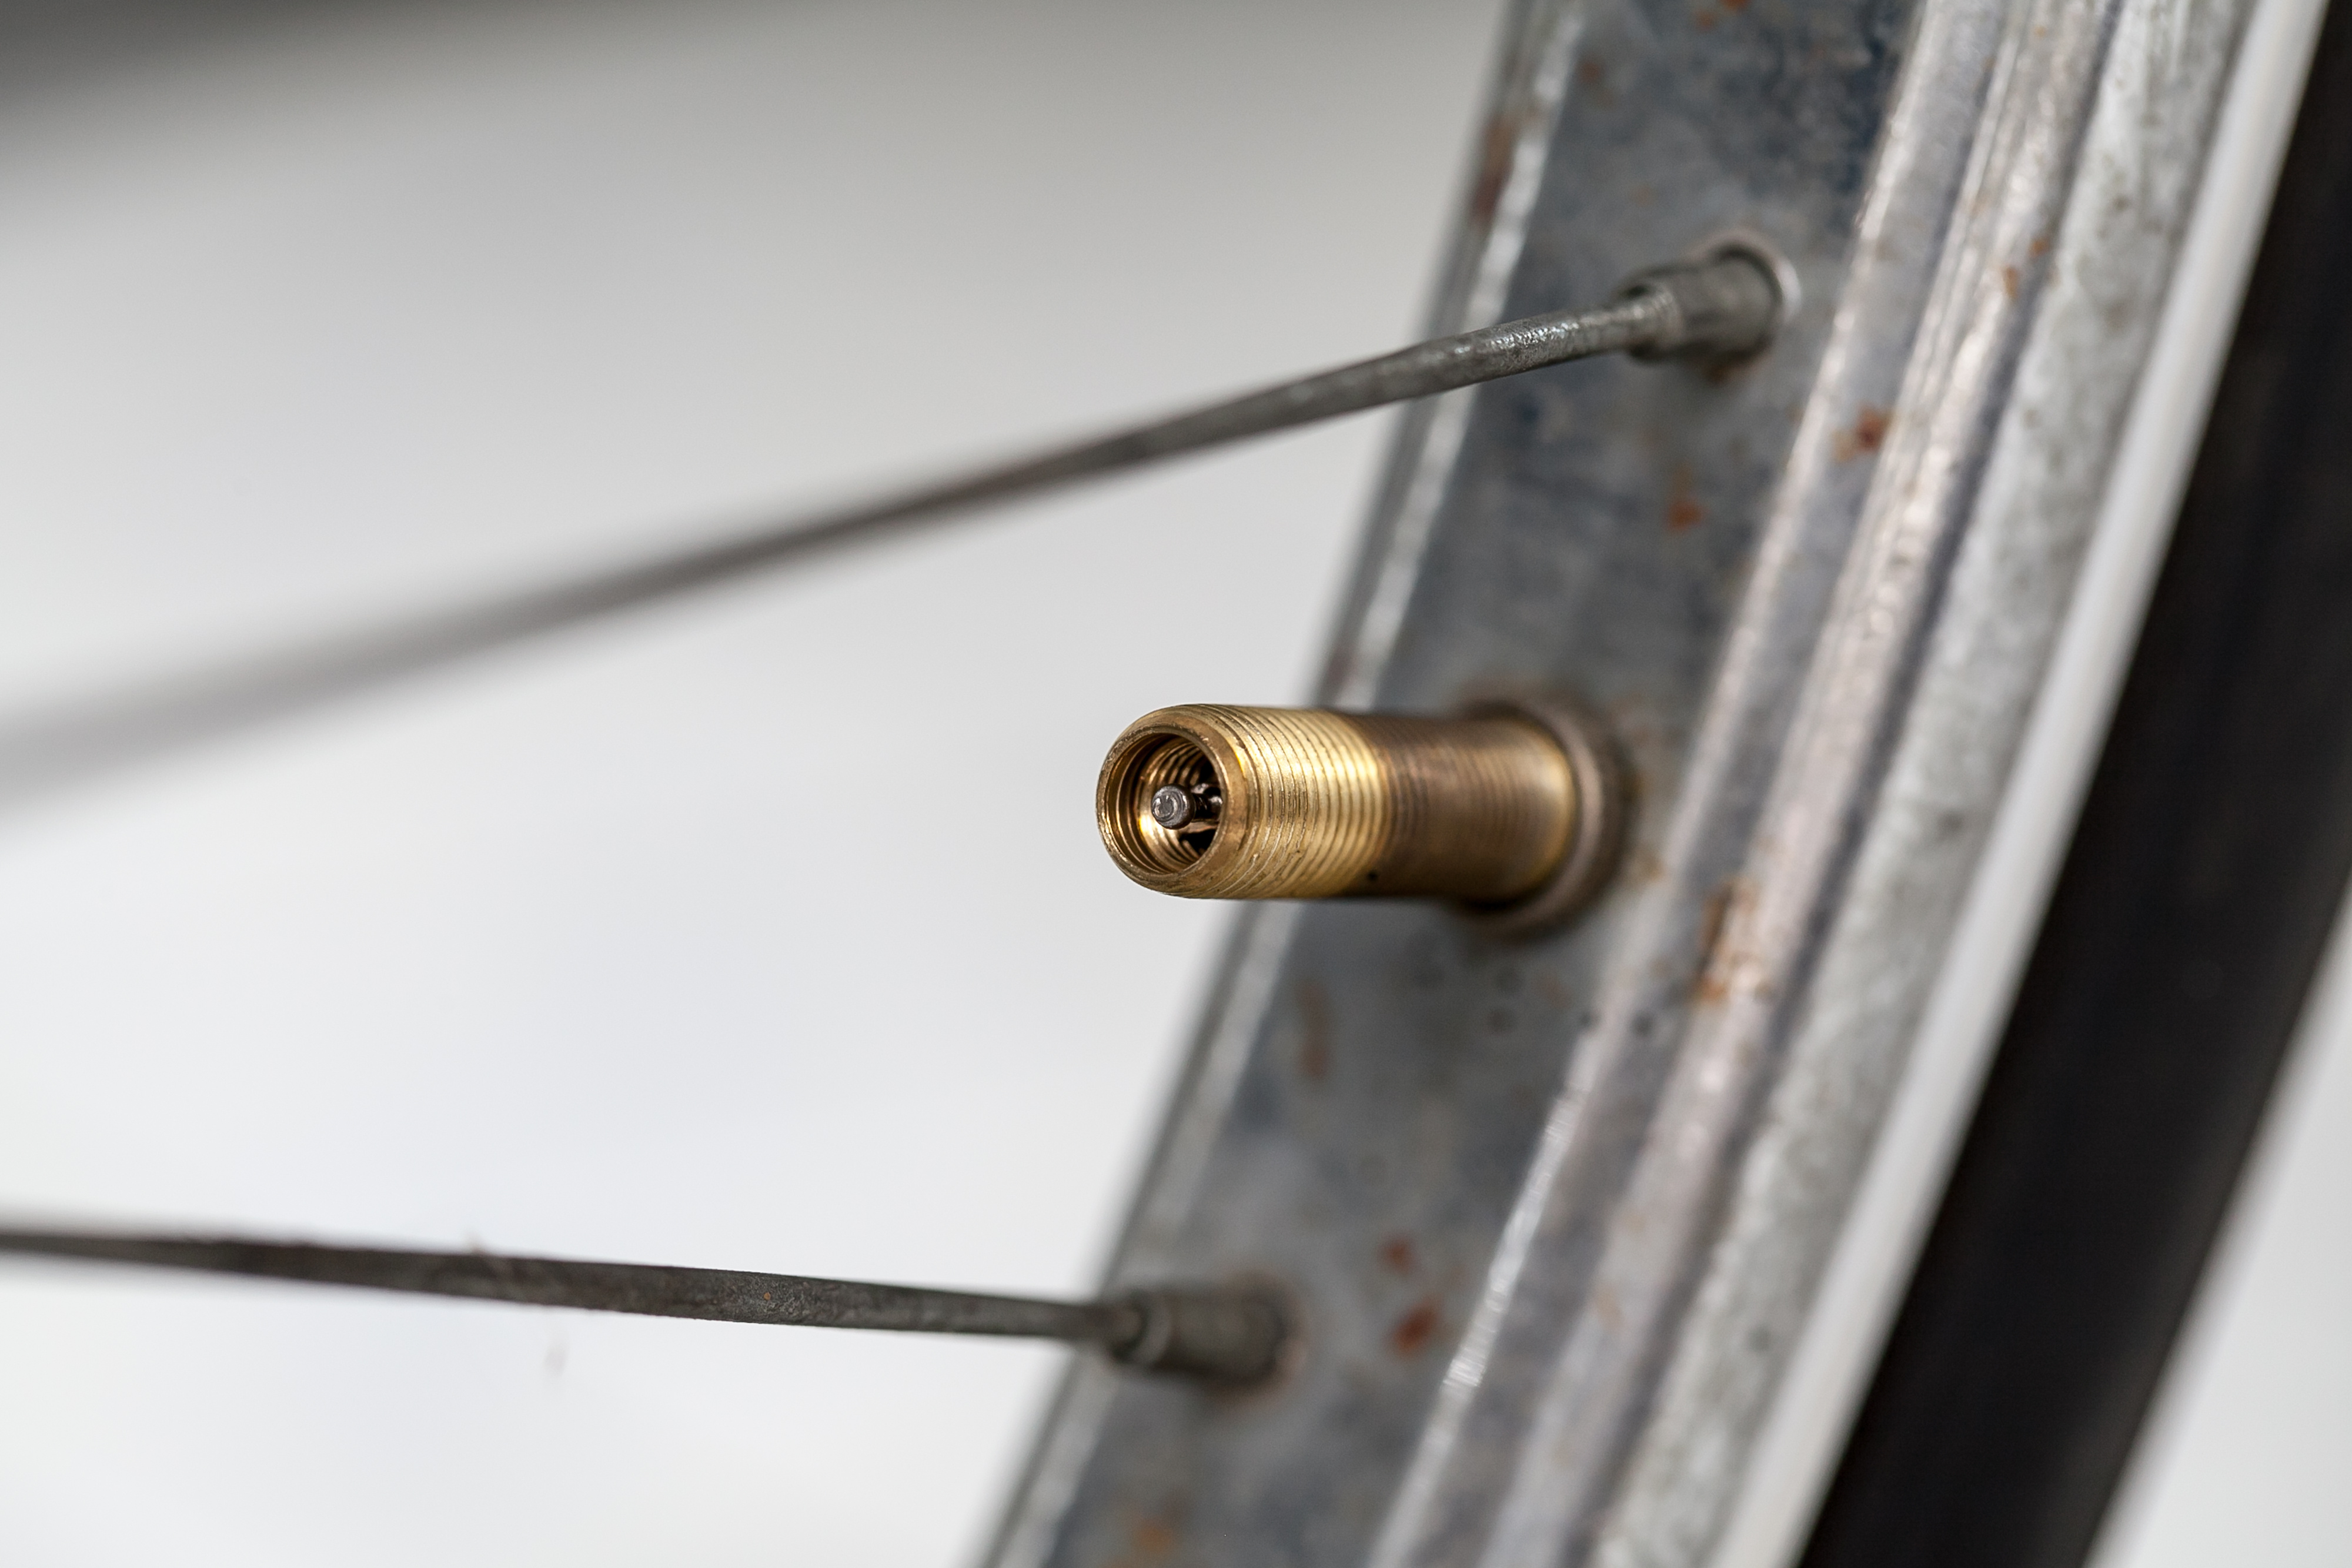
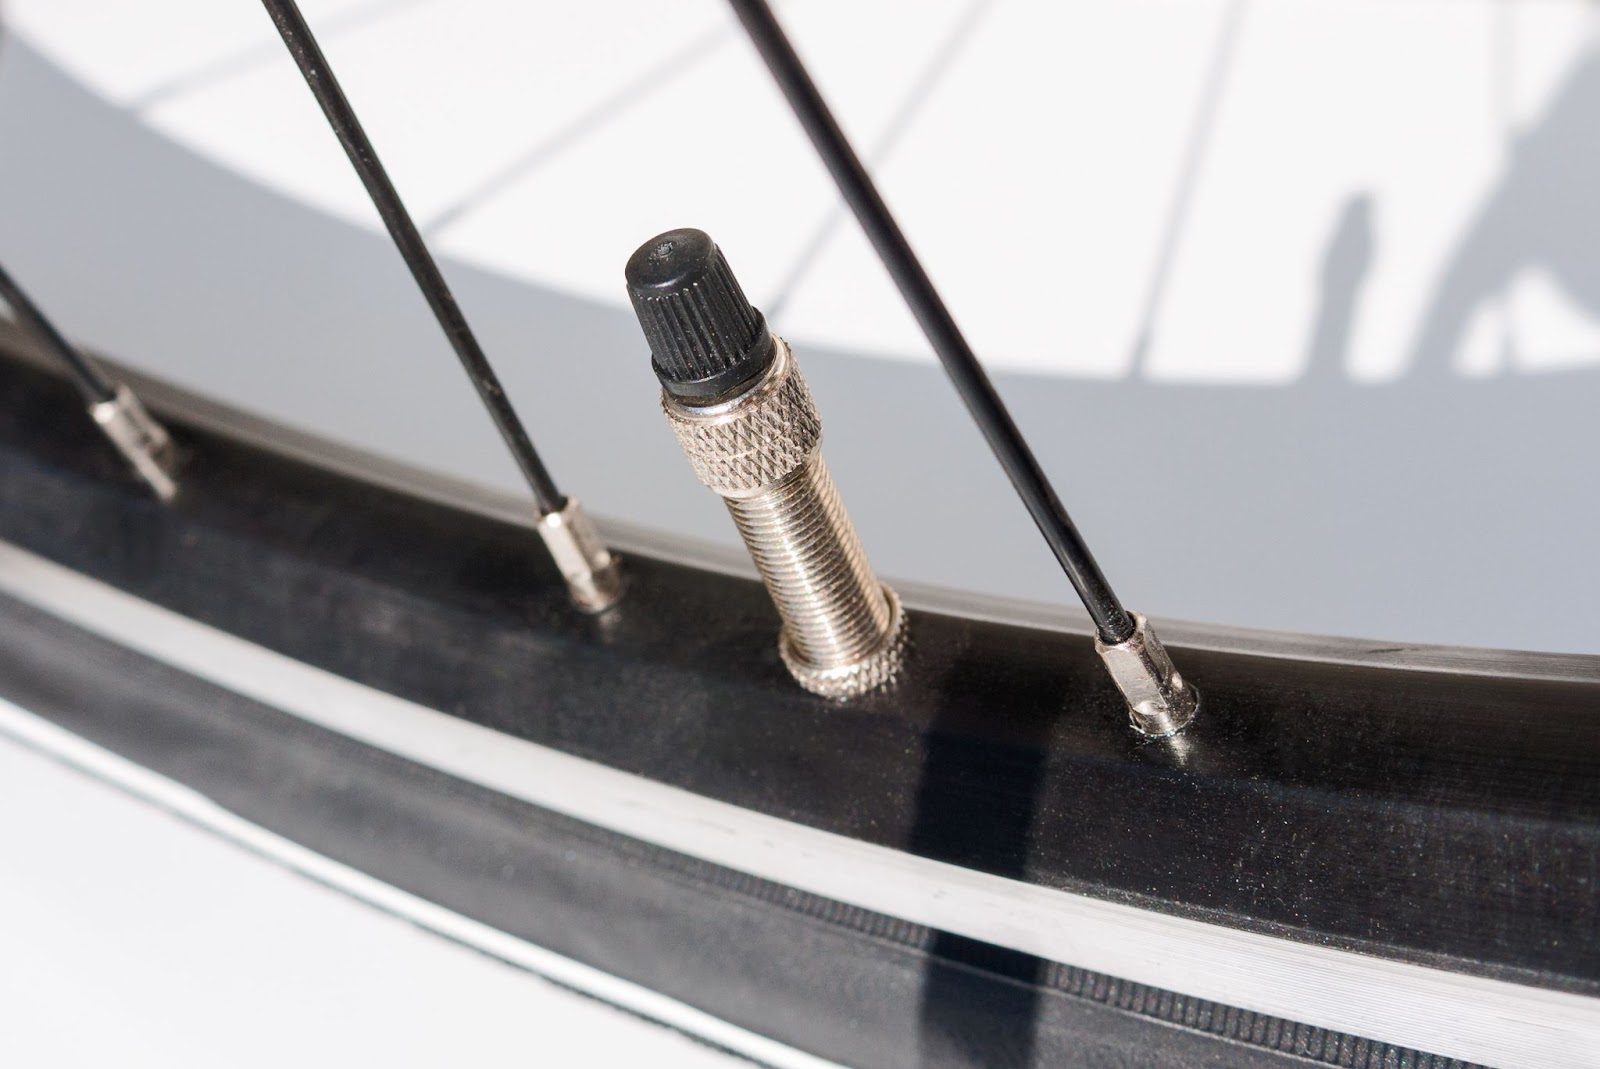
To do this, first deflate the tire by locating the valve. Depending on whether you have a Schrader or Presta valve, the instructions to do this are slightly different:
- To deflate a Schrader valve, simply press the small pin in the center of the valve.
- To deflate a Presta valve, unscrew the top cap on the valve and then press down.
It’s not necessary to completely deflate the tire, we just want to create separation and provide room to help remove the tube.
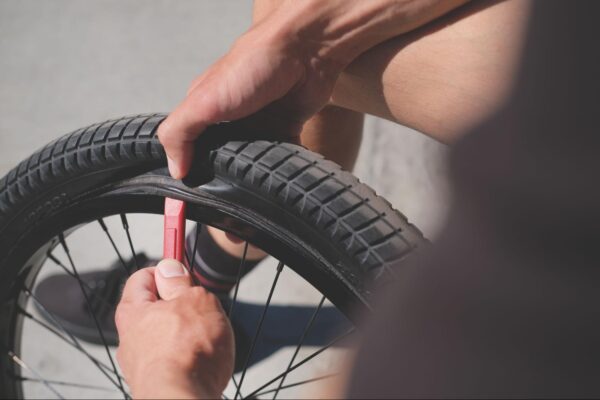
This is where your tire levers will come in handy. Start directly opposite of your tire valve to avoid damaging the stem, and proceed to use the long end of one lever to pry the tire bead overtop of the rim. You can then anchor it to a spoke while you insert another lever two to three spokes down, and work the remainder of the tire out of the rim.
Pull the valve stem out of the rim, and remove the tube.
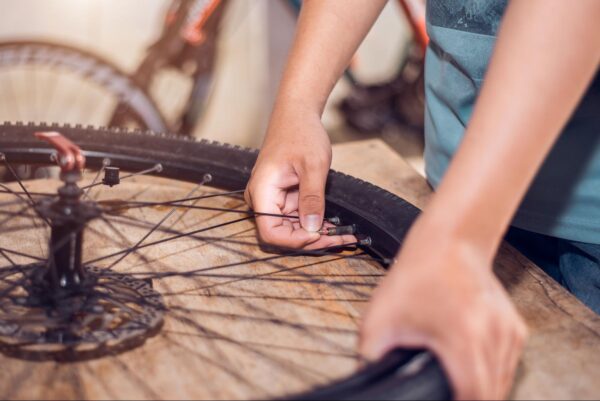
(Image credit: Maxky/Adobe Stock)
Step 3: Find the Problem
If you just plan to replace the tube with a new one, you can skip to step five, otherwise, we need to locate the problem so we can fix it. It may be obvious like a protruding object, or more minute like a pinhole rupture. Remove any visible insults to the tube, and if you can’t find where it’s leaking, you’ll have to do some more thorough investigation.
Two of the simplest methods to find the opening are as follows: Inflate the tube so it holds some shape, then cycle it slowly through water while looking for bubbles. You can also squeeze the tube gently as you rotate it near your ear, listening for any air that is escaping. Once you find the culprit, be sure to mark it so you don’t lose it while you prepare your patch.
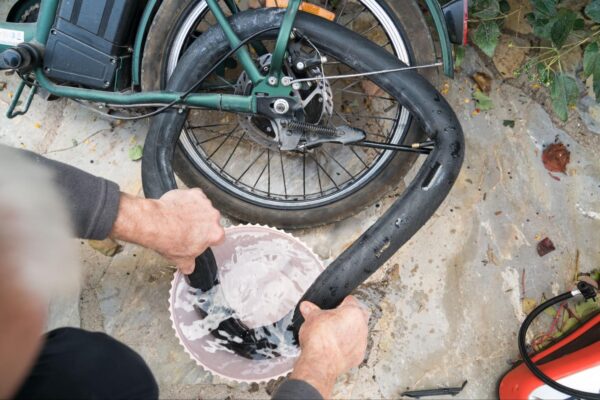
(Image credit: Bulent/Adobe Stock)
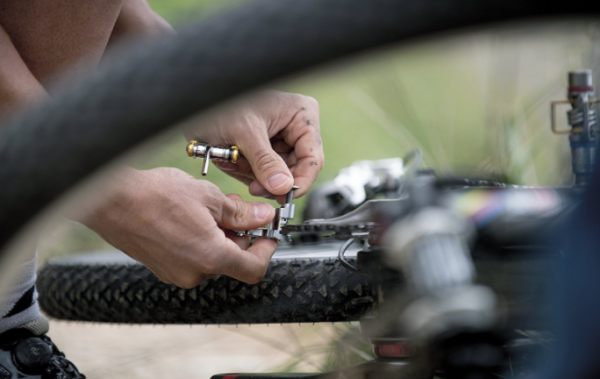
Step 4: Patching
As mentioned in step three, determine whether it’s better to replace the old tube entirely. If there are multiple patches or the tube seems to be deteriorating because of age and frailty, more repairs may only further decrease its integrity. However, sometimes you don’t have a tube and don’t have a choice! Here’s how to patch your leaking one:
- Patch kits will often contain a small piece of sandpaper, use this to rough up the leaking area for better adhesion of the patch.
- Apply the glue generously to the affected area, give it a moment to set.
- Place the patch firmly over the puncture, press down to help with adhesion.

(Image credit: Ole/Adobe Stock)
Step 5: Replace the Inner Tube
Inflate the tube to the point where it holds its shape but is still flexible and easy to maneuver, make sure it holds its air. Insert the valve stem into the valve hole on the rim. Starting from the valve, tuck the tube completely inside the tire all the way around.
Once the tube is inside, begin tucking the tire bead back over the rim. Use your hands to work around the whole perimeter, you may need to use the tire levers for the last bit. Be sure not to snag the inner tube with levers or by pinching it against the rim throughout this step. After you have the tire together, inflate it to the appropriate pressure.
(Image credit: Tatonka/Adobe Stock)
Step 6: Reinstall the Wheel
For the front tire, simply set it back into the forks and securely tighten the quick release lever. If it’s the rear wheel:
- Position the top part of the chain over the smallest sprocket on the cassette.
- Lower the wheel axle into the dropouts while moving the derailleur out of the way.
- Securely tighten the quick release and close the brake caliper lever/reconnect the brakes if necessary.
It’s best to watch a video of this being done on your specific model of bike to get a better idea of how to do this part.
Step 7: Final Checks & Go!
Go over all the parts that have been manipulated to ensure everything is snug and back where it’s supposed to be. Double check that your tire pressure is good, check that your brakes are working, and make sure all levers are closed and tucked away into their riding positions. After that, you’re ready to go!

(Image credit: Clement C/Adobe Stock)
Again, be sure to practice this procedure several times at home so you can build the confidence to do it when the situation occurs. Fixing a bicycle flat is one of the most essential skills for any cyclist, and you’re well on your way to knowing how to do it yourself!
Thank you for taking the time to learn with us, and we wish you safe travels!


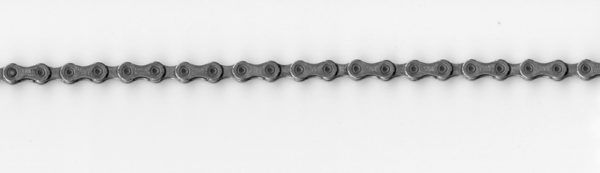
 Keep the chain threaded through the derailleurs if you can as it will save you time.
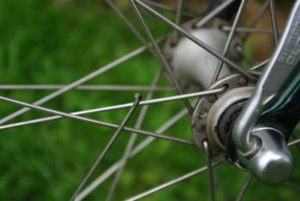 4. Broken Spoke
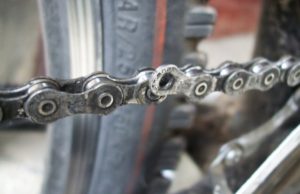
 How To Wash a Bike Chain