If you’re a dedicated road cyclist branching out into some mountain biking, you may choose to go directly to clipless mountain bike pedals. Although there are plenty of advantages to riding with the clipless system, starting out on flat mountain bike pedals will help build your technical foundation. Riding on flat pedals keeps you from cheating, and will teach you to move your body and your bike efficiently. It may be frightening to take a break from obsessive wattage and tracking and instead work on some basic skills, but it’s worth it in the long run!
The Balancing Act
When you’re first starting out, it’s common to balance by shifting your weight too far back. Although this is great to keep you from going over the handlebars, it can make it difficult to maneuver. Riding flat pedals encourages you to shift the weight by dropping your heels, keeping the bike steady and giving you a great platform to stand on.
While being clipped in can be great for forcing you to stay on your bike on technical trails, it can also be intimating when you’re first starting out. Flat pedals give you the peace of mind and confidence to tackle some tough trails knowing that you can easily drop a foot and aren’t at risk of the slow tip-over.
The Best Flat Mountain Bike Pedals
Spank Oozy Trail Platform Pedals
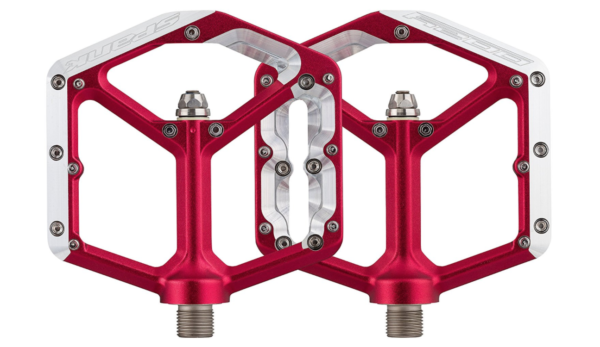
Price: $119
Extremely lightweight, the Spank Oozy Trail Platform Pedals have more than just great looks and a fun name. At just 12mm thin, they offer incredible ground clearance when pedaling in rough terrain. This exceptional thinness also improves stability and pedaling efficiency by bringing your foot almost flush with the pedal axle, drastically reducing dreaded “pedal flip.” Available in four colours, they all have the chamfered edges to keep the pedals from getting that trached look that most colored pedals get after a couple rides.
Crank Brother’s 50/50
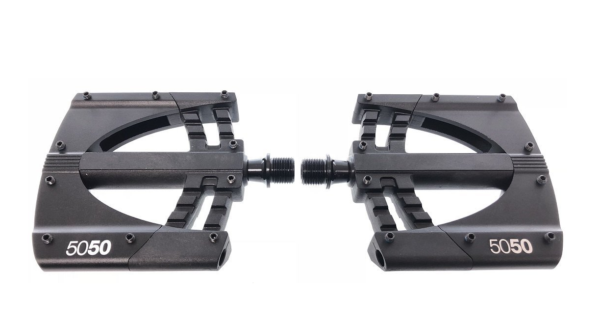
Price: $54
The CrankBrother 5050 their classic platform pedal for adventures of any type. Ten adjustable pins per side deliver a degree of grip and customization sure to keep your feet exactly where you want them. The medium-sized platform and thin profile that make them all-around performers, and the huge openings keep the mud-compacting to a minimum.
Race Face Aeffect Bike Pedal
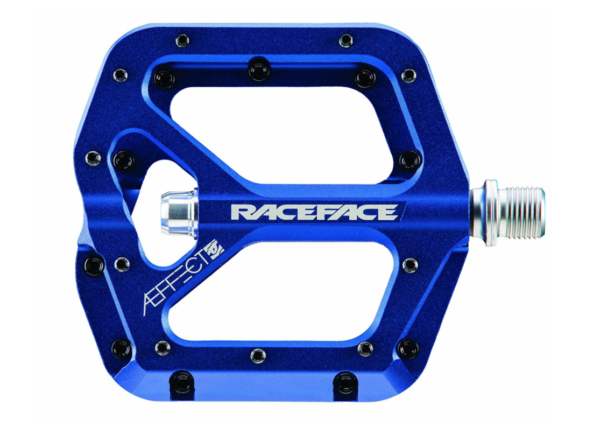
Price: $100
The Race Face AEffect Pedals are strong, light and offer the best of both looks and performance. The chromyl axle and bottom loading hex traction pins can take a beating, making them perfect for trail and downhill riders alike.
Shimano PD-MX80 Saint Pedals
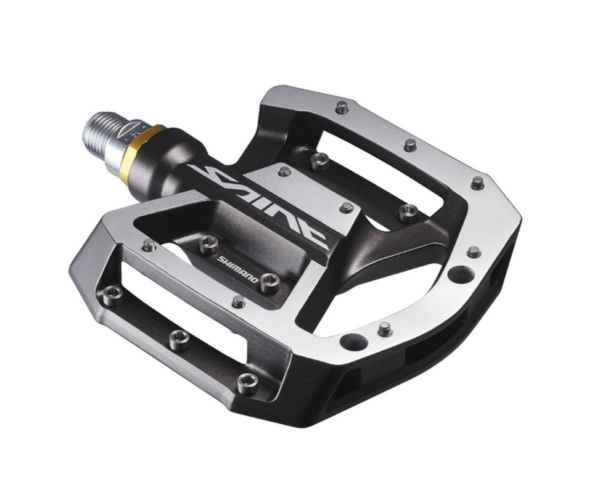
Price: $65
Developed and dedicated to downhill riding, the Shimano Saint MX80 have a unique shape and concave platform for better control and efficiency. The previous MX30s were popular for their durable, smooth rotating axle, and the MX80 carry this over with some added features. They are now slightly wider and lower, allowing for responsive levels of acceleration and deceleration.
Fyxation Gates Slim Platform Pedal
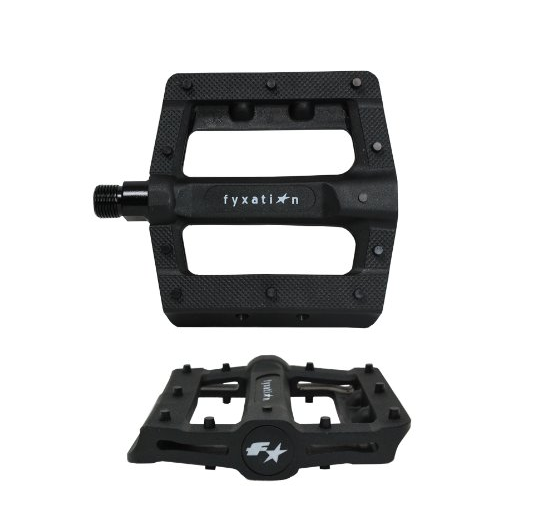
Price: $29
If you’re looking for an entry level flat pedal, then the Fyxation Gates Pedal is a great option. Designed as a BMX pedal, it is made of durable nylon and will work on the trails with ease. Thin bodied with loose ball bearings they can work great for casual mountain bikers and urban riders.
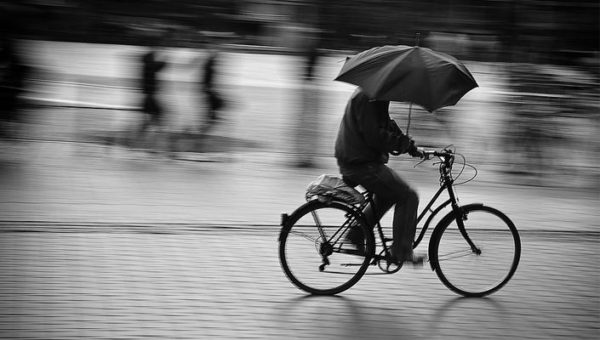
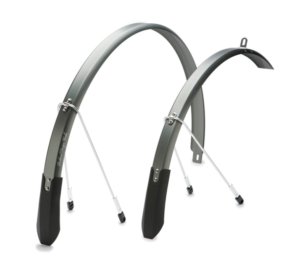
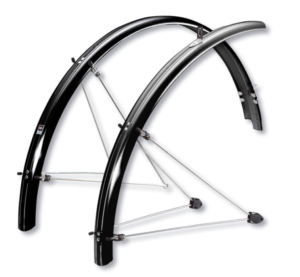
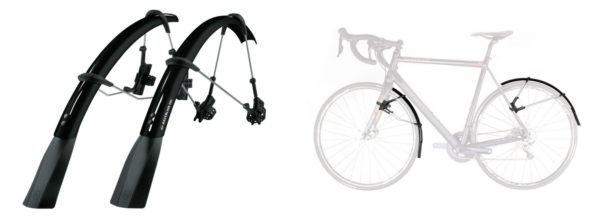
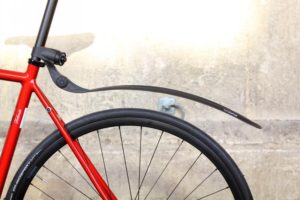
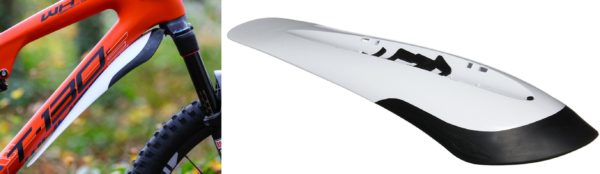
 Fenders

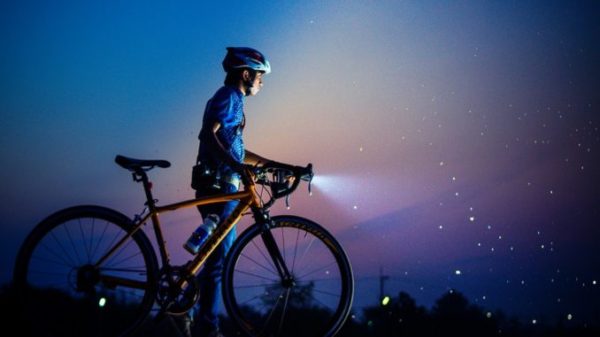
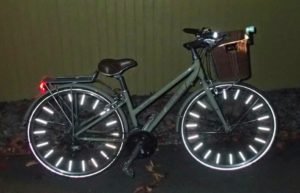
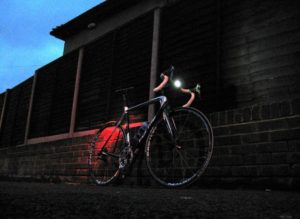 be able to see you to have enough time to react, so better to have too many lights than not enough.
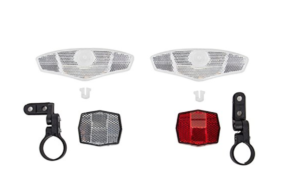

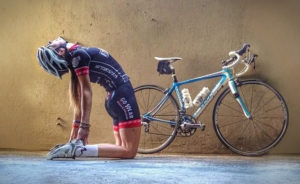
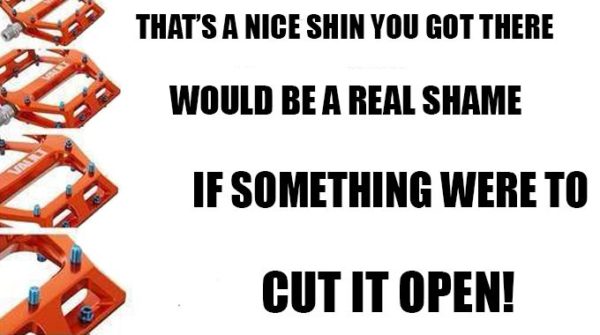
 Injury Prevention
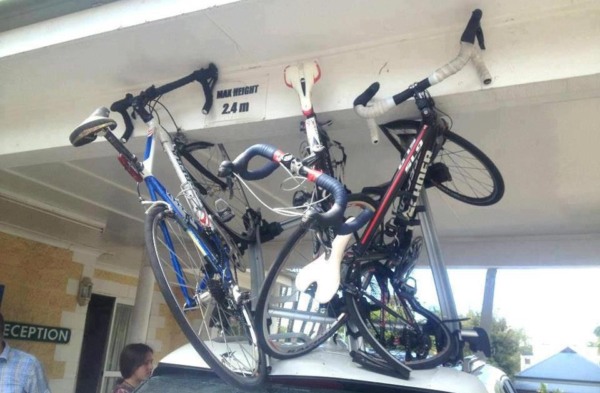
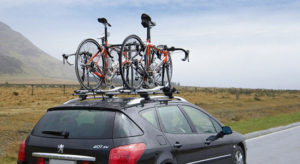 outdoorsy person, but the it is a great option when it comes to transporting your bike. You can either keep your front wheel on, or some require you remove the front wheel and include a fork grabber that can be locked for extra security. Although roof racks generally keep your bike a lot cleaner, it increases your wind resistance and can affect how your car handles. It can also be difficult to get your bike on and off the roof depending on the height. Plus, there is the added risk of forgetting it’s up there and driving under something (like a garage) and hearing that sickening crunch.
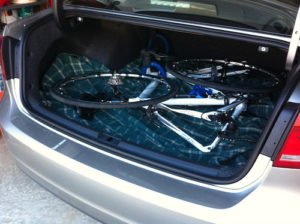 Some choose to remove the front wheel and transport their bike in the vehicle for piece of mind. Yes, this is the cheapest and perhaps the most secure method, but it does have its drawbacks. Not only can it be awkward to get your bike in and out, but it can damage your vehicle through catching material or bike grease and dirt. Also, it doesn’t leave much room for anything else if you are heading out with some friends or need other gear.
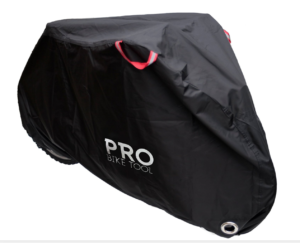
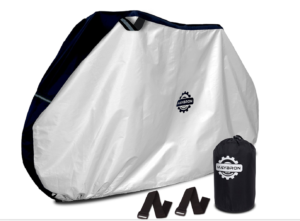
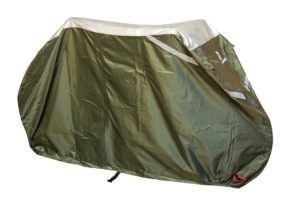
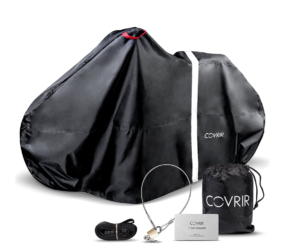
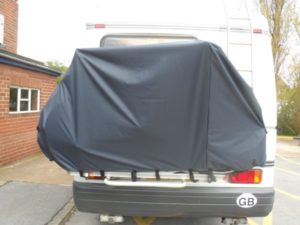 car. This is especially important for carbon bikes. Likewise, you’ll want to keep your bike rack nice and clean to keep dirt from getting trapped between your bike and the rack. If you’re using a rear mounted bike you can also use a bike cover to keep your bike clean and protect it from incoming rocks and dust.