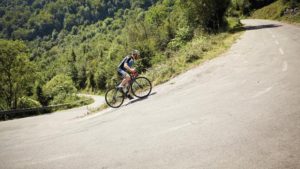
As we slowly inch closer to spring, you may be itching to get back out on the road. This time of year weather is unpredictable, and when it rains it pours. One of the best things you can do to make your spring rides a success is to be prepared with the proper waterproof cycling gear. Having the right gear for rainy rides can actually make pedaling through the downpours a lot of fun.
One of the tough things about finding the right waterproof cycling gear is that it needs to keep you dry, but also breath enough to allow sweat vapor to escape so you’re not getting soaked from the inside out. Here are some of the necessities, from your head to your toes.
Things to Look for in Waterproof Cycling Gear
Look at the seams
Seams are the weak point in most garments, as the stitching holes in the fabric can let water in. Check to see if there is waterproof rubber backing to seal these holes, or if the seams are glued rather than stitched, eliminating the holes altogether. This will be the lightweight option, and more expensive, but may be worth it if you find yourself out in the rain a lot.
Water Proof vs Water Resistant
Water resistant clothing is a great option for light showers and to keep the chill at bay, but will not hold up in a full downpour. These are made from less advanced fabric with no waterproof membrane, making them the cheaper option (and more versatile).
Waterproof garments will be cut from a fabric with multiple layers, including a waterproof membrane, and will have sealed seams and a waterproof zipper. These will keep your dry from the outside, but need to have proper ventilation to allow sweat to escape. Look for vents under the arms, in pockets or on the back. These will also be treated with a Durable Water Repellent (DWR) coating, which will cause the water to bead and roll off rather than soak into the fabric. This coating will degrade over time naturally, but you can always retreat it to renew it’s waterproof life.
The Best Waterproof Cycling Gear
GORE WEAR Men’s C5 GORE-TEX Jacket
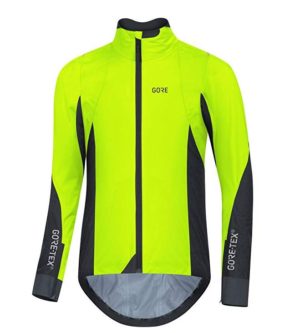
$194
Perhaps the top of the line, GORE-Tex Active fabric is waterproof, windproof, and extremely breathable. This jacket will both keep you warm during breaks, and cool enough when you’re pushing up a climb. This jacket offers a tighter fit than most to keep the fabric close to the skin, and avoid any flapping when you’re on your bike.
Showers Pass Storm Pant
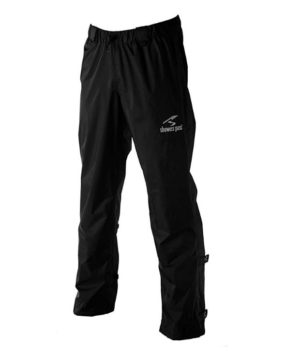
$65
Great for slipping on over shorts or bib tights, the Showers Pass Storm Pant is waterproof and rugged, made with a 3-layer waterproof breathable Artex material. A generous helping of reflective trim keeps you visible during low light hours. Ankle zippers help these rain pants slide on and off over shoes easily. Includes a mesh stuff sack for commuters looking for something easy to carry with them.
For more waterproof pant options, click here.
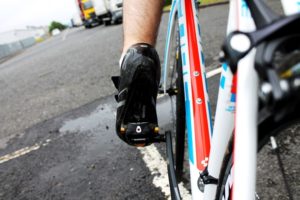
Fi’zi:k Shoe Cover
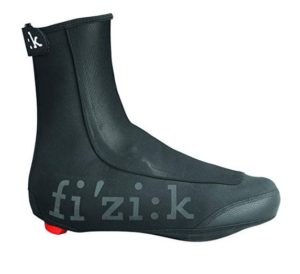
Fi’zi:k Shoe Covers are designed in collaboration with professional cyclists and offer the highest performance in whatever conditions you find yourself in. Tackle the wet and cold without getting frozen toes and soggy feet! Whatever the weather, Fi’zi:k shoe covers provide you with professional grade coverage so you can focus on what really matters; performance.
Showers Pass Crosspoint Knit Gloves
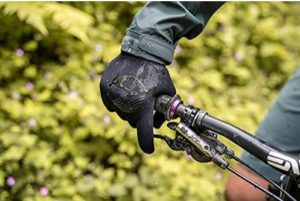
$45
Great for more than just cycling, these gloves are lightweight, breathable and waterproof. They’re made of 3 bonded layers: a wear resistant knit exterior that feels like a regular knit glove, a waterproof-breathable Artex membrane, and a Coolmax moisture-wicking antibacterial knit lining. Silicone print on the palm offers a better grip in wet conditions.


 What you’ll need:
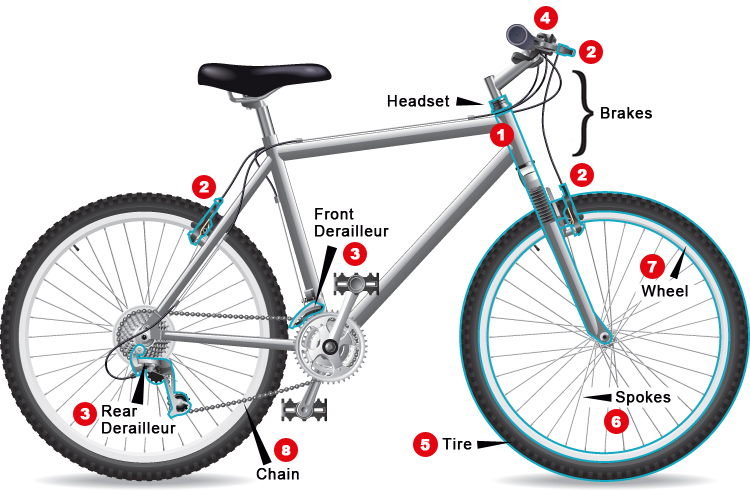
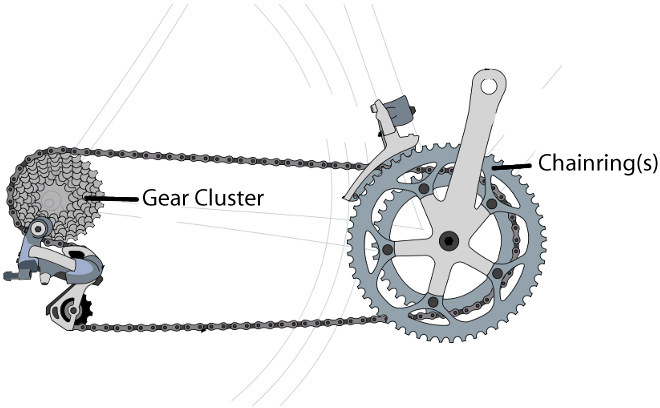
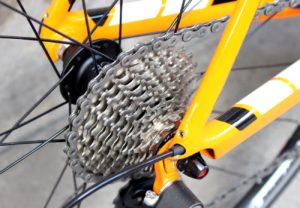
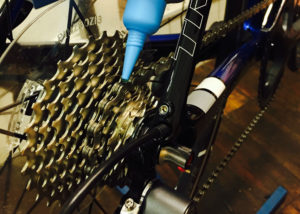 Check Your Chain

 Setting Goals – and Achieving Them