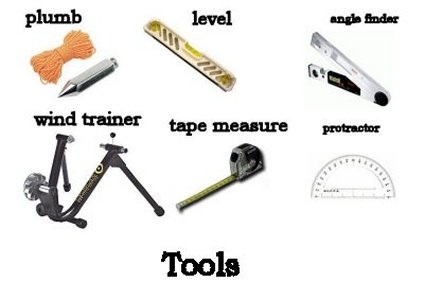
 A bike fit is a game of millimeters and half angles with the objective of lining everything up perfectly for your body to achieve its optimal position on the bike. These bike fitting tools will help you get those millimeters and half angles. There are a lot of approaches to getting the best bike fit, one being an expert looking at your fit and from their years of experience they can accurately say if something is off.
Unfortunately these individuals are harder and harder to come by and even if they are right our faith in them being right has diminished. Using accurate bike fitting tools is one way that the individual or less experienced bike fitter can get an accurate fit. These bike fitting tools can range from a simple tape measure to a fit specific bike costing thousands of dollars. As with any tool, knowing how to use it properly is where its real value lies. These few tools can give you an accurate set up in determining your perfect position on the bike.
Tape Measure
The first bike fit tool to have whether a professional bike fitter or do it yourselfer in the basement, is the tape measure. You can get by with any old tape measure but having a good one will help ensure accuracy and consistency. The best tape measure for bike fitting is a metric flexible cloth or plastic one that does not stretch whatsoever.
The flexibility is key as it is easy to work with and can be placed very accurately instead of having a big hook on the end of a conventional tape measure. Also, using metric is much easier to read, write down, and duplicate with less chance for error.
The big draw to a flexible tape measure is that you can easily take it wherever you go so if you need to rebuild your bike or even ride a different one, you can easily measure it to your exact specifications.
Find a tape measure.
Level
Part of having an accurate bike fit is starting with a bike that is positioned perfectly level. If your front wheel is slightly higher or lower than level, when you ride on the road everything is going to be tilted a little bit forward or back. If you have a short level, get a long, perfectly straight piece of wood or even a string to lie exactly across the skewers at the exact same point to make sure the bike is level.
A second great thing to measure with a level is your saddle tilt. It’s generally ideal to start with a perfectly level saddle and go from there based upon comfort. The trick here is that saddles are almost never perfectly flat so make your best guess on where you sit on the saddle and position it so it’s perfectly level.
A final area that a level can be helpful with is measuring saddle set back. Saddle set back is measured from the center of the bottom bracket. Getting an accurate straight line up to measure back from is key and is where having a level is ideal. If you don’t have a level for this however, lining up your bottom bracket with a door frame can be beneficial because the majority of the time they are constructed to be exactly vertical. Unless you live in an old house, then you might need that level to straighten your door frame.
Find a level.
Plumb Bob
A plumb bob is a simple contraption but is highly useful in creating an exactly vertical line. The key area that this is used in is seeing where the front of the knee falls relative to the spindle of the pedal. It can also be used in place of a level to determine saddle set back. Due to its simplicity, it is easy to make but high end ones have a pointy bottom to mark exactly where the center lies.
Find a plumb bob.
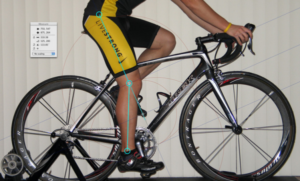
Goniometer
Probably the most well-known tool with bike fits is the goniometer (or g-meter or even angle finder) as it’s big and looks precise and professional. This tool measures angles to accurately position knee, hip, and ankle angles as well as other key areas.
What an experienced bike fitter has a knack for without any tools is the angle which is created particularly by the knee. There are exact measurements which your knee angle should fall between which can be found under the “Holmes Approach” in “How to Do a Proper Bike Fit”. The key to using a goniometer is to find the exact position of the joint and measure consistently from the same exact point every time an adjustment is made on the bike.
Find a goniometer.
Body Targets
An easy way to ensure that you’re measuring from the exact same point is to use markings placed on the joint so you can measure precisely from the same exact point. You can make your own or use pre-made ones which stick in place where you want them. The key here again is to make sure they are placed in the correct position on the joint not only to measure from the same point but to make sure your measurement is the same measure that you are comparing your angles to.
Find body targets.
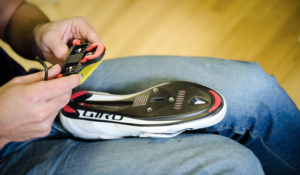
Forefoot Measuring Device
Another cool angle measuring device measures the angle at which your foot naturally tilts. Everyone is different and feet almost never fall exactly flat. The average shoe and pedal system position the foot so it’s exactly level with some minor accounting for arch support with foot beds. A Foot Measuring Device is placed on the bottom of your foot while it is in its natural position and measures how much tilt it has. This can then be accounted for in your fit with cleat wedges which are wedges that raise one side or the other of your cleat to angle your foot to its natural position.
Find a foot measuring device.
Bike Fitting Tools
There are a lot of tools that can be used to achieve a perfect fit on the bike but having these few can give you the accuracy and consistency in determining your fit as well as replicating it on other bikes. With these bike fitting tools, be sure you know how to use them properly as without the proper know how they can create other issues which will then need to be corrected for.
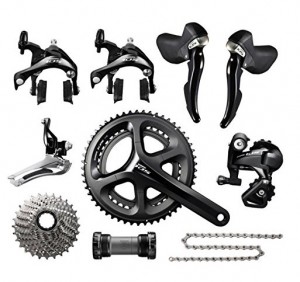
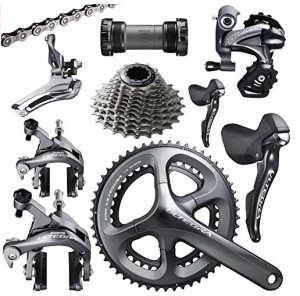 Ultegra
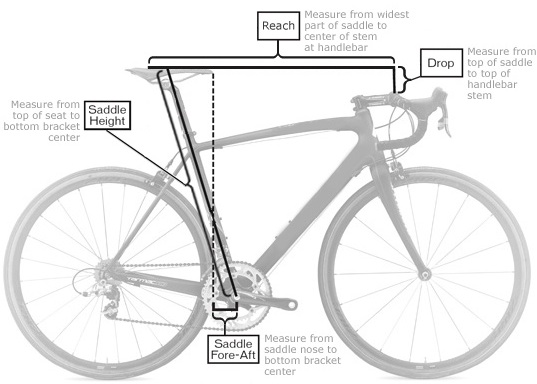
 Saddle Height

 It’s partly psychological, but a clean bike just seems to ride better. Some cyclists clean their bikes after every ride. Some clean their bike only when it’s dirty. It’s a given that, if you can see dirt and gunk on your bike, it needs to be cleaned. But too much water is not a good thing. And with the onset of winter, it’s almost impossible to wash your bike with soap and water, and then expect it to dry instead of freeze. Maybe a dry wash is all it needs.