There are a lot of great reasons to commute to work on your bike. Not only will it save you gas money and wear and tear on your car, it also makes you feel energized and ready to attack the day. Having that buffer time at the beginning and end of your work day is important for you body and mind. However, getting started can seem daunting. Knowing how to plan a great bike route for your commute is the first step in ensuring you stay on your bike rather than defaulting to hopping in your car. It might be a bit of work to find the route, but once you do, you will be hooked. There are a few elements to keep in mind when planning a bike route, along with a few tools to help you choose that route.
Finding Safe Streets For Your Bike Commute

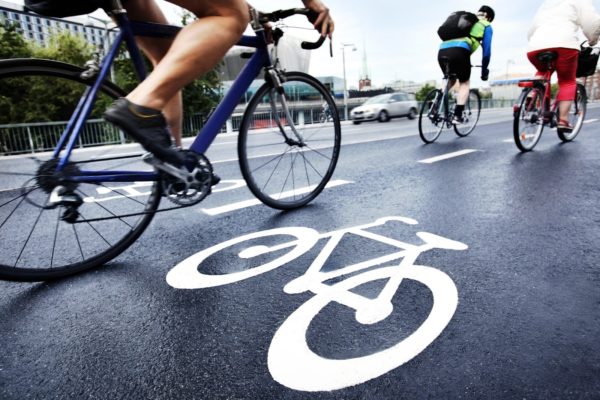
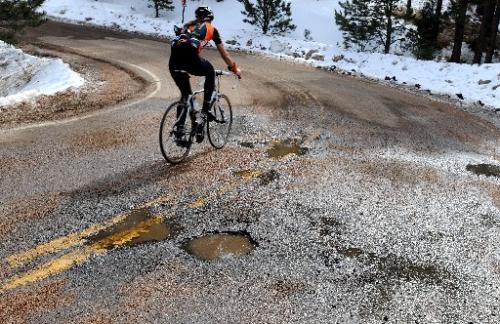
The most important element of a good bike commute route is that it is safe. Separation from cars is ideal – the less time you are near them, the safer you will be. This holds true for any ride, but even more so on a commute, when everyone else is trying to get to work also. You will probably have to ride on a street with cars at some point. Be sure that they are quieter and that drivers expect to see cyclists and other road users. Good pavement and scenery are bonuses, although a quieter commute should be the main goal.
A bike commute generally goes from a less dense, more residential area to a more dense, more urban area. Both pose challenges. The residential area may have quiet neighborhood streets, but the roads that connect to the urban area may be higher speed roads. The urban area may have more non-driver users, but may also be more crowded. Weigh these aspects when choosing your route.
The Time of Day For Your Bike Commute
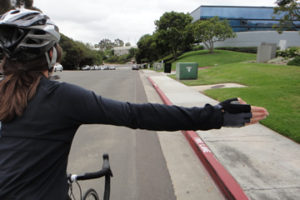
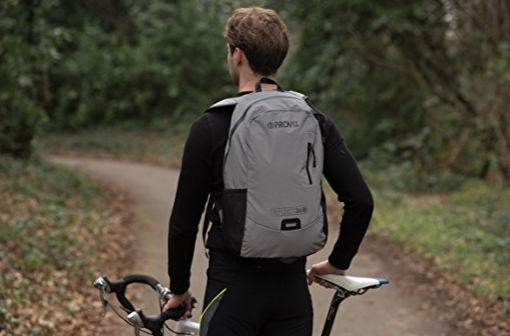
It is likely that during some point in the year, you will ride in low-light conditions. Planning a bike route that will allow other road users to see you with your fantastic light array on your bike and body along with your reflective clothing is imperative to staying safe. Street lights help light the way, but also consider the turns on a route and how you may sneak up on drivers and vice versa. Also note the position of the sun; if you are riding into the sun, it may be hard to for drivers behind you to see you. It may also be hard for you to see oncoming and merging cars and bikes. Try your best to avoid directly traveling into the sun’s path.
The Combo Commute with a Bike
If you cannot start your commute directly from your house because of distance or road conditions, consider a combo commute. Use your car, the bus or train to get to a better starting point with better conditions for you. It can allow you to get to a safer starting point for your bike commute and it can avoid some of the worst on-road traffic. This is a common strategy if the initial part of the commute gets you and your bike to a quiet bike path, while the on-road traffic gets worse as you get closer to your destination.
Tools for How to Plan A Bike Route For Your Commute
It is unlikely that you will see a good bike commute route from your standard car commute. There are a few valuable tools and strategies to find a route.
Experiment
If you know the area well enough and are confident enough, experiment with possible routes to work. It might be a good idea to try your first experiment on a day you are off from work. You will have the time to explore the best possible streets and not be late for work.
Scout the Route
For the section of the route that is on roads and not bike paths, you can scout the route in a car to see if you would feel comfortable on a bike. You can also experiment in your car to search for alternative streets that may be good for riding.
Talk With Other Commuters
Find out who else in your community (neighbors, coworkers, others in your work neighborhood) bike commutes and seek their input on a good bike commute route. Their experience is invaluable to shaping your own commute.
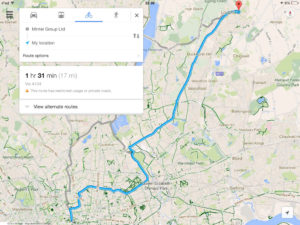
Google Bike Maps
Google bike maps can give you a route that should be safe for cyclists. That said, if the algorithm only sees one way to get somewhere, it may send you through a dodgy intersection or on a busy road. Use Google bike maps in conjunction with talking to other people and using street view to get a better perspective on the actual route. A great way to learn new roads to get places is to have a rough idea of where you want to go from first looking at the map, and then when you get to an intersection, stop and see which way you want to go next. It is a bit of a pain constantly stopping but once you know where to go, you won’t have to stop on your future rides.
Strava Heat Maps
Strava heat maps compile user data to show where people frequently ride. The brighter the street, the more cyclists that use it. It is a self-selecting map because a few people might ride busy or unsafe roads, but most users will ride on safe streets. This is among the best tools to find safe, common routes.
Map it Out
Knowing how to plan a bike route for your commute can help keep you out of your car and riding happily and safely. It can also change the shape of your day, avoiding the frustration of traffic and giving you more time to ride your bike.

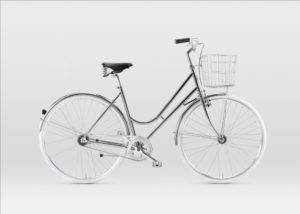
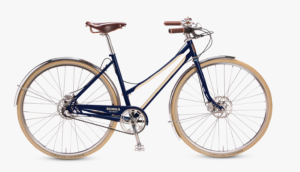
 Embrace the Fender
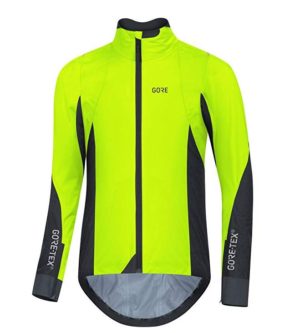


 Lights and Reflectors