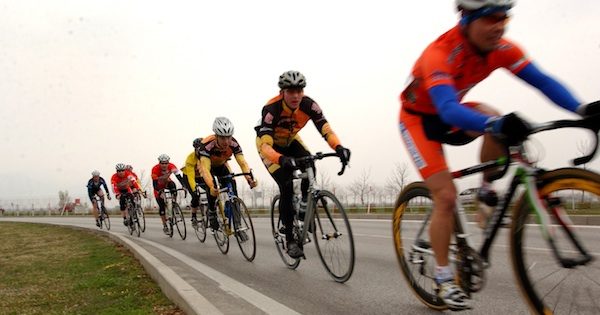
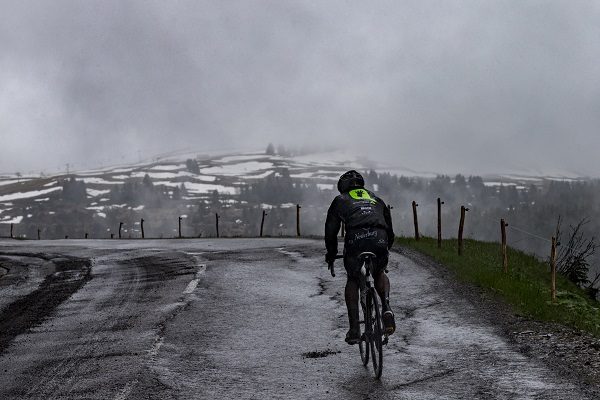
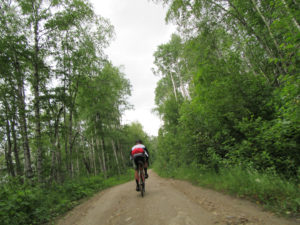
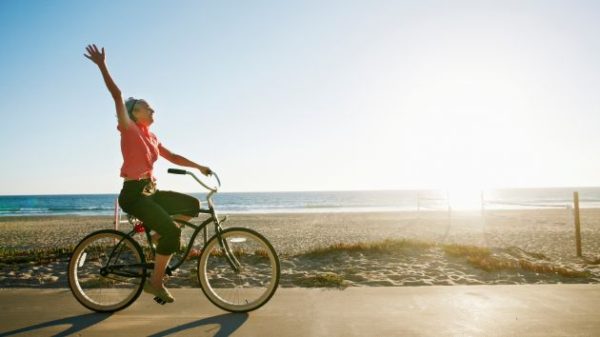
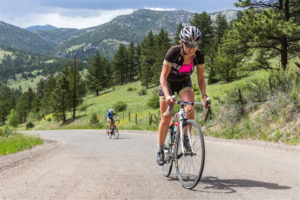
With half of humanity now on some sort of lock down, social isolation and otherwise, more and more of us are riding alone. Of course, we’re lucky to live in an area where we can still ride at all, but for those more social types, taking to the roads solo can seem daunting.
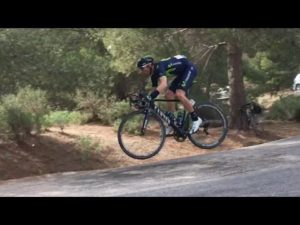
Once you get used to the thought, riding alone can actually be a great chance to get in touch with with where you’re at with your cycling fitness. Although riding with a partner or group is a great way to push yourself, often you’ll end up taking more breaks and sticking to the same routes that everyone knows and is comfortable with. Take this opportunity to try out some new routes, work on your mental toughness and focus, and just let your mind wander as you ride.
Make the Most of Cycling Solo
Be Prepared
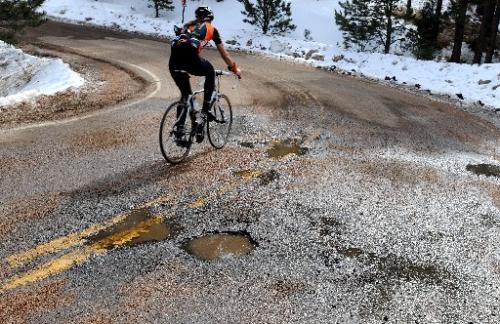
You should always be properly prepared for a ride, but even more so when going alone. Check the weather forecast ahead of time, and especially with spring weather, ensure you have proper layers in case of rain. Make sure your phone is fully charged, and carry a battery pack if you’re going for a long ride. If there’s a chance of heading home at dusk, ensure you have proper reflective gear and lights for your bike. Always carry ID and some cash just in case, and take plenty of water and snacks!
 Plan Your Route – but stay flexible
Having a rough estimate of where you’re going is always the best plan, and letting someone know the area you’re going. That being said, riding alone can be a great chance to explore a new area, adapt to the weather or change course depending on how you’re feeling. So feel free to check out some new roads, just make sure you let someone know whereabouts your going, or if your plans change on the fly.
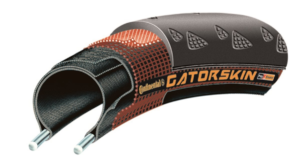
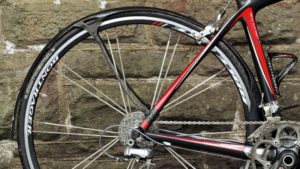
Make Sure Your Bike Is Ready
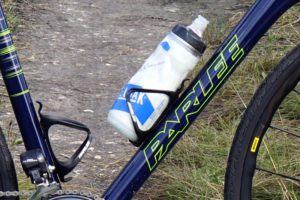
A well packed saddle bag, and the knowledge on how to use those tools, can be the difference between a slight hiccup on your ride, and having to phone for a ride. If you usually rely on your riding partners for help with a flat tire, now might be the time to learn. Practice changing out a tube at home until you are confident you could do it on the road.
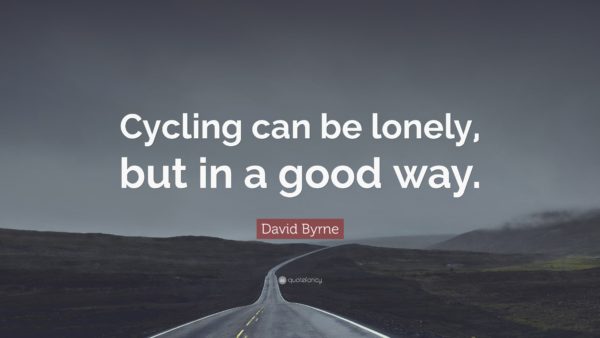
Make the Most of It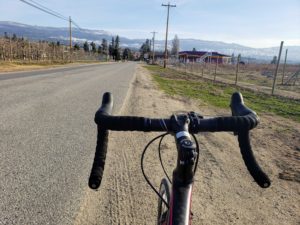
I know I’m not alone in finding solo exercise, especially cycling, somewhat therapeutic. You can let your mind wander, you don’t have to worry about keeping pace or making group decision. I quite often find I even talk to myself, working through problems, coming up with creative solutions, I am my most inspired while on my own on the road. So, don’t let the idea of solo riding keep you inside, get out on your bike and you may just find you like it more than you think.
 Get your bike ready
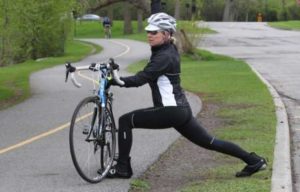 Start Stretching
 Embrace the Fender


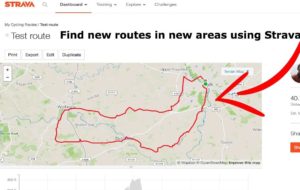
 Strava
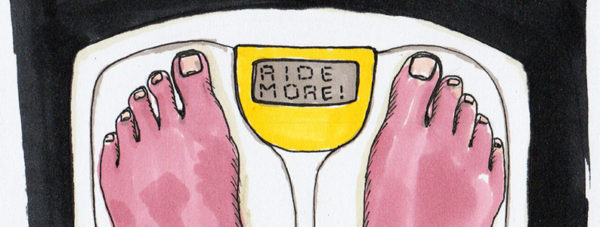
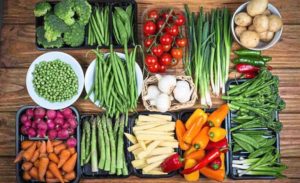
 Diet
Diet
 Off the Bike

 Clipless – Counterintuitive to their name,