When you’re starting out cycling, the first thing you need to do is master the basics. You may watch pro riders that make everything look effortless, but unfortunately there’s a lot more to it than may meet the eye. Once you’ve got the basics down, then it’s time to start getting specific. Although your fitness level will remain your most powerful weapon, don’t underestimate the gains from focusing and developing aspects of your bike handling skills. Learning how to brake efficiently on a road bike can not only make you faster, but it will make you feel more comfortable and confident on your bike.
How To Brake Efficiently on a Road Bike
Step 1: Beware of the Front Brake!

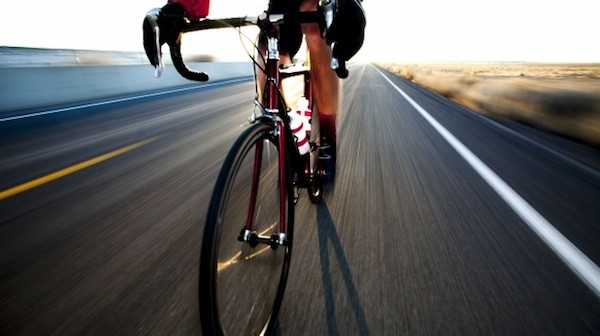
You’re front brake may be there to stop you, but your back brake is there to shave off speed. Roughly 70% of your stopping power comes from the front, which is why you never want to slam on just the front brake (pitching you over the handlebars). The best way to get the hang of how much to use each break is to go to a quiet section of road and practice. If you are skidding out, then you are putting too much pressure on the back brake. However, if you’re back wheel is lifting off the ground altogether, then you need to ease of that front brake.
Step 2: Get the Timing Right
When you’re wanting to come to a stop on your bike, you want to start slowing you speed by pulling the back brake. Look up at the spot you want to stop at rather than your front wheel. Slowly start to ease the front brake to further reduce your speed. Keep your shoulders relaxed and arms slightly bend, while focusing on that same stopping spot. Release the front break once you’re going slow enough and use the back brake to bring yourself to a complete stop.
Step 3: Master the Weight Shift
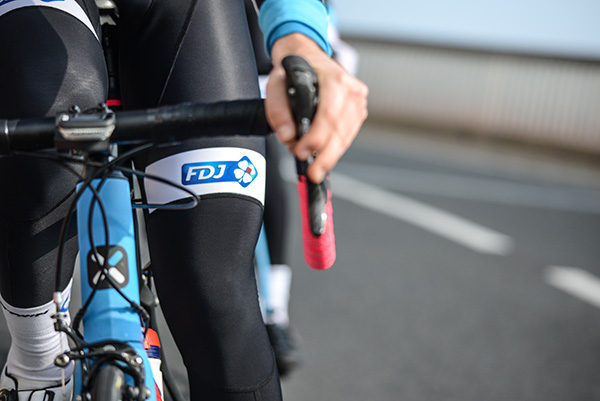
One of the most common beginner mistakes is distributing body weight incorrectly. This will not only effect your braking efficiency, but also your bike response and handling. If you’re on the drops, your center of gravity will be lower than if you’re on the hoods. The hoods feel safer, as you can brake harder with your weight shifting towards the rear of the back.
Being able to pedal through corners may be the most efficient, but it will also take some time and practice to master. You want to do all of you slowing down BEFORE the corner, and you should be able to to leave your brakes untouched through the corner. If you find yourself skidding, shift your weight as far back on the bike as you can.
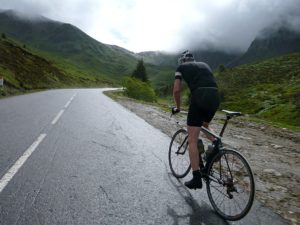
Step 4: Adapt to the Road Conditions
If the roads are wet and slick, you’ll want to reduce the amount of pressure you put on the breaks. Your technique should be a lot softer then it is on dry roads, and you need to remain especially aware of obstacles. Road markings and manhole covers become very slippery, and you won’t be able to stop as quickly.
Step 5: Give Your Brakes a Little Love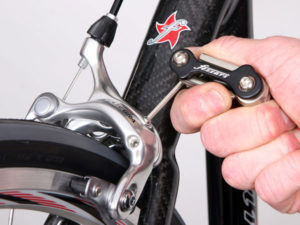
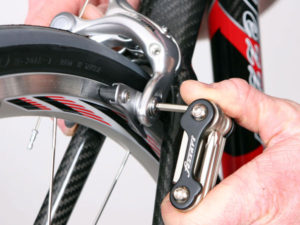
Before heading out on a ride, make sure your brakes are clean, dry and well adjusted. If your brakes are too loose, and you have to squeeze the levers all the way to the handlebar to get any kind of stopping power, you’ll want to loosen your barrel adjusters a few turns. This actually tightens the brake cables and therefore tightens the brakes. If your brakes are so tight that they don’t let your wheels turn, then you can tighten the barrel adjusters back down and make some room.
Step 6: Practice, Practice, Practice
Mastering certain techniques will take time, and braking is no different. Find a quiet area or section of road that you can use to practice your braking technique. Start by building up speed, then stop yourself with the brakes. See how long it takes you to stop, and pay attention to the feedback from the tires. Are they skidding? Are you loosing grip? You will have to experiment to find what works best for you, and to get a feel for how your bike handles when braking.

 Step 3: Start Training
 Front and Rear Fenders
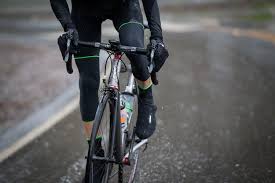
 Brake Pads
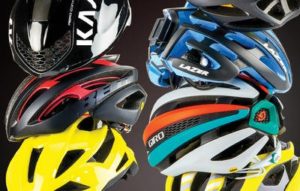

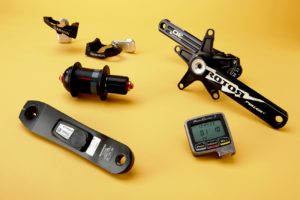 After you have your new power meter ready to go on your bike, the next step is to do some baseline tests to determine your power profile. Ideally, you will want to determine the maximum power you can produce for 5 seconds, 1 minute, 5 minutes and 30+ minutes (this last one is referred to a
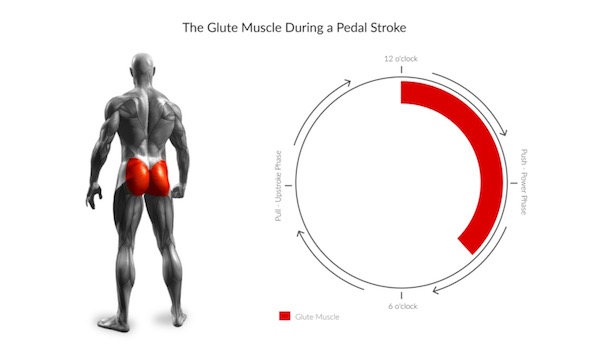

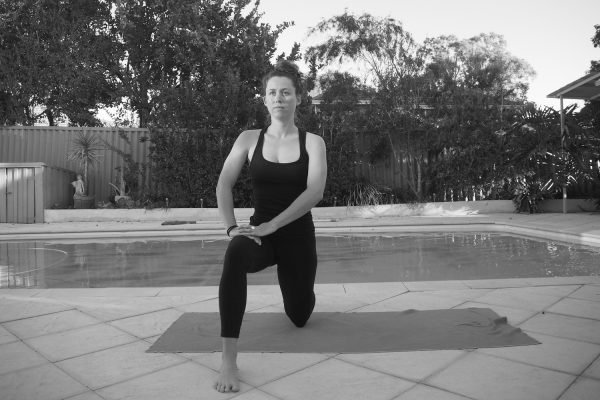
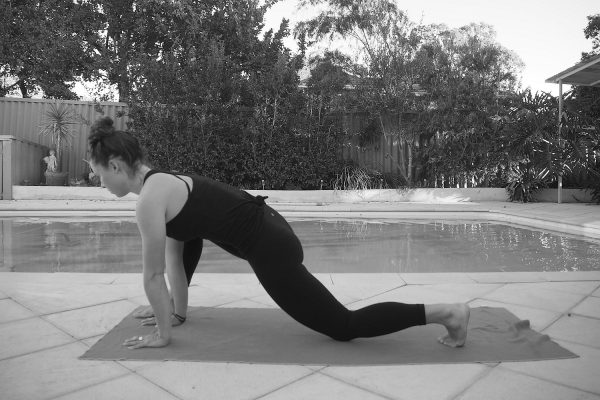
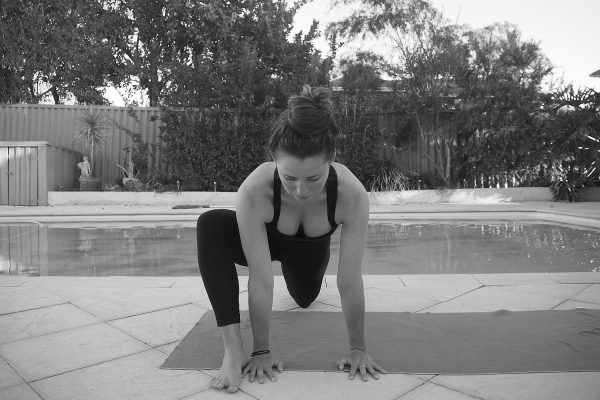
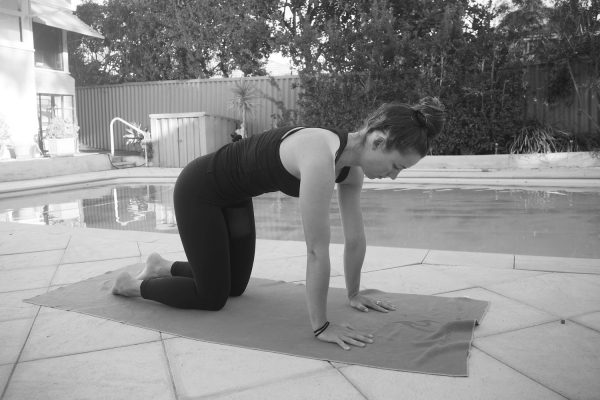
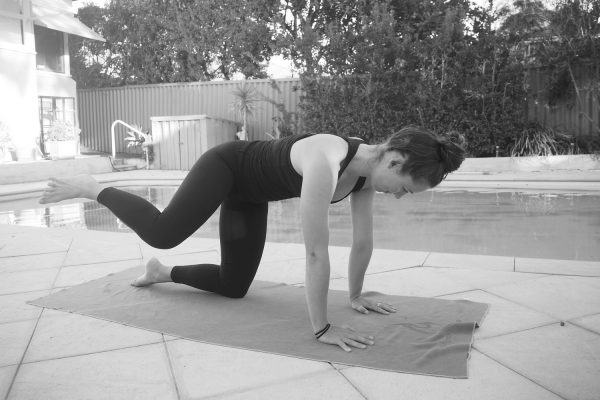
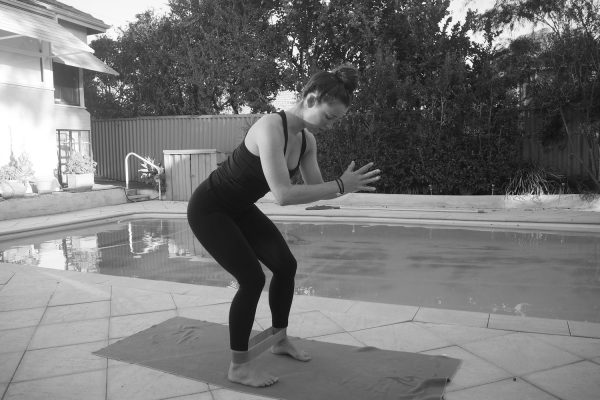
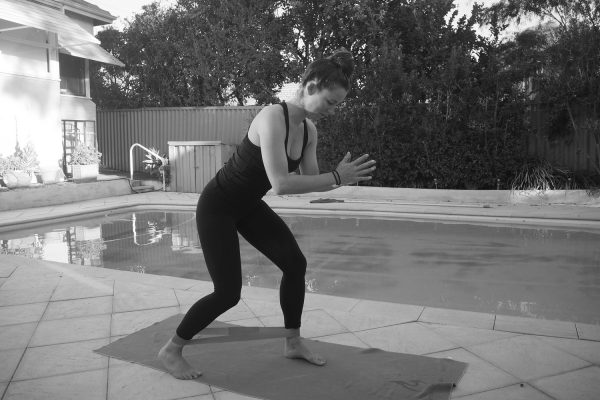
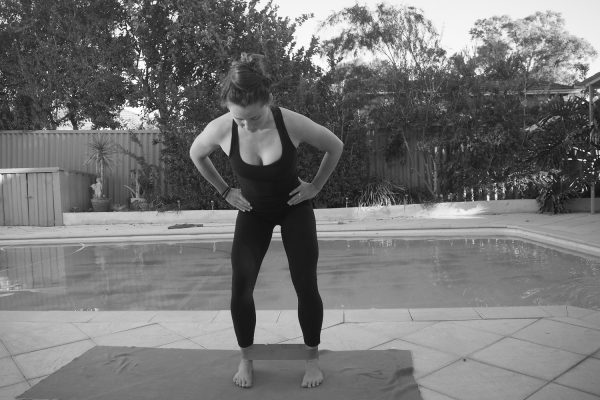
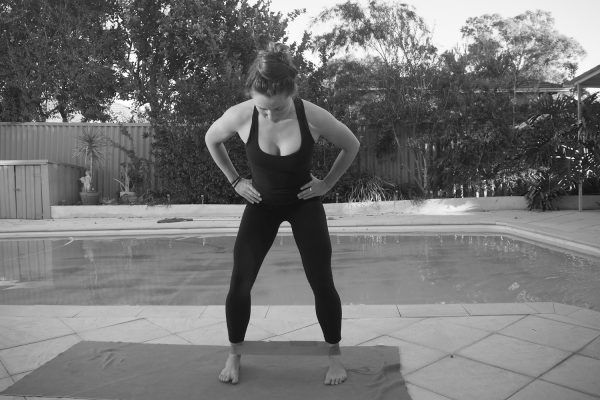
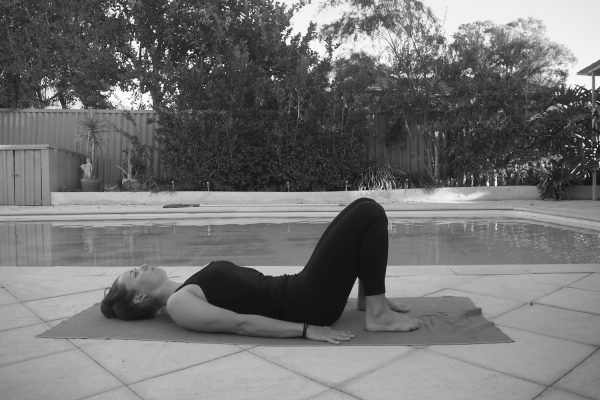
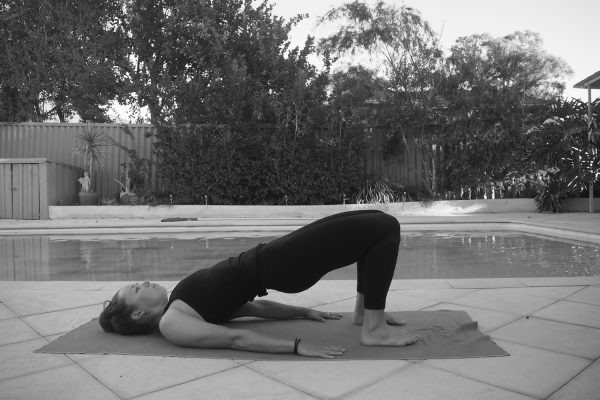
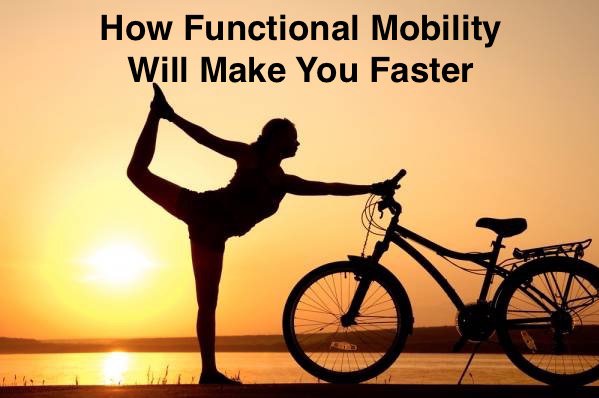 Another season begins, the snow melts, and the flowers bloom. The giddiness and excitement of your new bike overwhelms you and you’re putting a ton of kilometers in the bank. Your quadriceps are sore, your hamstrings are tight, your hips begin to seize. This is all part of getting faster, right? Wrong. Speed and strength does not have to come at the expense of mobility.
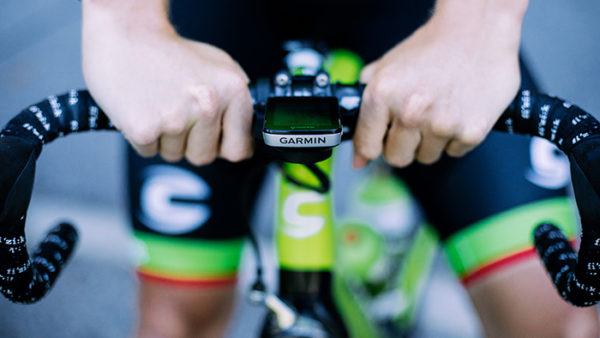
 Training by time is a popular and easy method to use when outlining your cycling training program. The only tool you need is a device that will record your ride time, whether that is a bike computer, a phone app, or a wrist watch. It is an easy and inexpensive way to track your training and is helpful when planning training around all the other activities in your life.
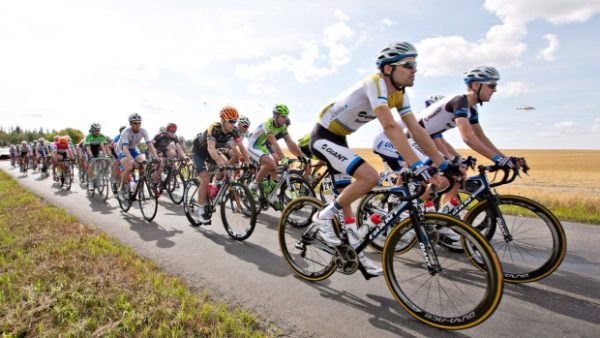
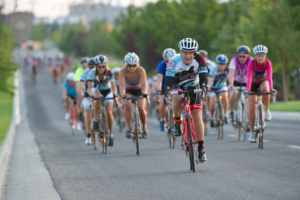
 Biking alone is actually much easier than biking in a large group. The tips in this article will list some general rules for biking in large groups for fun and not as a race. Group rides and races are two separate events and require two sets of skills. Keeping that in mind, here are some tips for biking in large groups.