 Heart rate zone training is one of the most effective ways to get to know your body and what you’re capable of. It’s easy to stop doing something when it’s hard, especially if you don’t have a tangible goal. Using your heart rate zones, you can push yourself further than you may think possible, while also ensuring you aren’t overtraining.
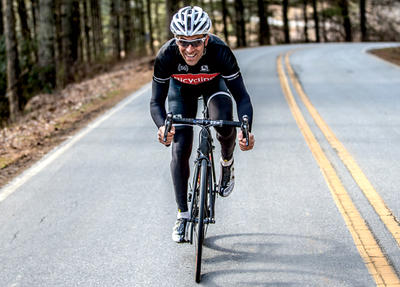
As a cyclist, you always want to be improving. Whether you’re aiming for a 100 mile race or want to keep up on group rides, making the most of your time in the saddle will get you there. Here are some sample training sessions, using heart rate zones, to increase your efficiency and get you flying up those hills.
If you are unfamiliar with the heart rate zones, please first go read this article on how to determine your perimeter beats per minutes and define your zones from there.
The long slow distance
3-4 hours in Zones 1-2
Breakdown: This one is pretty self explanatory. Plan out a long distance ride with moderate climbing, and be sure to stay in HR zones 1-2, even if this means getting into your climbing gear earlier than you usually would.
Everybody loves LSD! And no, I’m talking about the drug. The long slow distance ride is your entry into heart rate (HR) training, and the perhaps the most overlooked because let’s be real, it can seem slow and boring. It’s hard to be disciplined enough to stay in these lower zones, but it will pay off in the long run. It seems counterintuitive, but these relaxed rides build up your endurance and overall fitness, and will make your faster.
It may be a good idea to ride alone for these ones to avoid your more competitive side getting in the way. Sit back, enjoy the scenery, and spin those legs!
The high intensity intervals
40 minutes in zones 1-7
Breakdown: 10 minute warmup (zones 1-2)
3 sets of 4 x 30 second sprints (zone 5) with 40 second recovery (zone 1-2)
5 minute cool down (zone 1-2)
No pain no gain, right? This ride is short, but it will burn fat, improve endurance, and increase your overall fitness. Intervals may not be a whole lot of fun, but if you mentally prepare yourself, the pain really doesn’t last that long. Take it one interval at a time, and make the most of the rests in between!
A little bit of both
2 hours in zones 2-3 with zone 4 intervals
Breakdown: 50 minutes (zone 1-2)
10 minute sprint (zone 4)
40 minutes (zones 1-2)
10 minutes (zone 4)
10 minute cool down (zone 1-2)

It’s all about endurance. This ride will build both your strength and endurance over time, and the ten minute sprints are actually a whole lot of fun. Don’t cheat yourself, but stay focused and within the zones if possible. If you’re just starting out, try two hours in zone 3 instead, and work up to this ride.
Keep in mind, the more riding you do, the better you’re going to get. Even if you do the same ride twice, it may take you more effort to get into the different zones than it did before as your body becomes more efficient. Once you reach a certain level of fitness, many cyclists tend to plateau, but using HR zone training you can avoid this and keep pushing yourself each and every ride.
 In the build up to any new cycling season, your focus should be on improving both your fitness and technique so that you can really start to compete during any events you take part in. While there is a lot that you can do for yourself to get competition ready, including getting better equipment and interval training, the benefits of hiring a cycling coach to help you iron out the rough edges of your cycling game can make all the difference when it comes time to compete.
 Whether you’re a road cyclist or a triathlete all of us have one common goal…RIDE FASTER! Perhaps you’re putting in the time, yet aren’t seeing the desired results. It’s possible you’re not doing the right training that will translate to increased mph. However, by following the five tips below you’ll increase your speed and work towards that PR you’ve been chasing.
 As much as we may love cycling, there may come a time when we lose motivation. We may struggle to reacquaint ourselves with that burning desire to ride at the crack of dawn. When we’ve hit this plateau in our training, there are a few ways to change the monotony of our routine. Here are five tips that will reignite the passion for cycling again!
 This training article comes courtesy of Rob Swan, a NCCP Level 3 certified coach with
 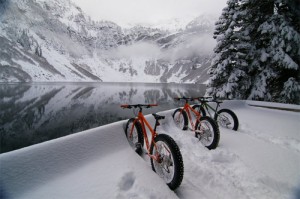 FAT Biking: Now if you truly want to stay outdoors through the winter months, test-ride a FAT Bike. Then, of course, you will be buying a FAT Bike because you will want to ride every day, winter or summer. These bikes can go anywhere, anytime and anyone can ride them. For winter, they are great as a commuter because they will roll over roads, dirt, snow and ice without a problem at all. You can take them on snow covered mountain bike trails and on snowmobile trails for the ultimate in winter fun. As well as sheer enjoyment, these bikes will help you maintain your fitness.
 Alcohol and cycling. Do they really mix?
 Brake your bad habits! Proper braking will lead to safer riding and ultimately… faster riding. Scrubbing the proper amount of speed at the right times will make you a more efficient rider saving valuable energy for when it is needed.
 You obviously have to be much more careful on wet and slippery surfaces. If you brake with your front brake too much on slippery surfaces the front wheel will slide out from underneath you and you may end up in a ditch faster than you know what happened. Your experience will be very important here as the proper touch and weight distribution will be amplified. Try to keep your bike more upright in order to prevent slip outs, break earlier and more gently and if you start to feel as if you are losing traction ease up on the breaks.
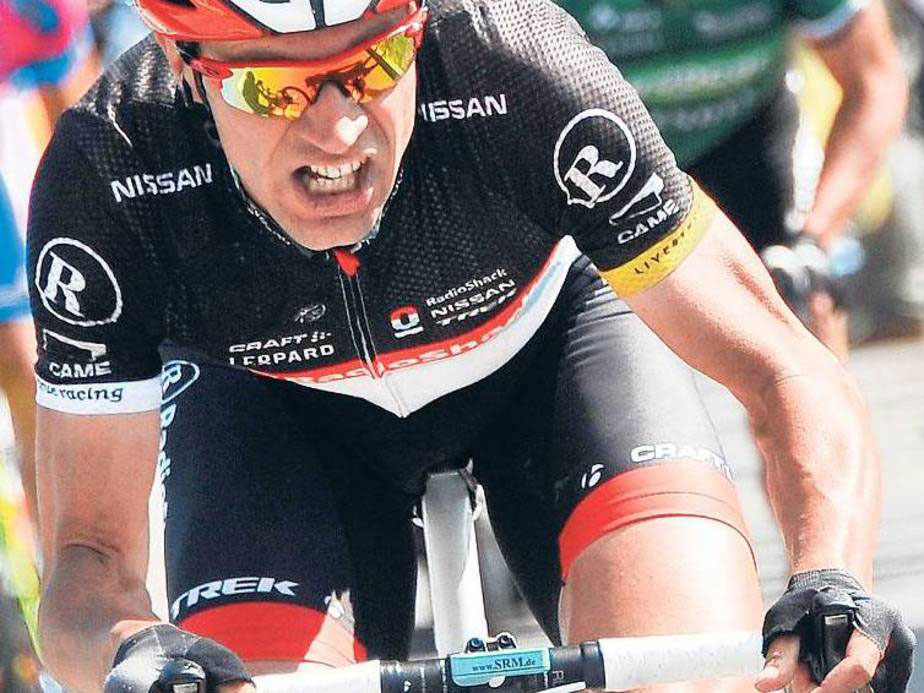
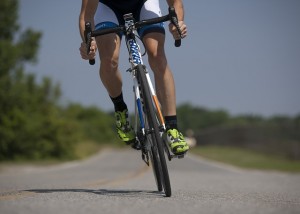
 It’s pretty simple really…power is a measure of work over time. It’s measured in watts. While it might seem as easy as visualizing the amount of pressure or torque you’re putting into the pedals, it’s in fact a little more than that. The same amount of pressure at 80 revolutions per minute (rpm) and 100 rpm will give you lower and higher wattages relatively. This is because you are doing less or more work per minute. If you’re cruising along on a pancake flat road at 90 rpm in an easy gear, and then you switch into a harder gear and while maintaining an identical cadence, you will also be applying more power. In this case the amount of pressure on the pedals has increased. One thing is certain, more power means more speed.
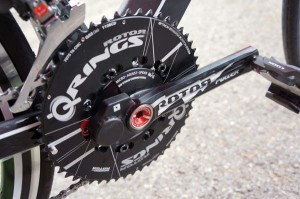
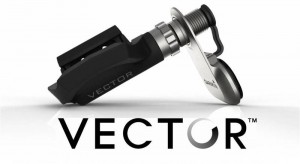 Accurate power tools for cyclists are more available now than ever before. Of course, you can also purchase power tools that are not as accurate. There are plenty of options out there. Which power tool should you get? That’s a question that demands it’s own dedicated article. Should you get hub-based, bottom bracket-based, pedal-based, or crank-based power? It all depends on several factors. The purpose of this article is not to debate the merits of different power tools available on the market. I do hope I have shed some more light on why people are choosing to use power meters and how you can benefit from getting on that bandwagon. I will say this, however, in regards to power meters: the “get what you pay for” axiom applies. Pay for a decent power meter or don’t bother. Like grandma used to say: “do something right or don’t do it at all”. Some of the decent power meters available include: SRM, Power-Tap, Garmin Vector Pedals,