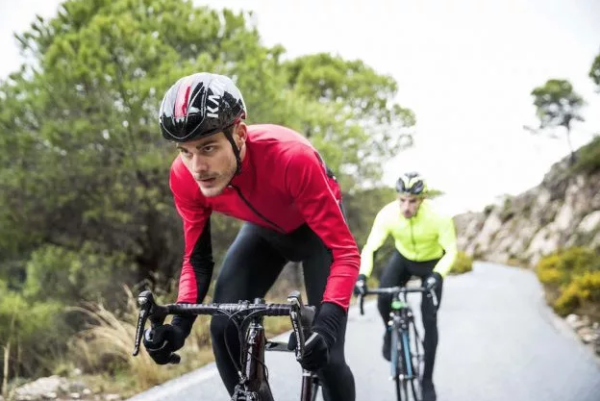
It’s coming up to that time of year, and last minute gifts can be tough (cut to me wandering around a crowded mall like a lost puppy), so why not go with something that is both fun and useful? If you have a road cyclist on your list, check out our Top 10 Gifts for Cyclists, but for the mountain bikers, it may look a little different. Mountain bikers are hard on their gear, between beating it up on the trail, then scrubbing the dirt out of everything afterwards, which makes upgrades and replacements the perfect gift. Here’s some of the best gifts for mountain bikers.
10 Best Gifts for Mountain Bikers
Dynaplug Racer

Punctures are a part of the sport, so fixing them is a necessary evil. The Dynaplug Racer is the newest repair tool for tubeless bike tires. All you have to do is locate the hole, asses the size, and then use either the Megaplug end, or the standard plug for smaller punctures. It leaves behind a sticky rubber substance to give the sealant something to weld to. It’s quick, easy, and a great gift for any tubeless rider.
Park Tool IB-3 I-Beam Multi-Tool
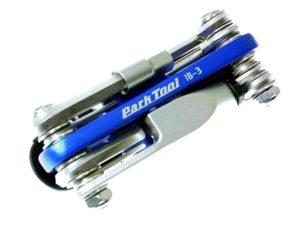
The best thing short of a mobile mechanic, the Park Tool IB-3 has everything you need for most trailside emergencies. Eight hex wrenches, a T25 Torx driver, flat-blade screwdriver, chain tool compatible up to 12 speed, tire lever, box wrench and spoke wrenches.
Granite Rockband Carrier Strap
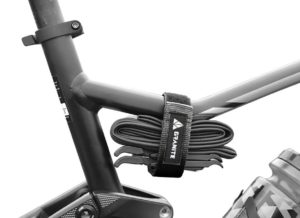
A lot of mountain bikers are ditching hydration packs in favor of water bottles and on-bike storage. The Granite Rockband Carrier Strap is pretty self explanatory, as it is a great alternative for those who want to have a multi-tool and spare tubes on hand, but don’t want to ride with a backpack.
Rylo 360 Video Camera
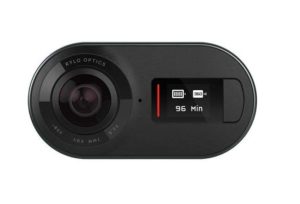
Rylo is a powerful little 360° camera that allows anybody to create stunning videos. This camera captures everything around you in 5.8K resolution with breakthrough stabilization- perfect for capturing some beautiful single track. When they’re done shooting, they can connect to the app and edit the video right there on their smartphone.
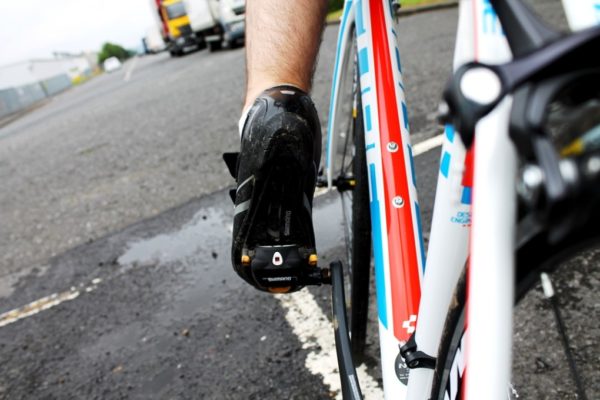
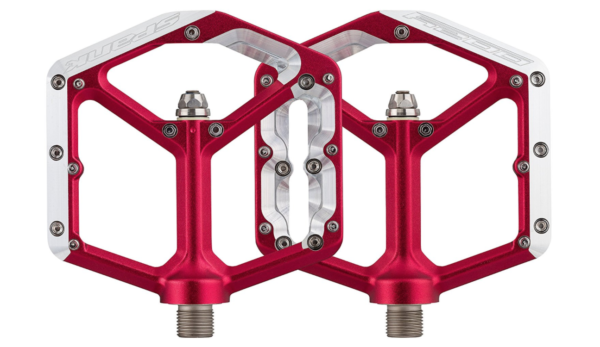
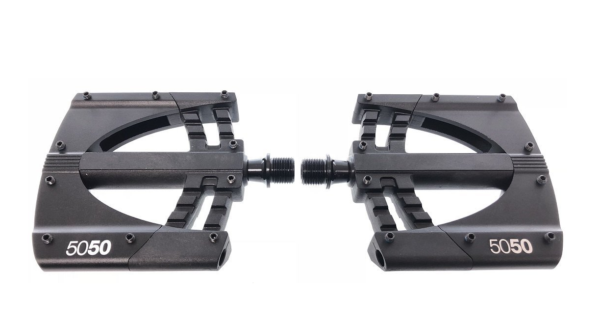
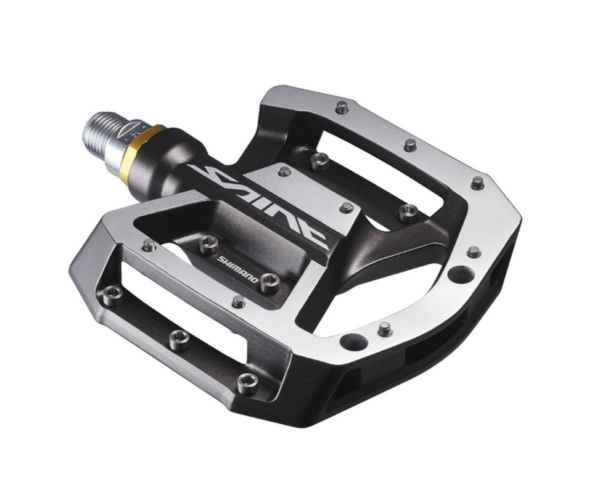
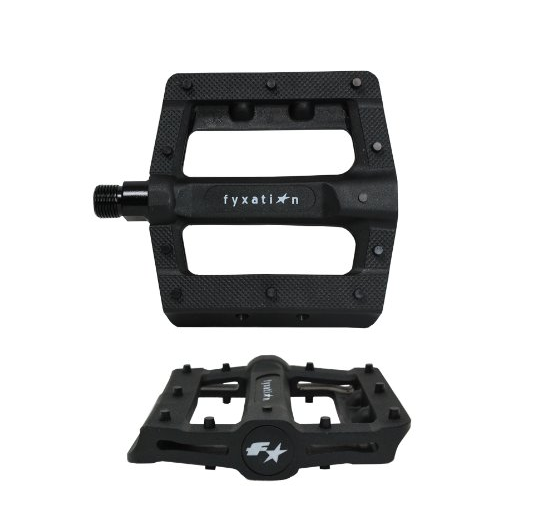
Race Face Aeffect Bike Pedal
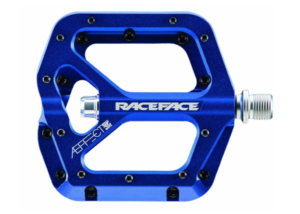
The Race Face AEffect Pedals are strong, light and offer the best of both looks and performance. The chromyl axle and bottom loading hex traction pins can take a beating, making them perfect for trail and downhill riders alike.
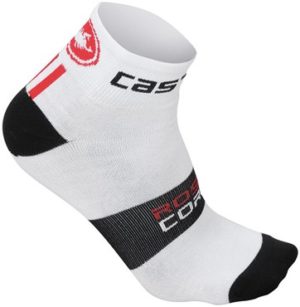
Cycling Socks (Yes, socks)
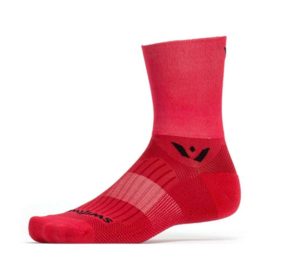
Socks may seem like a lame gift, but the mountain biker on your list will be stoked! Check out some Swiftwick socks to keep their feet comfortable and dry no matter what the conditions.
Big Blue Book of Bicycle Repair
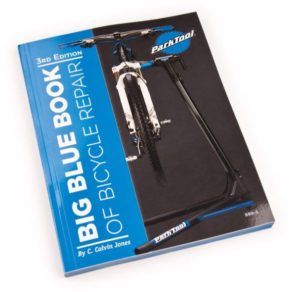
Save them some money with this great resource. The Big Blue Book of Bicycle Repair addresses the most advanced materials and technologies used in today’s bicycles. Each job is carefully explained in a way that makes sense to a novice mechanic. Each repair or maintenance project has easy to follow steps, complete with photographs, examples and helpful tips.
Custom stem cap

Bring some style to their bike with a custom stem cap. You could get something made just for them, or choose from one of the many fun ones available on Amazon.
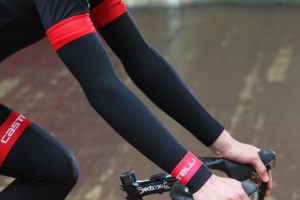
100% Brisker Gloves
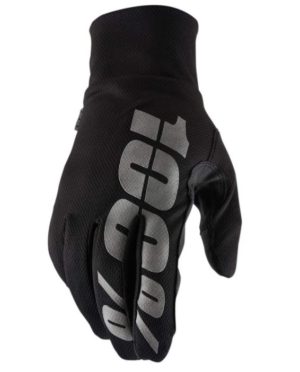
Perfect for those cooler days, the 100% Brisker Glove has an insulated top layer with a thin synthetic leather palm. This keeps the hands nice and warm, while not compromising grip and hand function while riding.
Osprey Raptor (Men’s) and Raven (Women’s) Hydration Packs

Made for rugged single track, Osprey hydration packs are known for their bio stretch harness and comfortable connection to the body. The design reduces liquid movement so you’re not sloshing your way down the trail. There’s plenty of room for snacks, tools, and a helmet carry system when you’re off your bike.


 comes with it. Community is what helps you improve as a cyclist by learning from others and pushing yourself harder than you would by yourself. On Strava, you can create private groups for you and your crew. So, even if you’re not out riding together, you can stay in touch and even try to beat their time on a route. Through the comments, you can encourage each other and give kudos on a great ride.
 Get creative

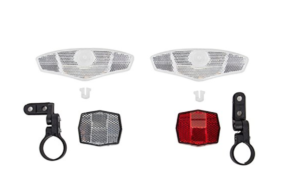
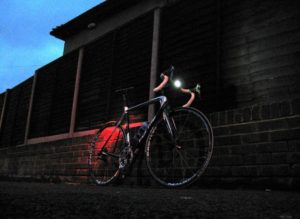 be able to see you to have enough time to react, so better to have too many lights than not enough.