Having a proper bike seat height on your rig is one of the most important parts of your bike fit overall. You risk discomfort, pain and the eventual likelihood of injury if you decide to overlook it, and may even attribute such problems to other facets of your training and lifestyle; missing the source of them altogether.
A number of factors are going to be at play including your specific upper/lower limb proportions, the mobility of your tissues, and your functional operating output in general. It might sound like a bunch of fancy nonsense, but it really all just boils down to the unique composite and capacity of your human body.

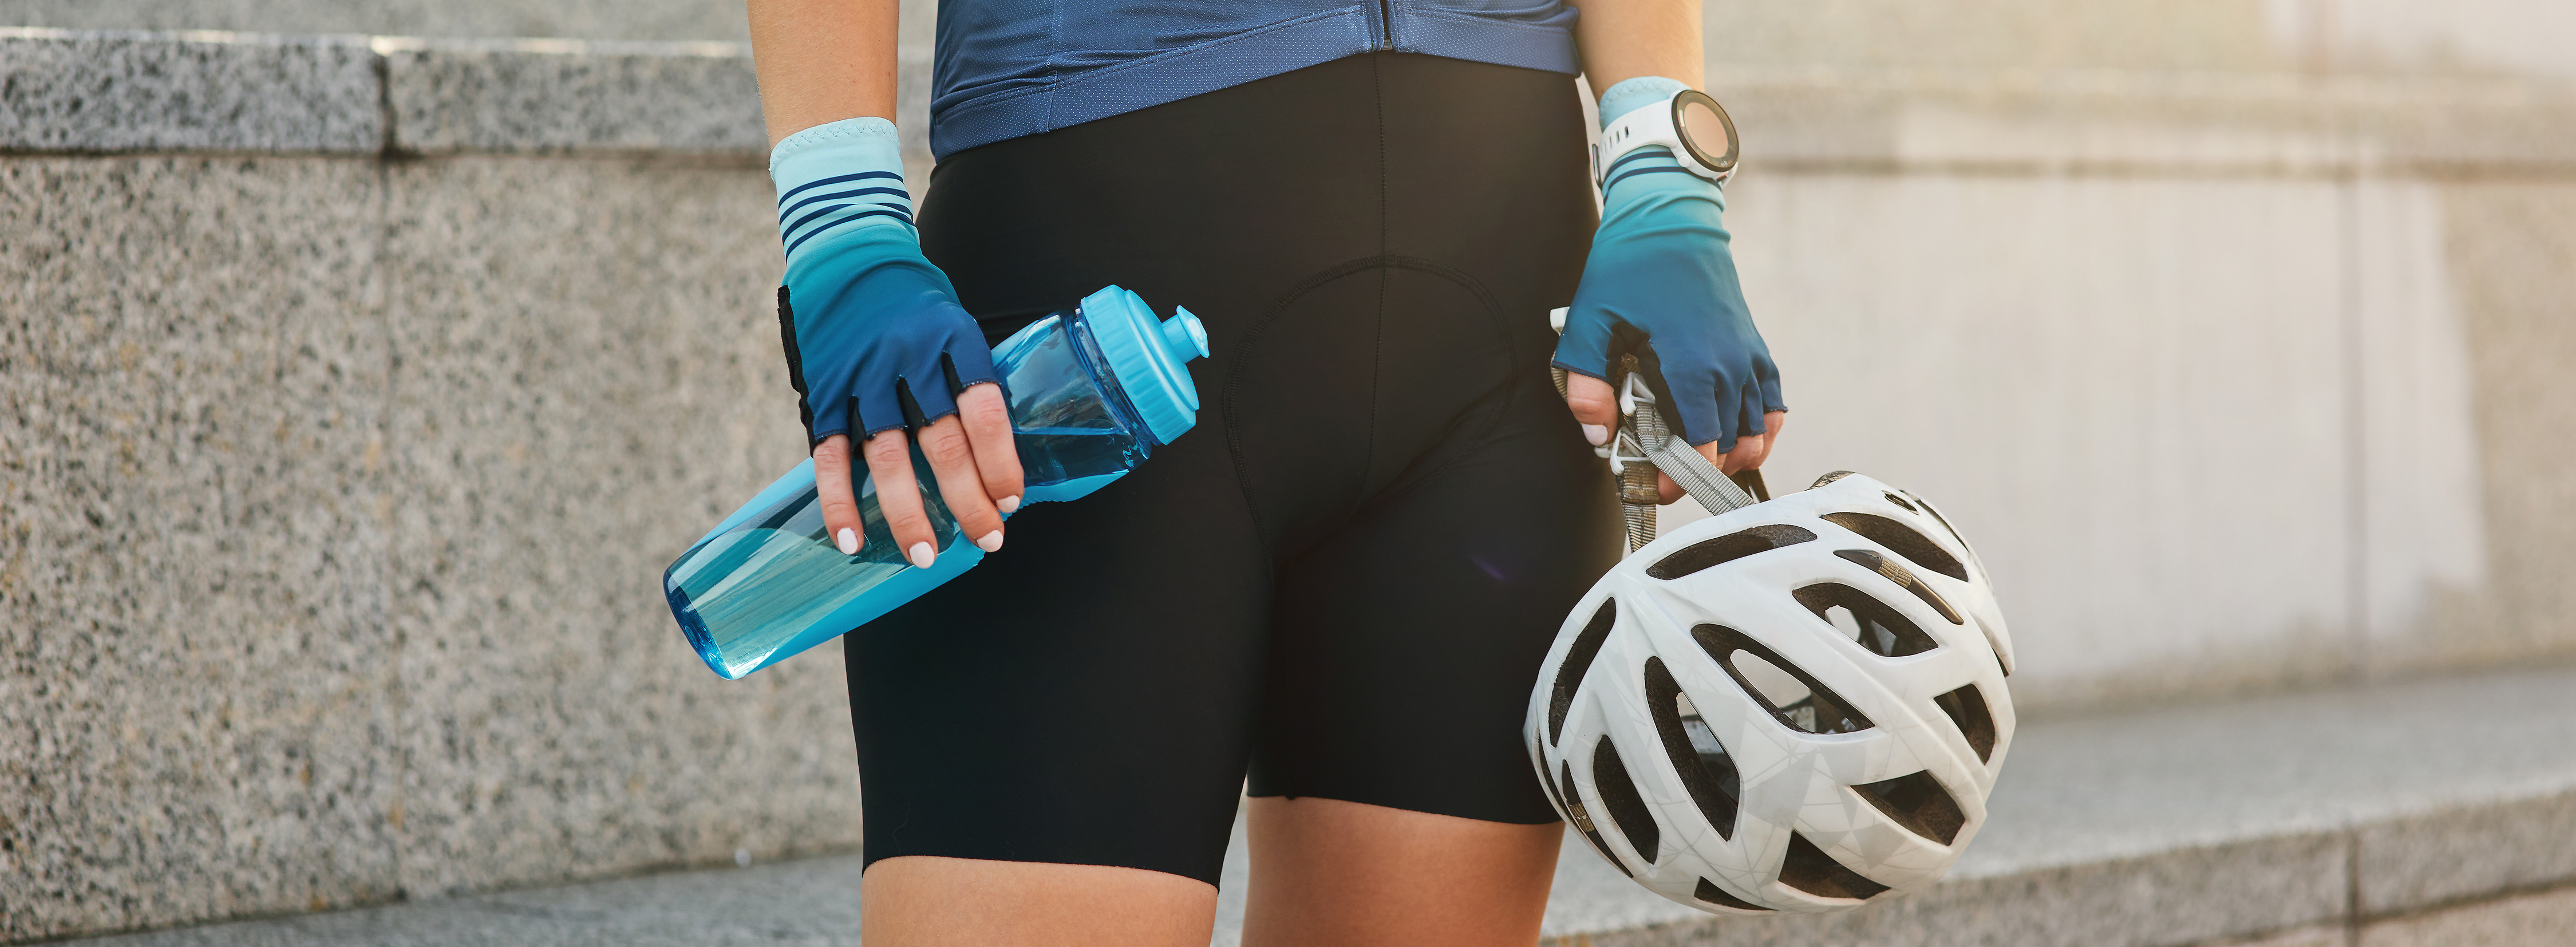
levgen Skrypko/Adobe Stock
Here is what’s going to happen, we’re going to give you some simple tips and guidelines to adjust your bike seat height the correct way. Then, we’re going to hash out the problems that come with adjusting your saddle improperly. This will, for some of you (we hope), provide answers to pains that have been recurrent or chronic throughout your cycling career.
Arming yourself with the knowledge to address problems when they arise allows you to confidently push yourself in your training and competitions. Ride long enough and you’ll get hurt, you’ll feel pain, that’s just the way it is. Better to know where you can start looking, and be self-sufficient in your recovery, than to pedal away in ignorance and be at the mercy of countless practitioners because you have nowhere else to turn.
Proper Bike Seat Height
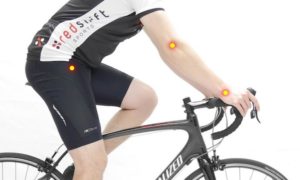
There are a couple of handy indicators that you can easily test and look for to tell if your saddle is the right height for your body. These signs should be looked for with a partner while you’re sitting on the bike while it (the bike) is in an upright position, using a support (such as a wall) to anchor yourself, and squeezing the front brakes to remain stationary.
Slight Knee Bend
When you’re at the bottom of your pedal stroke (6 o’clock position) there should be a slight bend in the knee, approximately 25°-30° for most people. Any more, and you’re going to place excessive loads on the anterior part of the knee. Any less, and you’ll start to overextend the leg and heighten the injury risk to the back of the knee and hip extensor muscles.
1-2 cm Heel Drop
Again, at the 6 o’clock position, but this time with your knee locked out, your heel should drop 1-2 cm below the pedal. If you can’t fully straighten your leg, you’ll have to raise the seat. If you lock out your leg but are still struggling to reach the pedal, or your heel sits even with/above the pedal, the seat will have to be lowered.
Heel Pedal Test
Put your heels on the pedals and go through a full pedal stroke. If your saddle height is properly adjusted, your knee will lock out when going through the bottom position, and your heels will stay in contact with the pedal. If your knee bends at the bottom, the saddle should be raised, and if your heels lose contact at the bottom, the saddle should be lowered.
These are a few great ways to find your saddle height with the help of a friend or by using your phone to record yourself riding. More comprehensive methods are available, but these are by far the most economical. Let’s take a look at what can happen if saddle height is ignored or just improperly aligned, and the effect it can have on a person’s body.
Ljupko Smokovski/Adobe Stock

Improper Bike Seat Height
Having your saddle too low or too high is going to place excessive loads on different parts of your body. One of the reasons a bike fit is so important is because the bike is not a natural mechanism in and of itself. It’s man-made, but we are not bike-made. These are odd positions for us to be in in the first place, so doing it in the most optimal and efficient way is important due to the prolonged and repetitive nature of our sport.
Saddle Too Low
Knee pain is one of the most common problems amongst cyclists, and having a saddle that’s too low can be a significant contributor to it. When your bike seat height is too low it shortens the range of motion of your knees, and forces you to initiate your pedal stroke from a less than optimal position that places excessive load on your patella (knee cap). This can lead to irritation and pain in the patellar and quadriceps tendons (on, below and above the front of the knee).
A low saddle will also compress your hips and shorten the rectus femoris and psoas muscles which make up the majority of your hip flexors. This leads to chronic tightness and fatigue and can actually pull your pelvis forward into what’s called anterior pelvic tilt, often a key player in the low back pain commonly experienced by cyclists.
The structures on your lower leg are also going to suffer significantly from a lower than optimal bike seat. Because your knee won’t be able to extend properly, the body will naturally look for more room in the ankle joint. At the bottom of your pedal stroke, the ankle will remain in an excessively dorsiflexed (toes pulled up towards the shin) position. This shortens a large muscle on the front of your shin called the tibialis anterior, and can lead to the shin pain often described as “shin splints”.
Your upper body can also be compromised, because having a seat that is too low or too far back will have you reaching inefficiently for the handlebars. The body will resort to rounding the back and shoulders to optimally balance its weight over the bike, and can be a wonderful recipe for a weak, painful back, tight chest, inefficient breathing patterns and terrible posture.
Saddle Too High
While having the saddle too low can really affect the front of your knee, having it too high can injure the back just as well. If you’re reaching for the pedals and then weight bearing with a completely locked out or even hyperextended knee, you’re putting a huge load on the internal ligaments of the knee, particularly the ACL and PCL. The hamstring tendons and upper part of the calf can also be overstretched and affected by these locked out and loaded positions.
The hips will tend to rock back and forth if your saddle height is too high, and is a common sign to look out for. The reason being is because you will rotate, tilt and sway the pelvis to try and reach the pedal on every stroke. This can contribute to lower back pain and hip pain in any cyclist who doesn’t address it promptly.
Because you won’t be able to optimally generate power through your upper leg with a high saddle, the lower leg may try to compensate, which will result in fatigue and overuse of the gastrocnemius (calf), soleus (deeper calf muscle) and tibialis anterior (shin muscle). The achilles tendon will take the brunt of all these contractions, and can eventually develop its own tendinopathy.
Having the saddle too high might also make you lean forward more than you should be while riding. This can place excessive stress on the handlebars, and lead to things like “cyclist’s palsy” (ulnar nerve compression, weakness/numbness in the outer part of the hand). This position also shortens the hip flexors, and increases the likelihood of anterior pelvic tilt which can lead to back pain.
Beaunitta Van Wyk/Adobe Stock

Bike Fit At Home
MyVeloFit is a revolutionary new app that combines the powers of computer vision and artificial intelligence to help you do your very own bike fitting at home in a matter of minutes. Whether you’re an individual or a business that specializes in bike fitting, they have a subscription model that works for you. Everything from free to a fraction of the cost of an in-person fitting! Check them out today to start feeling better on your rides!


 Neck Pain

 Why wear a cycling jersey?
 Merino Wool