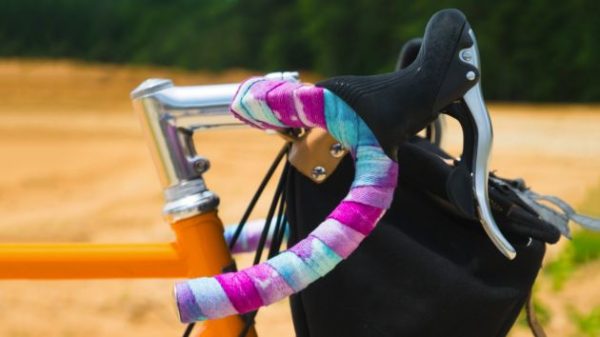
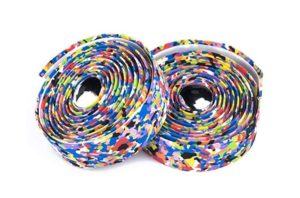
Handlebar tape is an often overlooked aspect of your bike, but it effects both how your bike looks and feels. It covers the essential contact point between you and and your bike, so it’s the easiest way to make your bike feel like new. The tape will work to absorb some of the bumps in the road, as well as provide grip for your hands. Historically, handlebars were wrapped in simple white cloth tape, but now there are a ton of options when it comes to material and colour. So, if you’re looking for a way to spend some quality time with your bike, changing your handlebar tape can be a great way to do it.
How often should you replace handlebar tape?
Cyclists know that certain items, tires, chains, and gears should be replaced at regular intervals, but how often should you replace your bar tape? This will be dependent on how much you ride, but it should be done at least a once a year. Think of how much your hands sweat out on a hot ride, or the dirt and dust from the road making it’s way to your handlebars. It can get pretty nasty looking, especially if it’s white, so you’ll want to make a habit of changing it out.
What to look for in handlebar tape
Grip
Handlebar tape does more than just make your bike look good, it serves as your main point of contact. So, it’s important to choose tape that provides adequate grip for the handling of your bike. Look for something with a tacky finish to ensure you get grip even in wet conditions. This is especially important if you are riding without gloves.
Padding
Handlebar tape provides a nice bit of cushioning for your hands, reducing the vibrations that travel from the road up into your arms. Choose tape that provides the right amount of padding for you and the type of riding you do. Many cyclists choose to double wrap their bars for a little extra cushion, especially when riding on rougher roads.
Looks
There are all sorts of unspoken rules out there. Some say your bar tape should match your saddle, or your kit, or your head tube…the list goes on. The truth of it is, you should chose whatever tape feels the best in a colour that catches your eye.
Types of Handlebar Tape
Bar tape is prone to wear and tear, but luckily most is relatively inexpensive. There are plenty of options to explore too, and new tape will always rejuvenate a tired-looking bike. It’s worth experiencing the subtle differences in comfort, feel, and performance offered by different brands and materials.
Cotton Bar Tape
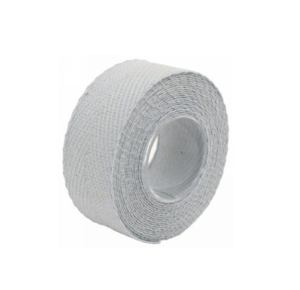
Cotton is old-school. Any bike built before about 1985 probably has cotton bar tape. Cotton tape is very cheap but it’s not widely available, and your best bet may be to go shopping online for it. Cotton tape comes in a roll with an adhesive backing that is easy to apply to a clean set of bars. Cycling purists like to give cotton tape several coats of shellac to protect the material and prevent it from unwrapping. That’s why some older bikes seem to have shiny handlebars.
Cork/Synthetic Bar Tape
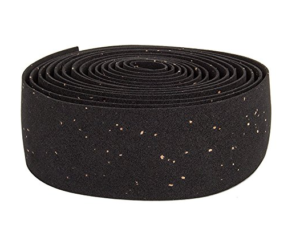
By 1987, cork tape had for the most part replaced cotton as the tape of choice. Contemporary cork tape is actually a synthetic blend of cork and ethylene vinyl acetate. Cork/synthetic tape is more expensive than cotton, but typically also comes with a with a small strip of adhesive backing. Cork/synthetic tape needs to be stretched carefully when wrapping the bars, otherwise it looks untidy and is prone to unravelling. Take care with cork blends, stretch them too tight and they will break. Cork tape is typically too thick for designs such as the harlequin or other pattern making. The main advantage of cork is that it absorbs shock and sweat like nothing else.
High-Tech Bar Tape
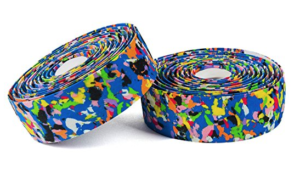
Most contemporary bar tapes are made from a lightweight and durable synthetics, in combination with a foam or gel core for cushioning. Materials such as polyurethane, synthetic nylon or silicone are strong, lightweight and durable and often have a tacky texture that aids grip and contributes to a positive feel to your hands. Some have a perforated surface, others a ‘microfiber’ smooth feel, while others have a textured surface. Some look like faux leather or faux carbon. These newer formulas add good vibration dampening, without the bulkiness that can come from old-school tapes like cork.
Leather Bar Tape
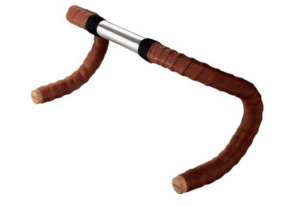
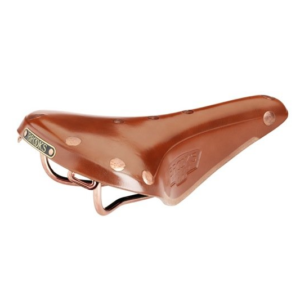
If you’ve ever heard of the Brooks saddle you won’t be surprised that leather bar tape is at the top of the heap. Leather tape just feels good in your hands. Expect to pay around $100 for leather handlebar tape. You can also expect it to last forever. Some cyclists claim that it improves with age, just like a Brooks saddle. If you’re into changing the tape every year as suggested, leather probably isn’t the best choice. The downside to leather is that it doesn’t provide a vibration dampening effect like cork or gel.
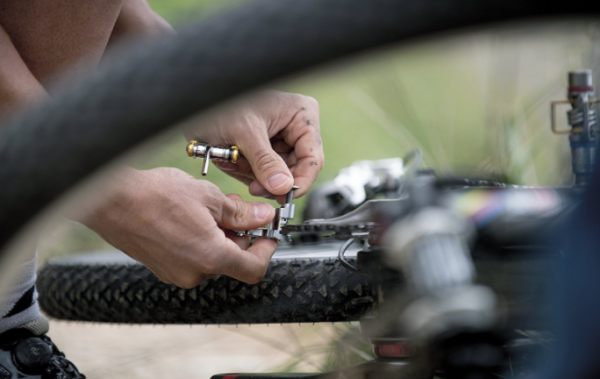
How To Change Your Handlebar Tape
Bar tape can last for years, and it typically comes already installed on a new bike. It might seem easy enough; wrapping tape around bars. But it’s not that simple. Not all cyclists know how to wrap a bar and make it last. In fact, it’s one of the most common things done wrong on bicycles.
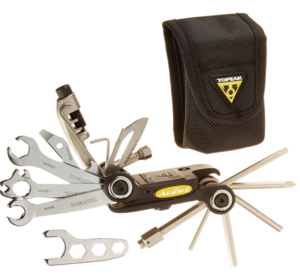
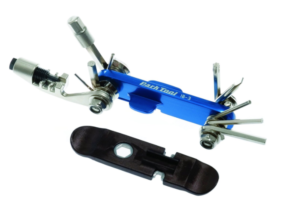
What You’ll Need
- Electrical tape
- Scissors
- Clean hands or gloves
- New handlebar tape
1. Remove Old Handlebar Tape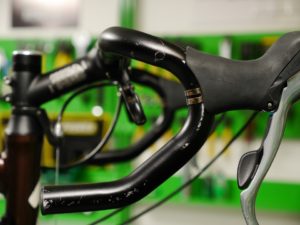
Do whatever it takes to remove the old bar tape. It might just unravel when you remove the plugs, or you can use tweezers or pliers to grip it an pull it off delicately.
2. Clean the Bars
Use a bike specific cleaner or anything that will remove tacky substances. Make sure it’s dry and without any residue to ensure a good bond with your handlebars.
3. Make Adjustments & Secure Cables
If you’re replace existing tape, the hoods should already be in the right position, but this is your chance to move them if you desire. Make the adjustments, and tighten the hoods to the handlebars. It’s typically done with a 5mm hex wrench. The bolt is usually on the outside of the lever under the hood. Its a good idea to ride the bike before applying the tape, to ensure the hoods are where you want them, because after wrapping the bars, they’re difficult to move without disturbing the tape.
Use black electrical tape to secure the brake cables to the bars if applicable. Some bars have holes in them for this purpose, and you can skip the electrical tape. It typically takes 3 or 4 strips of electrical tape to secure the brake line to drop bars.
4. Wrap It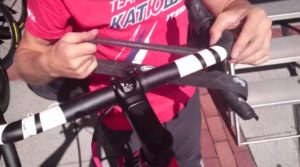
The jury is still out on the direction, and whether to wind clockwise or counterclockwise is up to you. Some prefer to start in the center, on either side of the handlebars. Some prefer to anchor the tape with the plugs, and work toward the handlebars. Because the procedure varies wildly due to your choice of designs, the procedure can also vary.
In general, the most popular technique is to start at the end of the bars leaving about a half-inch overhanging the end of the bars. This is so you stuff it inside the bars when you insert the bar-end plug to secure it. Then start wrapping the bar tape leaving about 1/4 of an inch to a half overlapping the previous. Make sure you keep it snug as you go. When you get to the hoods there are a few ways to do it, but in general, you want to make sure that no metal on the bars is showing. Then continue toward the stem stopping two to three inches from the stem. Cut the tape so it forms a straight edge and wrap a few layers of electrical tape around the end to secure it. Then the nice tape that generally comes with new bar tape can be wrapped over the electrical tape giving it a sleek look.
 Cut outs


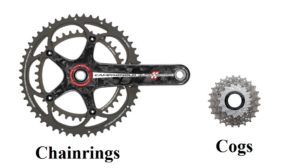 There are two sets of sprockets on a bike, one at the front and one at the back. The front sprockets are called chainrings, and they’re located at the front on the crankset (the part that the pedals attach to). Typically, an entry level road bike will have a triple crankset (three chainrings), but some may have a double (two chainrings).

 What you’ll need:
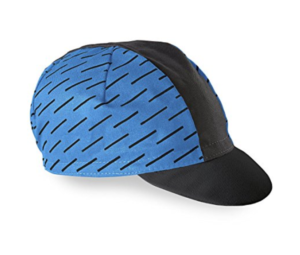
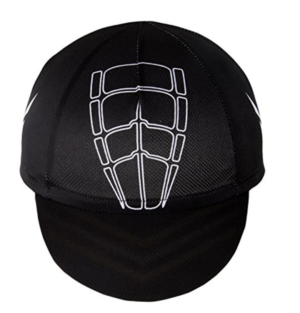
 Cycling caps came from the pre-helmet era, but have survived as a both a fashion statement and a functional piece of gear that goes under your

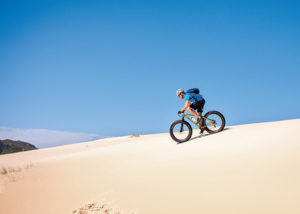
 It builds your endurance
 ires, and those for 5 inch or wider tires. If you’re sticking to groomed or somewhat packed down trails, 4 inch tires will be all you need.