When you ride the majority of your weight is placed on the saddle. Having a good saddle fit will help to ensure that you’re comfortable on the bike as well as not doing long term damage to sensitive areas. There are many different variables when it comes to bike saddles and accounting for each one of them is key.
Saddles for Road Riding and Mountain Biking
The way you fit a saddle is different depending on your riding discipline. Fitting for a time trial or triathlon saddle is different than road and mountain but the latter two are similar. Mountain bike saddles typically have a bit more padding to help absorb the bumps as well as have a thicker, more durable cover to help prevent the more frequent crashes from ruining the saddle. These guidelines are road and mountain bike specific.
Width for Bike Saddles
The first thing to consider when fitting a bike saddle is sit bone width. This is where the majority of your weight should be placed on the saddle as this area is surrounded by muscles and tendons that can handle and adapt to the stress. The area in-between your sit bones are sensitive and if sat on for too long with too much pressure can not only be uncomfortable but can also cause longer term damage.
Measuring Your Sit bones
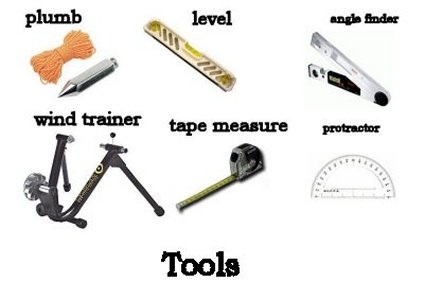
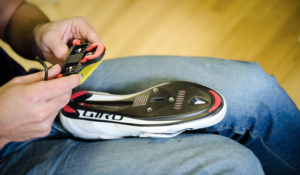
There are a number of ways to determine sit bone width. The easiest is to use an Assometer which can be found at many bike shops. This contraption is malleable and holds the shape that is pressed into it. With this, simply sit on it and measure the distance from the exact center of the two deepest points where the sit bones lie. If you don’t have access to one of these you can sit on a piece of paper or cardboard and feel with your hand where your sit bones lie. Then with a pen, mark on the paper the exact center of each. Then simply measure the distance between the two marks in centimeters.
Choosing Saddle Width
Now that you have the exact width of your sit bones, you can determine what size saddle you need. Take the distance you just measured and add two centimeters. This is approximately what size saddle you need as you want at least one centimeter past the sit bone on each side. Don’t go any smaller but you can get away with a little larger. The limiter here is as saddles get wider, which are normally classified as narrow, medium-width, and wide, the nose of the saddle also widens which can start to rub on the inside of your quads causing discomfort.
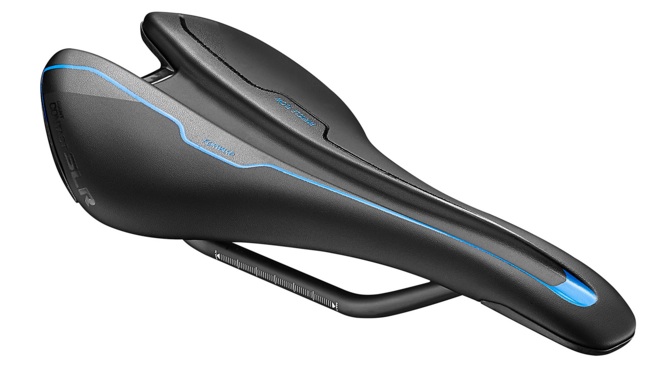
If the saddle you have doesn’t have its width marked on it you can simply measure the width of the saddle at its widest point in centemeters.
Shape of Bike Saddles
There are two general shapes of regular saddles when viewed from above. They are T-shaped and pear-shaped. T-shaped saddles can be better if you have problems with chaffing and your quads rubbing on the nose of the saddle. A pear-shaped saddle can be good if you find you move around a lot from forward to back as when you slide forward, there will be more evenly dispersed support to aid in comfort.
Flat-ness of Bike Saddles
A second shape to the saddle to consider is how flat or not flat its surface is. When viewed from the back, how much curvature does the saddle have? The more curvature equals more pressure on the central areas between your sit bones which can be uncomfortable and should be avoided. You also don’t want the saddle too flat as with it slightly curved it keeps you centered on the saddle instead of sliding left to right.
Center Cut-out of Bike Saddles
The center cut-out on bike saddles is designed to take even more pressure off sensitive center areas. This is largely personal preference as some people find the cut-out to be the only way they can comfortably sit on a saddle while others find that it can cause increased pressure as well as pinch certain parts.
A test to see if you might benefit from a center cut-out is to sit on a hard wooden chair or bench and lean forward without arching your back to where you can rest your elbows on your knees. Sit like this for a few minutes and if you find that there is adverse pressure and discomfort on the soft tissue being pressured then you will most likely benefit from a cut-out in your saddle. This is particularly true for women but men can also benefit.
Firmness of Bike Saddles
The final indicator of saddle preference is how hard or soft it is. A lot of people think that a softer saddle with more padding will be more comfortable but in fact it puts more pressure on sensitive areas and not enough weight on areas that can handle it. It makes the pressure on your rump more even across the saddle and different areas can handle different amounts of pressure.
The general ideal firmness is in the medium to lower end range as this places enough weight on your sit bone areas while still being padded enough to give some comfort. Some people find that going all the way to no padding is the most comfortable as this puts the pressure exactly where you want it. For some, this is a bit too much so you need to find your personal preference.
Getting Comfortable with Your Bike Saddle Fitting
After you’ve chosen your perfect saddle you are going to need to test it. The best way is to do an hour or two of riding on it but nothing major as if it’s uncomfortable you don’t want to be half-way through a long ride and be stuck riding home out of the saddle as much as you can. Your rump may be a bit sore at first and for the first ride so you may need to give it some time. This is particularly true if you haven’t been riding much recently. As you ride, the muscles and tendons adapt to the pressure that is placed on them so when these pressure locations change, it will take some time to get used to.
It is extremely important to find a saddle that not only fits your contour but is also comfortable. Your saddle is the most important comfort piece on the bike as it holds the majority of your weight. Even with the right size saddle, flat-ness, firmness, and cut-out preference, you may have to try a few different saddles before you find one that’s comfortable. The little attentions to detail will save you a lot over the life-time of the saddle. And when you find one that works, stick with it. No need to change what works.

 Getting the right helmet fit is imperative to your safety. Wearing a poorly fitted helmet is almost just as bad as not wearing one at all. A good fitting helmet worn properly will not only help to protect you in the event of a crash but also looks good. There are a few things to know when buying a helmet as well as when wearing it.
 A
A 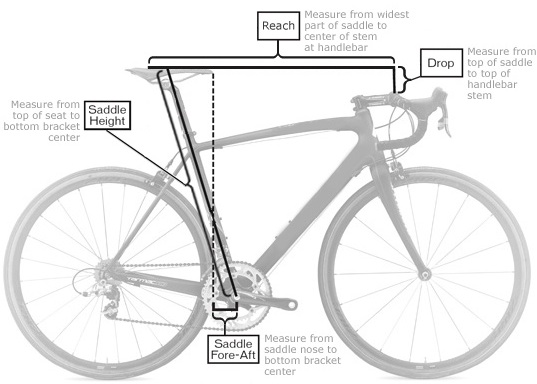
 Saddle Height
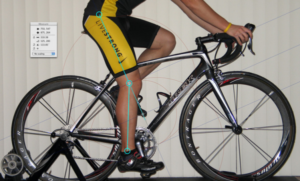
 Rarely do we ride down a road that’s exactly the same the entire time. The road changes surfaces, twists, turns, climbs, descends, as well as gives us traffic and dogs to look out for. Our position on the bike changes with each of these for comfort as well as functionality. Knowing which one to be in for each scenario will help you find those positions on the bike without even having to think about it.
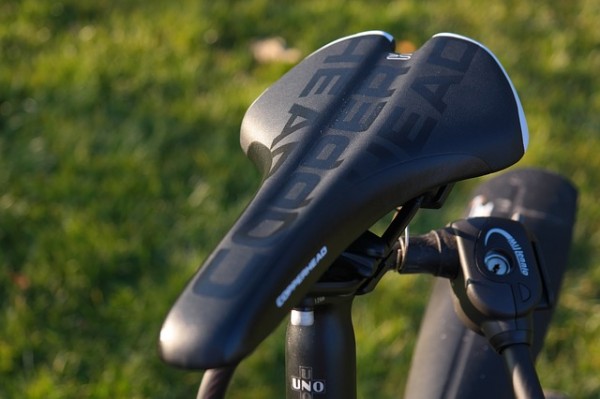 A lot of novice cyclists make the mistake of believing that their bike saddle isn’t all that important. After all, if they are just going to be on the bike for an hour or so a day, many reason that they can just get by with whatever came with the bike.
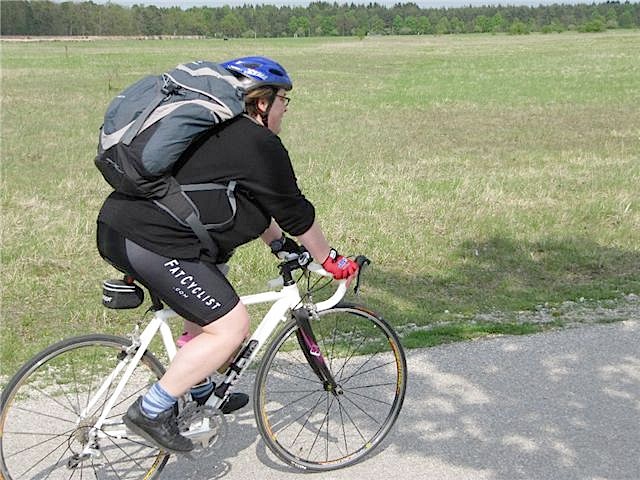
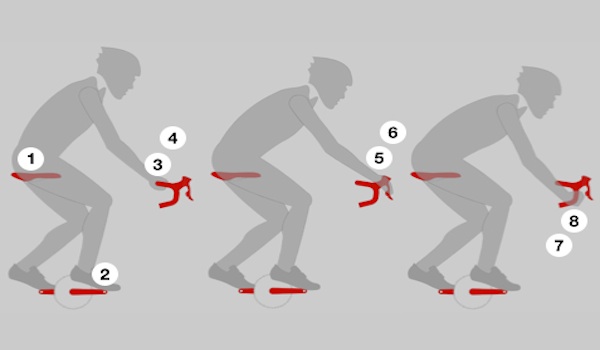
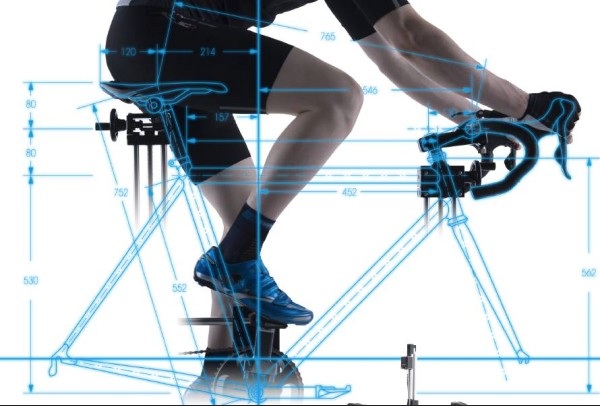 The saddle tilt is an important adjustment that needs to be taken into consideration. Lets take a look at what happens when the saddle angle is in the up, neutral and down positions.