The importance of stretching really can’t be overstated, especially for cyclists. Bike stretching exercises can help maintain flexibility and prevent injury, and can be done even while you’re out on your ride or before you head inside after a ride. Long rides and intense training sessions can result in tight and sore muscles, and being sure you properly cool down and stretch afterwards can go a long way to prevent muscle tightness and discomfort.
Now, you’ve probably seen some cyclists in the Tour de France somehow managing a quad stretch while on their bike, looking something like superman. Although this can be great for ensuring your stretching those muscles out along the way, for most of us its a better idea to attempt these stretches in a stationary position. These bike stretching exercises can be done with the aid of you bike, whether during a quick break mid-ride, or right after before you put your bike away. It is a good way to get into a routine and ensure you always remember to stretch.
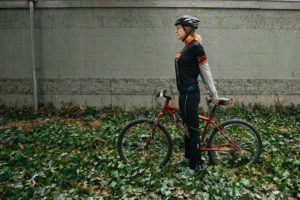
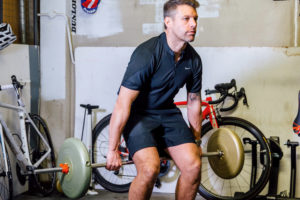
Quad Stretch
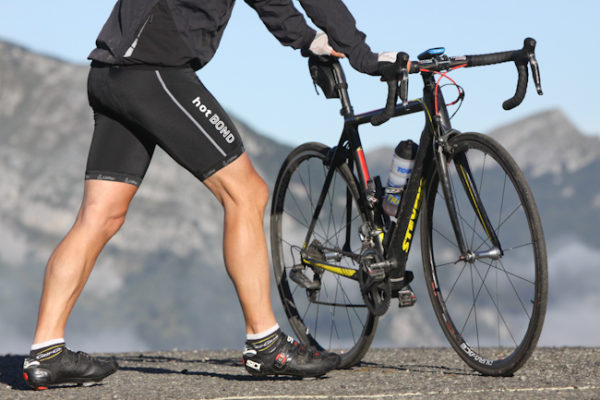
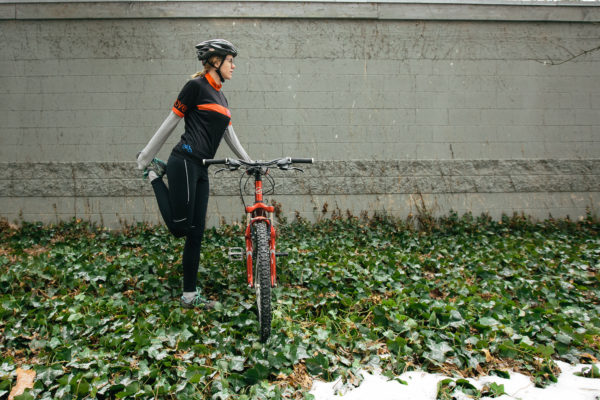
The quads are where a lot of your power comes from, and therefore are important to keep from getting tight. Place one hand on the saddle for support, and bend the other leg. Hold onto your foot or ankle , level your knees, and hold each side for 30-60 seconds. To increase the stretch, try tensing your glutes and pushing your hips forward, leaning into the stretch. Look straight ahead, or bring you chin to your chest and stretch the back of your neck.
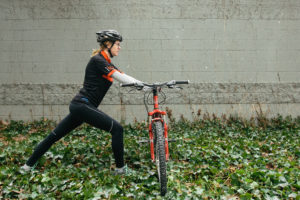
Hamstring & Shoulder Stretch
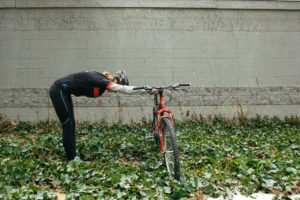
This stretch is great for stretching out the hamstrings as well as releasing tension in the shoulders and upper back from holding the cycling position. Place one hand on your hand bars, and the other on your saddle. Step back and hinge over at the hips, keeping your back flat and engaging your core. You should feel the stretch all along your hamstrings, as well as in the shoulders. To increase the stretch, push your hips away from your bike until you feel a decompressing effect as the spine lengthens. Hold for 30-60 seconds.
Glutes
Lift one leg onto your other knee, placing your ankle on top of the other thigh, using your bike to steady yourself. Slowly sit lower and relax into the stretch, keeping your back straight and core engaged. To protect your knee joint, flex the foot of the leg being stretched to keep the knee joint from straining.

Upper Back & Calves
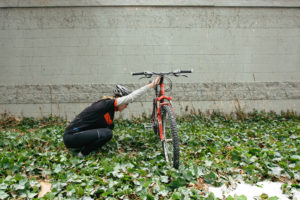
This one looks a little funny, but stretches your shoulders, upper back, calves and hips all in one position. Place your hand shoulder-width apart on your bike and lower yourself into a deep squat, keeping your arms straight. You should feel the stretch deep in your calves and in your shoulders the most, but you can try adjusting the positioning of your feet and hands until you hit those spots that need the most stretching.
Chest
The tense upper body position on the bike can make for a sore back, but over time it can also cause a shortening of the chest muscles and rounded shoulders. This stretch is great to do while you’re waiting at stop lights or having a water break. It will open up your chest and release tension. Place your hands behind your back and interlace your fingers, or hold onto your saddle. Lean forward slowly, keeping your back straight and core engaged, feeling the stretch in your chest.
Hip Flexors
Many cyclists suffer from tight hip flexors as they put in a lot of the work to lift your legs with each pedal stroke, so this stretch is important. Place both hands on the top tube of your bike, shoulder width apart. Step one foot back and bend the front leg as if going into a lunge position. Gently push your hips forward to feel the stretch in your hip flexor and in the thigh.

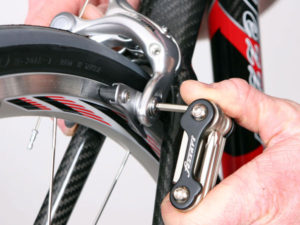 Brake Pads

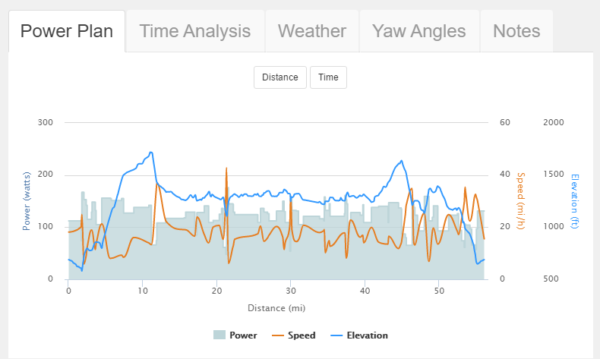
 The easier and more practical test can be done in 20 minutes. It may not be a “true” FTP test, as what you can maintain over 20 minutes will be different from what you could over an hour of pain, but it as much a mental test as it is physical.
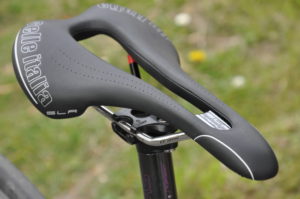 Cut outs


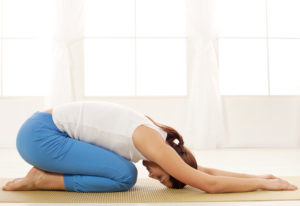 Yoga
Yoga
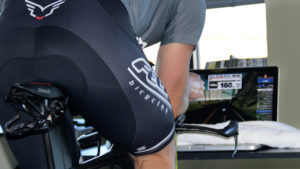
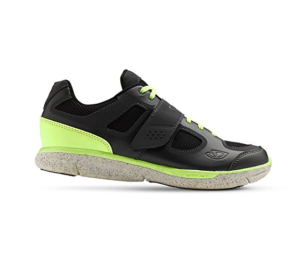
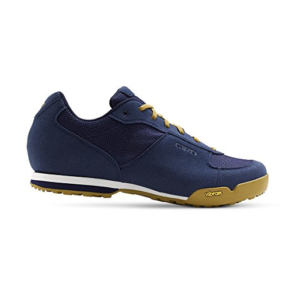
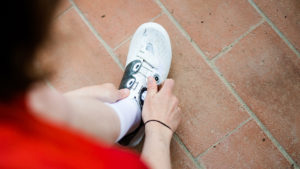 trying them out on your bike would be ideal. You want your feet to feel comfortable, but snug in the shoe. They shouldn’t be moving around within the shoe at all, as that will become very uncomfortable over a long ride.

 doctor for a stress test. However, you can also do a simple test yourself.