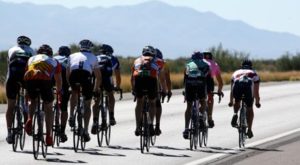
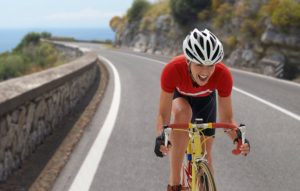
When the cycling world gathers around to discuss what might be the best core exercise for cyclists, there tends to be an all too predictable bee-line for the plank. Most sports, most gyms and most parts of the world have this same problem. Trainers, physios and even your family doctor might suggest this exercise from time to time. But what is it actually doing for us?
Cycling is not a stationary movement (even if you’re on a stationary bike!), yet we train this stand-still exercise to death hoping for some sort of miraculous return on investment. They’re a great beginner exercise, but once a certain level of proficiency is achieved (two-minute hold), it’s time to put the focus onto something more functional.
A core workout for cyclists should be dynamic, multi-faceted and tailored to each individual’s strengths, weaknesses and other physical activities. In this article we are going to teach you three unique exercises to make you a better cyclist. We’ll show you how to do them, what they’re working and why they’ll improve your performance.
First, the muscles.
Core Musculature
All movement emanates from the core. It’s tempting to think that cycling is all about your lower body, but your legs are not isolated entities. They are attached to that huge housing of organs, muscle and power that, if working properly, will be the starting point for any force eventually exerted through the legs and into the bike.
“Does your body have 650 muscles or does it have one?” – Paul Chek
This is a quote that is all too relevant when it comes to the core. There is not a single cell in the body that is oblivious to what the rest of your cells are up to. Fascial casings, innervations, origins, insertions, ligaments, tendons, muscle and bone make for one unbelievably complex and sophisticated movement web. A universal organism, and that organism: is you.
For these reasons, defining the core can be a herculean task all on its own. Today’s exercises will focus on tissues in the trunk and torso, as well as some auxiliary influence from the hips.
Specifically the following:
- Transversus Abdominis
- Rectus Abdominis
- Internal Oblique
- External Oblique
- Erector Spinae
- Multifidus
- Gluteals
Core Workout For Cyclists
These exercises are from one of our Dynamic Cyclist strength training routines. Week one, day two of our 3-month intermediate strength training program focuses on Core & Stability. You’ll be able to watch our certified personal trainer and coach of Dynamic Cyclist, Alisha demonstrate each exercise in the links below!
Hip Hinge Reverse Fly
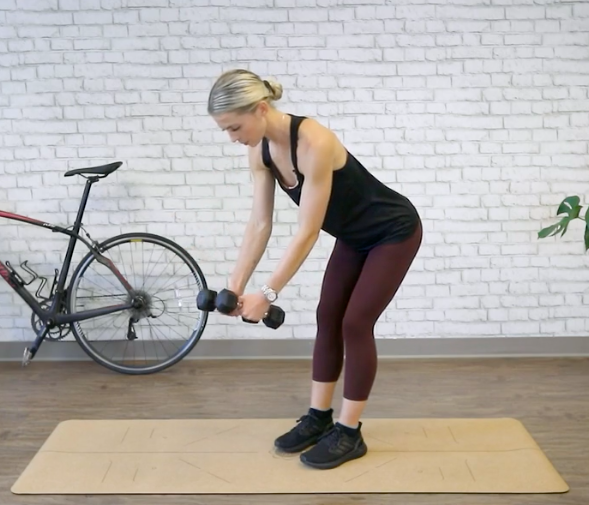

Standing with your feet hip width apart, push your hips back and bend forward at the same time while maintaining a neutral neck and spine. Keep a slight bend in the knees and elbows. Squeeze your shoulder blades together and lift the arms out wide until in line with your body. Slowly release back down. Repeat. Try this exercise with Alisha!
Why It Works
This is an amazing full-body and core exercise for cyclists.
First, you’ll hear Alisha cue to draw the belly button in while maintaining the hinged forward position. This activates the transversus abdominis (our deepest abdominal muscle), which wraps around your body like a corset and is crucial to lower back stability. It’s your body’s own built in weight belt. Training this muscle has shown to significantly reduce lower back pain in cyclists.
Second, your erector spinae muscles are working hard to hold up your torso in the bent position. Having the ability to produce stiffness in these large, powerful back muscles will transmit force more efficiently to and from your legs every time you pedal. It will also aid in injury prevention of the low back and better posture (two things a cyclist desperately needs!).
Third, actually performing the reverse fly movement with dumbbells gives the posterior (back) part of your shoulders some much needed love. The hunched over position we find ourselves in while cycling tends to stretch the shoulders and upper back into a forward, rounded position. This exercise reverses that by strengthening and tightening those same areas.
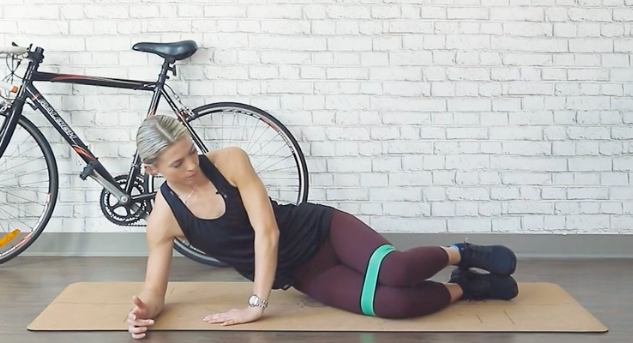
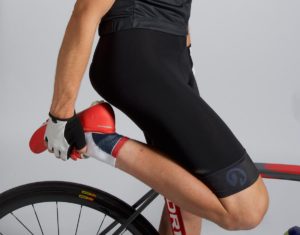
Plank Hip Dips


Starting in a forearm plank position with your tail tucked (glutes squeezed) and belly button drawn in, drop your hips down to one side, then return to the start position. Rotate to the other side, return to the start position. Repeat. Try this exercise with Alisha!
Why It Works
This is how you turn the plank into a good core bike exercise! The strength of a person’s abdominal muscles is a reliable predictor of cycling performance, and this exercise (if done correctly) works all of them.
You’ll hear Alisha say to tuck your hips down at the beginning; this not only engages the glutes, but also the lower and upper abdominal muscles. You’ll again be cued to draw your belly button in, activating the transversus abdominis. And finally, by twisting and dropping your hips side to side, you’re working the inner and external obliques.
By working your abdominals, hips, back and upper body in conjunction with one another, you’re teaching the body to work as an integrated unit. One thing you’ll see in cyclists that lack this ability is excessive movement and swaying in the hips and torso when they start pedaling hard. This bleeds force into unnecessary areas and increases the risk of injury. So let’s not do that!
Clamshells w/Mini Band

Place a mini band just above the knees and lie down on your side with your forearm beneath your shoulder. Your heels, butt and shoulders should be in one line. Open up your top leg, squeezing your glute, and then slowly lower back to the start position. Repeat. Try this exercise with Alisha!
Why It Works
Our gluteal muscles serve an important role in cycling. They share an intimate connection with the core musculature via their attachment to the pelvis. This exercise works all the gluteal muscles and also activates tissues in the lower back.
The largest and most powerful glute muscle is the gluteus maximus, and it initiates the power phase in our pedal stroke. Being able to forcibly extend the hip is key to any sort of speed or climbing work on the bike. Well developed glutes will align your pelvis for better posture, and training them helps to counter modern activities such as sitting or driving.
The multifidus runs along the whole vertebral column and has its main bulk in the lower back. Many people have a weak multifidus due to inactivity or improper training which leads to instability. The clamshell exercise stimulates the multifidus and makes a connection between the core and hip muscles for a strong back and efficient power transfer while riding.
More Core Workouts For Cyclists
By incorporating cycling core exercises into your program, you’ll be proactive in the prevention of injury and contribute to better overall performance on the bike. Our comprehensive Dynamic Cycling core strength training routines have helped countless people ride pain and injury free.
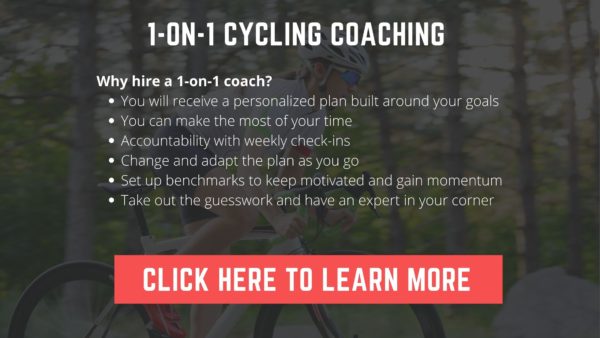
These were just a few exercises from the hundreds you will have to choose from in our extensive video library. Dynamic Cyclist offers instructional, follow-along workouts and routines led by world class instructors, and even 1-on-1 coaching for a more personalized approach.
Remember, everything emanates from the core. So it’s important to train it to stay healthy and strong for many more years to come!


 7. Increases your Self-Esteem
 Neck Pain
 Proper Warm-Up


 Although cycling is a great way to lose weight, you’ll want to leave your diet at home. Under fueling your rides or eating the wrong food at the wrong time can halt your progress and make training a miserable experience. At the same time, over fueling and using a long ride as an excuse to each 3 cheeseburgers also isn’t great.