Frames and Water
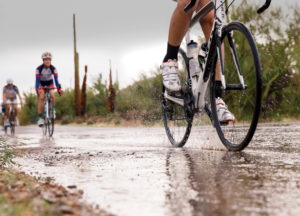
Paint and powder-coating is applied only to the outside of the frames on steel or aluminum, and is really not designed for long term bike maintenance. Water on the inside of a frame tube is actually more damaging than on the outside because it evaporates much more slowly. It also can’t be wiped down with a towel and easily dried. Plus, damage to the inside is hard to monitor.
Inspect for Cracks
Normal use can eventually result in fatigue cracks and then breakage. Keep an eye out for hairline cracks in the paintwork, especially in high stress areas such as around the top of the fork, underneath the downtube, around the bottom bracket, and around where the rear wheel attaches (the dropouts).
Other structural components such as the stem, seatpost and handlebars can also crack, so inspect those too. If all else is equal, an aluminium frame will be more susceptible to cracking than steel in long term maintenance, and carbon fiber even more so, but any frame can fail. It’s preferable to find a hairline crack before it develops into a fully broken frame. If you have a brand name bike, check with the manufacturer, they often offer a lifetime frame warranty.
Serious Frame Maintenance
 Water can seep into a bicycle frame from many points. The more common points are around the seatpost, headset, bottom bracket, and water bottle braze-ons. Some builders provide drain holes at the bottom of the fork tubes, in the seat stays near the rear dropouts, and at the bottom bracket to allow accumulated water to drain out. If you can find them, use them.
Another way water can get inside is through condensation. Even if you don’t ride in the rain, moisture laden air gets into a frame. As the process repeats itself, a corrosion or rust problem can gradually develop.
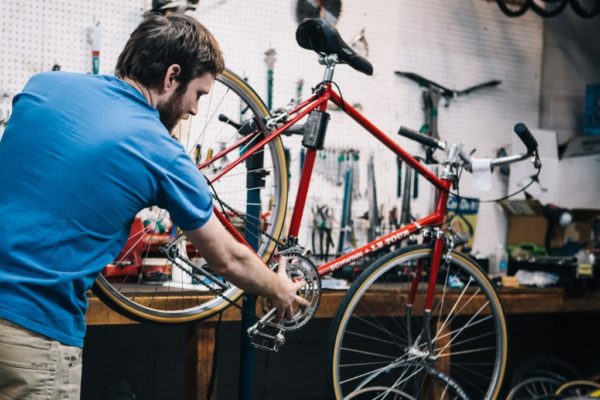
If you want to perform long term maintenance, you will need to remove the crankset & bottom bracket, seatpost, and headset at a minimum. Spray bicycle-specific frame protectant inside and reassemble the bike.
Long Term Bike Maintenance
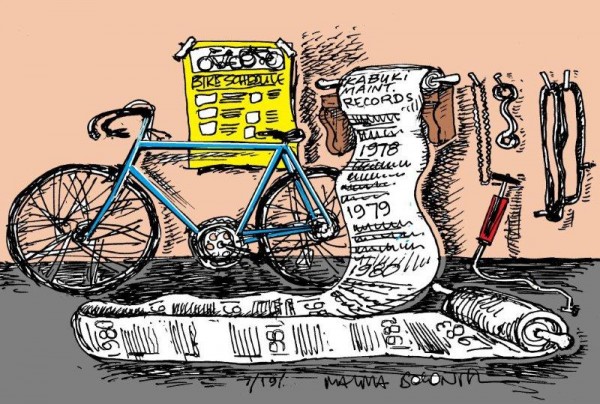
Long term maintenance is very basic:
- Keep your bike indoors.
- Wipe it down after riding in wet conditions.
- Apply bicycle specific protectant to the frame.
Carbon Frames
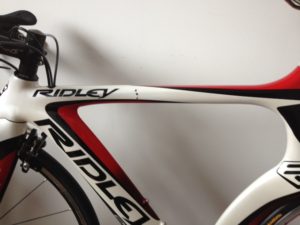
Carbon fiber frames are much easier to care for than steel or aluminum, and carbon fiber is incredibly tough and weather-resistant. Most carbon fiber frames can’t be disassembled like steel or aluminum. On stems and handlebar and seatpost contact surfaces, regular carbon paste applications can keep them operating and working smoothly for years to come.
Seatpost Concerns for Alloy Bikes
Remove your seatpost and stem every 6 to 12 months, clean off any corrosion, and lubricate with grease. Most other steel to aluminium interfaces such as pedal threads and bottom bracket cups should also be greased prior to fitting for exactly the same reason.
Maintenance on High Mileage Bikes
The mechanical cleaning and maintenance of your bike’s drivetrain is often the most overlooked. It’s the gritty, gross, black-hands work that is easiest to delay or ignore but will definitely make your bike’s components last longer.
Bearings are Everything
Ball bearings are everything to your bike. They’re used in the freewheel, the pedals, bottom bracket, the headset, and the wheels. Most need a bit of new grease and adjustment a few times a year depending upon how much you ride. With bearing maintenance every 12 months, good bearings will last for years. If a bearing is used without grease it wears quickly and may rust. If a bearing is a bit loose but continues to be used, all the weight and force is placed on only one or two balls instead of being shared equally. This causes more rapid wear and can cause almost instant damage.

Adjust or Replace
It is almost always cheaper to fix a bearing problem early than to leave it. If spotted in time, all it may need is a little adjustment. If the bearing surfaces are damaged from continuous use, the only option may be to replace the whole component.
Lube is Critical
Regular lubing reaps the largest benefit for your bike. Anything joints between moving parts must be lubed. It is also where cleanliness equates to smoother shifting, greater efficiency, and increased longevity of the parts.
Chains and Pivots
Lubricate the chain and pivot points on the brakes and derailleurs. Pivots are places on the derailleurs and brakes where things move. For derailleurs, apply the lube where the body of the derailleur moves or swivels. Use a light, bicycle-specific lubricant and don’t apply too much, because that only attracts dirt and grit that accelerates wear. Chain links appear bright and shiny when they need lube and they also make noise. Apply only enough lube to put a light coat on the chain, about one drop per link. Any more than that and grime and gunk just builds up. Be sure to wipe off the excess.
Chain Issues
Chains are one of the biggest concerns for long term bike maintenance. But when should you change it for a new one? Some recommendations call for changing your chain every 2,000 miles, but this can be misleading. Chains wear more quickly for riders who often encounter hills or bad weather, while identical mileage over flat terrain in nice weather causes far less wear. In addition, if you weigh 125 lbs, 2,000 miles of cycling will wear your drive-train much more slowly than a 195 pound cyclist.
Measure It
Chain wear can be measured with an ordinary 12-inch ruler. Measure from one link pin, down to the 12-inch mark. The next pin should measure exactly at 12-inches. If the next pin does not line up exactly with your ruler’s 12-inch mark — it’s time to replace your chain. There are chain checker tools sold at bike shops that help you evaluate chain wear more easily. Failure to replace chains when they need it will lead to a complete drivetrain replacement because worn chains wear out the teeth of the gears.
