As cyclists and as human beings, our bodies are meant to be moving. With the integration of technology into almost every area of work, there are more and more of us sitting at a computer for 40 hours a week. So we ride to and from work, walk to get groceries, and head out for long rides on the weekend as a way of offsetting the desk chair. The bad news is – this may not be enough to counteract an entire workday of sitting. Incorporating stretches you can do at your desk into your day-to-day routine can help reduce the risks of a sedentary lifestyle.
In addition to this problem, as cyclists we develop a selection of major muscles through time in the saddle, but there are other that remain underdeveloped. Opposing muscle groups are not often moved through their full range of motion, which can cause muscle imbalance. Regular stretching for cyclists, even if it’s brief, can help balance posture and reduce stiffness and soreness.

Ideally, you should stand up from your chair every 20 minutes. If you have a standing desk, raising it up at different intervals can help combat the risk of a sedentary lifestyle. Getting up to go to the bathroom, grab a coffee, walk to a meeting, or head out for lunch are all great, so you just have to target those sections of your day where you are not getting as much relief. You don’t have to stop working, run a lap of the office and drop down into downward dog. Even simple stretches at your desk can help get blood flowing and wake up your muscles. Here are some of the most effective stretches you can do at your desk.
Stretches You Can Do At Your Desk
Stand up and sit down
Okay, so it’s not exactly a stretch, but the simple act of standing up and down does wonders! Plus, you can do it while you’re on the phone and no one will ever know.
Shoulder Shrug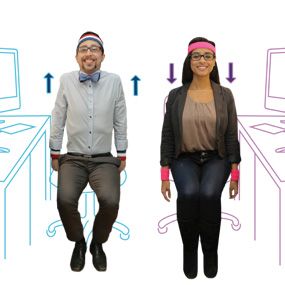
Inhale deeply and shrug your shoulders up towards your ears like you’re saying “I don’t know.” Hold, then release and drop them back down slowly. Repeat 3-5 times.
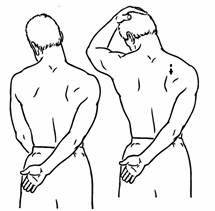
Torso Twist
While sitting, turn your upper body to the right and grab the back of your chair with your right hand, holding the arm of the chair with your left arm. Turn your head as far the right as you can, feeling a stretch in your spine, abs, and neck. Hold for 15 seconds. Slowly come back to face forward, and repeat with the left side.
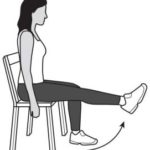 Leg Extensions
Brace your upper body and raise your legs up one at a time so they parallel to the floor. Depending on your desk set up and how much leg room your have, you may even be able to do this under your desk. Holding your leg our in front of you, point and flex your toes forward 5 times. Release and repeat with the other leg. Repeat as many times as you want!
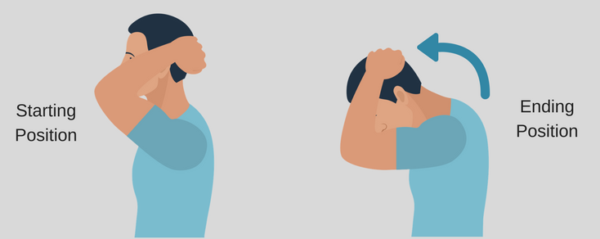
Give yourself a hug
Not only does this stretch feel great, but you get to give yourself a much deserved hug. Place your hands on the opposite shoulders, breathing in and out slowly. You should feel a stretch between you shoulder blades.
 Raise Your Hands
Sit up tall in your chair, stretching your arms overhead and interlocking your fingers. Turn your palms toward the ceiling as you left your chin and tilt you head back, looking up at the ceiling. Take a few breaths here before releasing.
Leg Crossover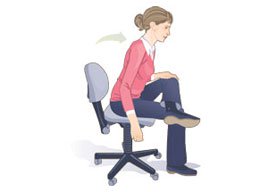
Sit on the front edge of you chair, with your thighs parallel to the floor and feet below your knees. Lift your right foot and place it over your left thigh, ensuring the ankle clears the leg. Your right shin should be parallel to the ground, feeling a stretch in your hip flexor. To deepen the stretch, hinge at the hops and tilt your torso forward, keeping your back straight. Hold for 30 seconds, and repeat with the left side.
You don’t need to sign up for daily yoga classes or commit a ton of time to stretching, but even a little bit can go a long way in keeping you injury free and feeling your best. Start with 10 minutes a day, 4-5 times a week and you will start seeing and feeling the results. If you want a more intensive stretching program for cyclists, check out stretching routines for cyclists by Dynamic Cyclist. They have daily, easy to follow stretching videos designed specifically for and by cyclists. Spend less time thinking about how and what to stretch, and more time in the saddle!


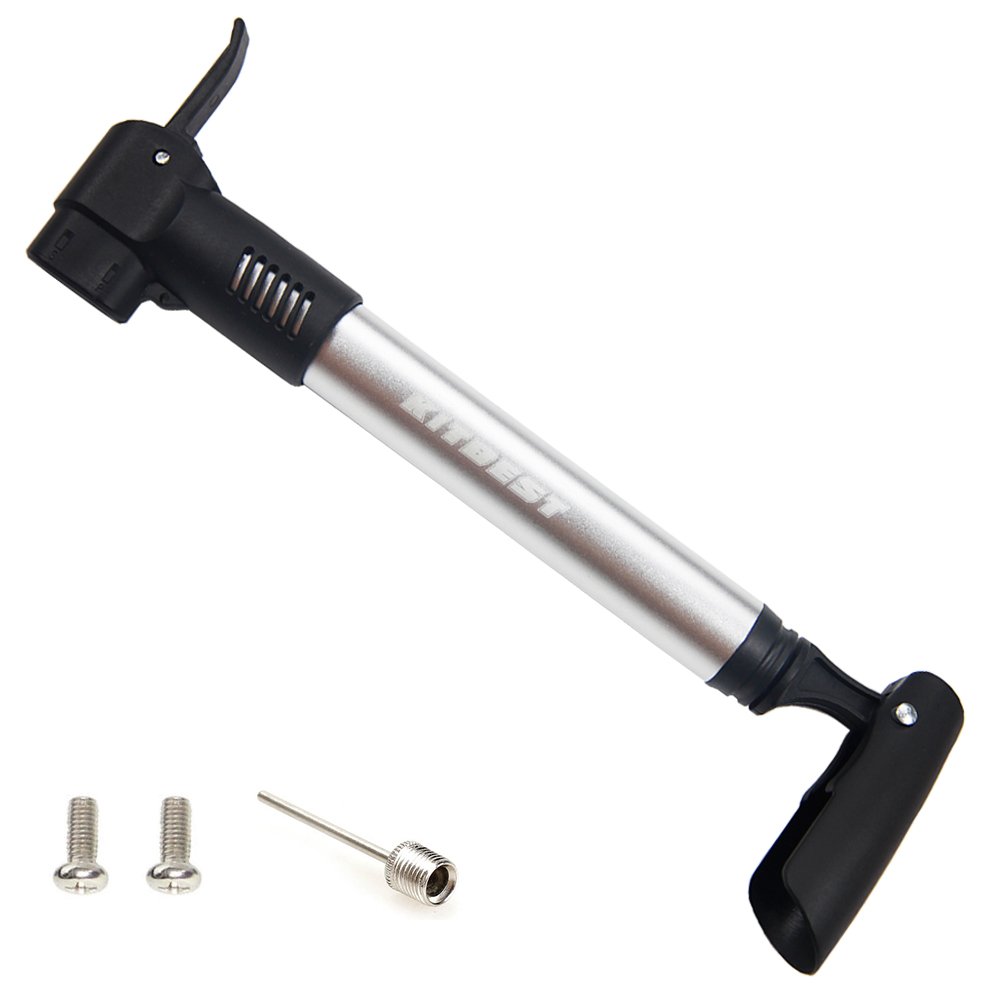


 Lets face it: Tubeless is annoying to set up without a compressor. Thankfully


 Brake Pads


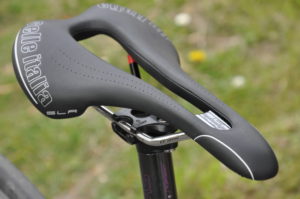 Cut outs