If you have wide feet, you know the feeling. A numbing pain and screaming pinky toes that have had enough of being crushed into the side of an ill-fitting cycling shoe. The good news it: you’re not alone. There are specifically made wide cycling shoes to cater to your aching toes.
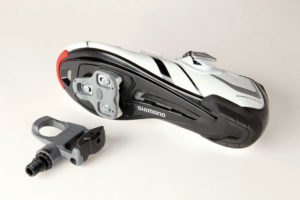
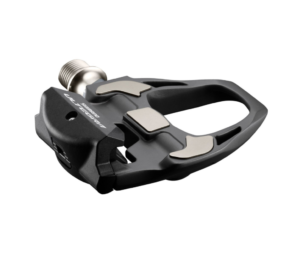
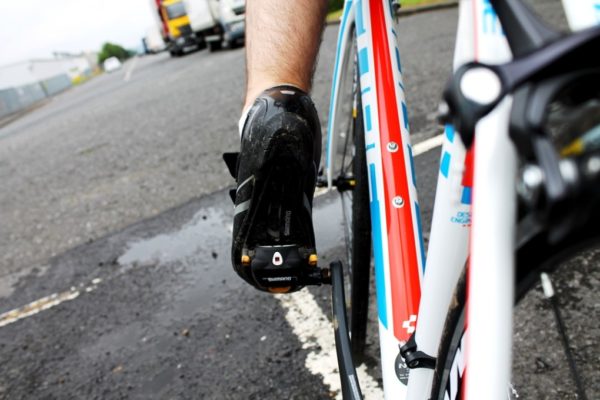
Clipless pedals are a must when it comes to efficient pedalling on a bike, but their coinciding cycling shoes can be a little unforgiving. Unlike regular shoes, cycling shoes are rigid, most often made from materials that do not stretch out over time. So, if you’re feet measure somewhere in between hobbit feet and flippers, then here are some of the best options out there.
Before You Buy New Shoes
Getting a pair of specific wide cycling shoes, or at least a brand that has a bit more breathing room, is going to be your best option. However, before you make the investment, make sure you’ve tried everything to make your current shoes work.
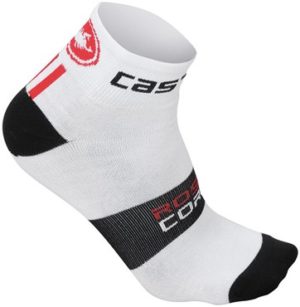
- Try ultra-thin socks – Assuming it’s not below freezing where you’re riding, trying a super thin pair of socks could help create enough space in your shoes to make them work. Check out Castelli’s line of thin cycling socks, or Swiftkick Aspire. Even if they don’t fix the shoe problem, they are great cycling socks to have.
- Get a bike fit – Make sure the problem really is being caused by shoes that are too tight, and not an improper bike fit. If your cleats are not in the right spot, or if your saddle isn’t adjusted properly, it can cause pain in your feet. It’s worth a visit to your local bike shop for a bike anyways if you haven’t had one.
Finding The Right Fit
If you’re buying shoes in a store, you can actually take the insole out and measure it against your foot if you’re not sure how the shoe should feel. Your heel should be right at the back of the insole, and there should be 3-5mm from the end of your toes the top of the insole.
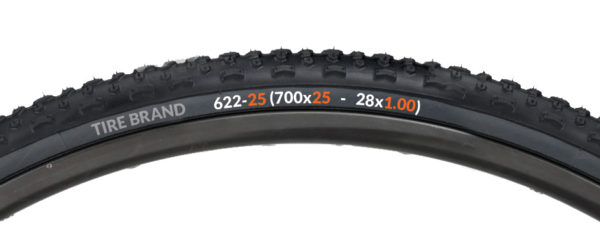
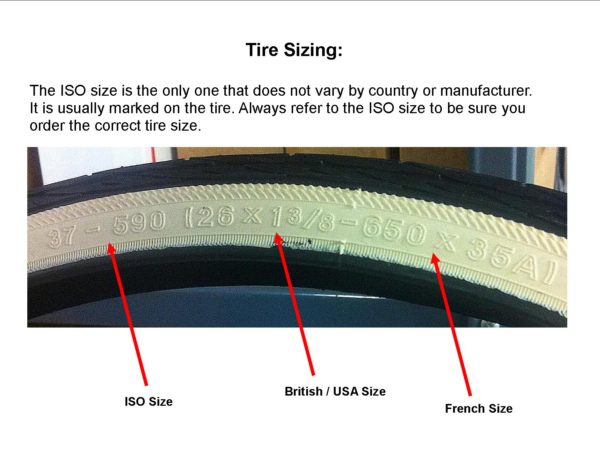
If you’re buying online, you will need to measure your foot. Get a regular piece of paper and put it on the floor, right up against a wall. Place your foot on the paper, with your heel pushed against the wall. Draw a line at the end of your big toe. Measure the length in cm, and add 5mm to the number to establish the length of shoe you need. You will also want to measure the circumference of the widest part of your foot. You can then reference these numbers with sizing charts from the manufacturer you choose to buy your shoes from.
Wide Cycling Shoes
It can be tempting to just go a size bigger when you’re purchasing cycling shoes for some extra room, but this can actually cause even more problems. The extra length may feel good on your toes while you’re in the store, but it will cause your feet to slip within the shoe when you’re clipped in. Not only will this feel awful, but it can cause your cleat to be placed too far forward, taking a toll on your power and efficiency.
That being said, there are shoes made specifically for wide feet that will ensure your toes are nice and comfy, but keep your foot is locked into the correct position. See the following for some of the best options out there.
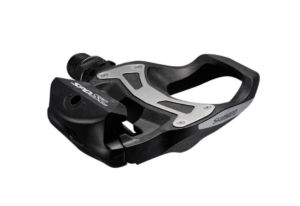
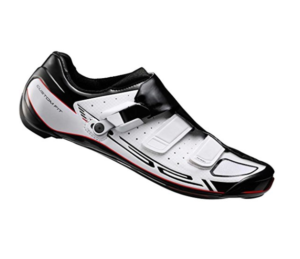
Shimano Men’s RP3
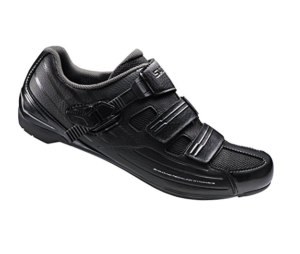
$109
Shimano has the most options when it comes to the wider fit, offering regular and wide sizes on most of their shoes. The Shimano RP3 cycling shoes are a great entry level shoe, with a fiberglass reinforced nylon sole and three adjustment points for the perfect fit.
Lake CX 237 Wide Road Shoe
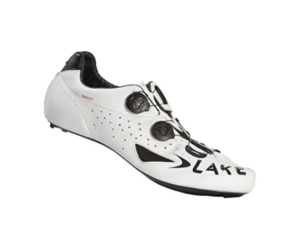
$289
Exactly the same as the CX237 shoe, the wide version gives an additional 15mm wiggle room compared to the regular width. With a carbon sole, and two micro-adjustable Boa dials, you have the ability to make adjustments to the fit of the heel and forefoot so you get a secure fit without sacrificing your circulation.
Bont: Riot or Vaypor
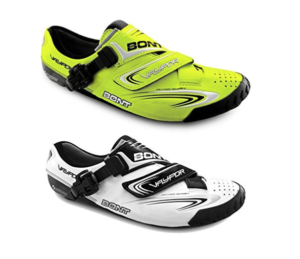
Riot: $99
Vaypor: $199+
They may be harder to find, but Bont Cycling has a few heat-molding shoe options that make them popular for those with wide feet. The Riot and Vaypor models both offer a custom fit through heat-molding that can be repeated until you are happy with the result.
Shimano R321
$299
The Shimano R321 was released in 2016 with heat moldable Custom-Fit technology applied through to the upper, insole, and heel cup. This does not, however, allow for a widening of the shoe in general, so they have a wide version available in each size. The sole construction itself gives an extra 11mm of adjustment range, so you can find the ideal shoe-pedal connection.