New gadgets and toys often come with manuals but who actually opens them up let alone reads them? A bike pump seems simple enough to operate but not knowing how to use a bike pump is something that may have you flustered.
Knowing How To Use A Bike Pump
Typically you find out that you don’t know how to do something when you precisely need to do that something. Knowing how to use a bike pump before you actually need to use it can be a headache saver but some of you likely found your way here to this article because you need to do that something right now; pump up your tires.
The Types of Bike Pumps
First, you need to know what kind of bike pump you have. Trying to pump up your tires with your feet holding the bottom of one pump won’t work too well with another. You will also need to know what type of pump head you have and how it works.
Floor Pump
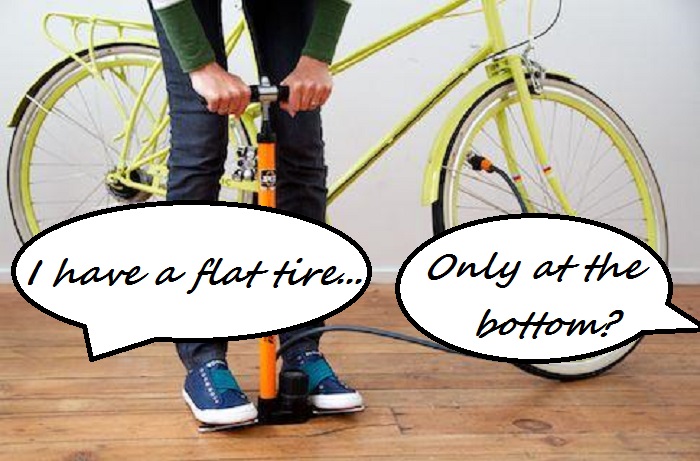
A floor pump, as pictured above, is a pump you will likely leave at home or maybe in the back of your car. This is a tall pump that is held in place by placing you feet on the bottom of the stand.
Frame Pump
A frame pump is a long, slender pump that fits along the top tube on your bike to pump up your flat tire while out on a ride. It’s advantages over the below pumps are that it requires a lot less strokes and can reach a higher pressure; important if you’re on a road bike.
Hand Pump
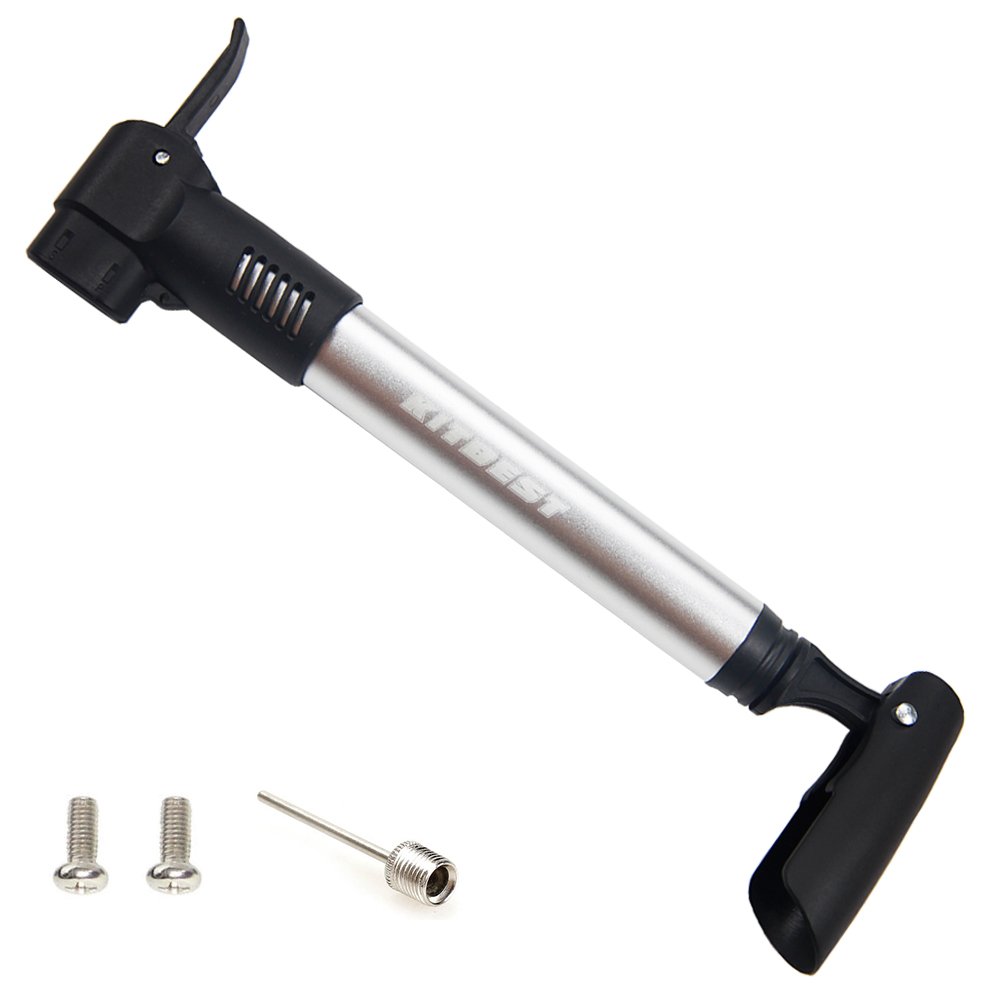
A regular hand pump is small enough to fit in a jersey pocket or perhaps yours came with a mount that attaches next to your bottle cage. These ones are handy while out on the road but less than ideal if you’re using it to pump your tires up at home every few days.
Ultra Mini-Pump
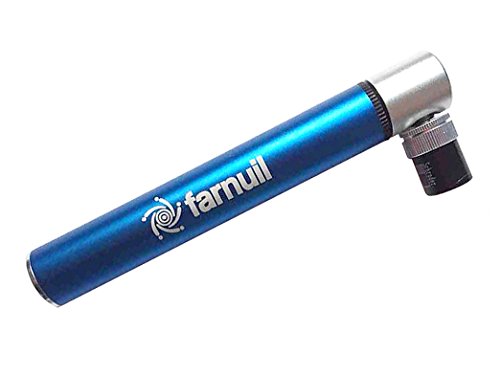
Having a pump that is small enough to easily fit in a jersey pocket amongst other stuff along with in a saddle bag or side pouch of a Camel-bak can be super convenient. It will get you out of a bind but be ready to do a lot of pumping.
CO2 Cartridge
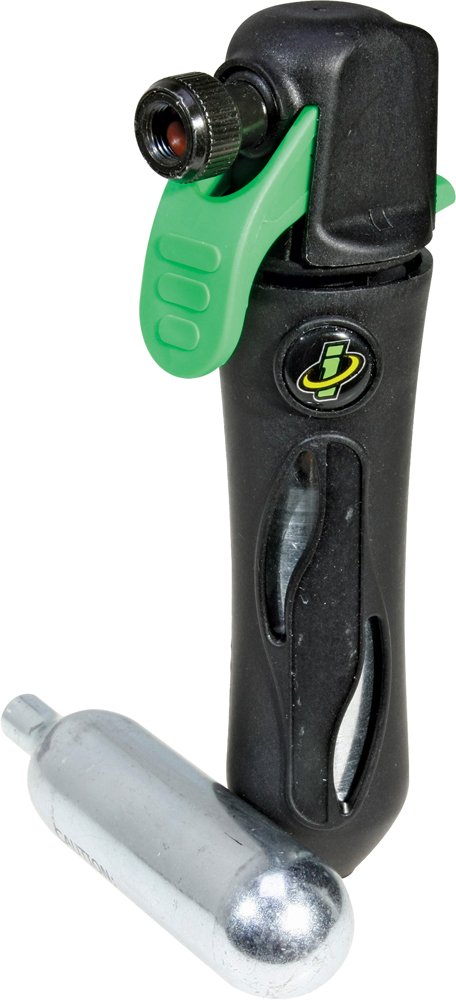
A CO2 cartridge is super fast and efficient, unless you need to pump up more tires than you have CO2 cartridges; then you’re quick flat change is a long walk or wait for a ride.
The Differences in Pump Heads
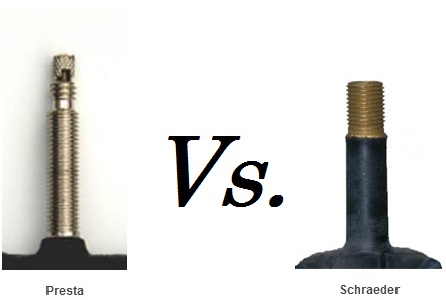
Now that you know what kind of pump you have, you have to know how to attach it to the valve stem. But before you do that you need to know what kind of valve stem you have to make sure it is open as well as to make sure you are using the right style pump head. The two types of valves are Presta and Schraeder. Below, Presta is to the left. With this type you need to unscrew the top-most piece counter-clockwise to open the valve before pumping. To close, simply turn clock-wise. Schraeder valves, to the right, are ready to pump and don’t need opening nor closing. Just make sure you take off the plastic cap first.
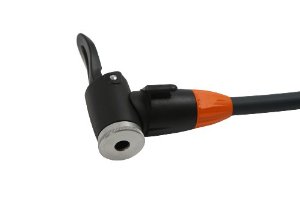
Now that you know what valve type you’re working with, you need to know which head you have and how to use it. The first type, which you will find on all of the pump types, is the standard single nozzle head. These typically work with both Presta and Schrader valves by unscrewing the outer plate (in the image below, the silver piece) all the way off. This will expose a rubber nozzle. For Schrader, you will want the wider side pointed outwards. For Presta, you will want the narrower side pointed outwards. Behind this nozzle you will then probably find a plastic piece. For Schrader, place the pointy-tip side towards the outside. This is what de-presses the valve pin on the inside of the Schrader valve. For Presta, place the point-tip away from the nozzle. Once you have these pieces orientated for your valve type, simply screw the cover plate back on.
For a dual nozzle, pictured below, simply place the valve into the correlating hole. Large size for Schraeder, small size for Presta.
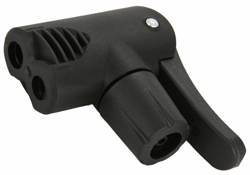
Now that you have the valve in the correct size nozzle, you need to lift the lever on the rear of the valve head. This tightens down the rubber nozzle to ensure no air loss. (Note: On some fancier models this is reversed. Before placing the head on the valve you can lift the lever and see if the nozzle tightens down or not.)
How To Pump You Bike Pump
Now that you have the pump head securely attached, you are ready to pump. With all of the pump types, they will likely seal well when new but when they age you may need to hold the valve head tight to the valve with one hand while pumping with the other. With a floor pump, simply place a foot or two on the base and pump away. With the other pumps you will want to hold the other end of the pump with your other hand so all of the force isn’t placed on the valve stem. If you don’t do this you will likely brake the valve stem off leaving you with a less than ideal situation. A good way is to hold the valve head while also holding the rim to support your hand.
CO2 Option
With a CO2 cartridge, the attachment mechanism might be the same or perhaps a little different so you will need to do the same things mentioned above to make sure you’re using the right valve nozzle and then to make sure it’s securely attached. Then instead of pumping, you tighten down the cartridge to pierce it and either the tube will start filling up automatically or there will be a button to press to begin inflation. Either way, make sure you don’t over inflate the tire and when you take the valve head off a Presta valve, make sure it doesn’t freeze open. Simply give the valve a tap down and turn to close quickly.
What Pressure Should I Pump To?
Now that you know how to use a bike pump, what pressure should you pump to? With a floor pump you will be able to get your tires easily to whichever pressure you like. With the other pumps, it will likely be hard to get the pressure up to what you were riding originally. On road tires, get as much air in as you can to avoid pinch flatting. You won’t have a gauge so you will have to go by feeling the hardness of the tire with your thumb. For road tires, you should only be able to press in a tiny bit. For cyclocross and hybrid bikes, you should be able to press in a bit more, perhaps two to three millimeters. For mountain bike tires, you should be able to press in even more, five millimeters to one centimeter.
