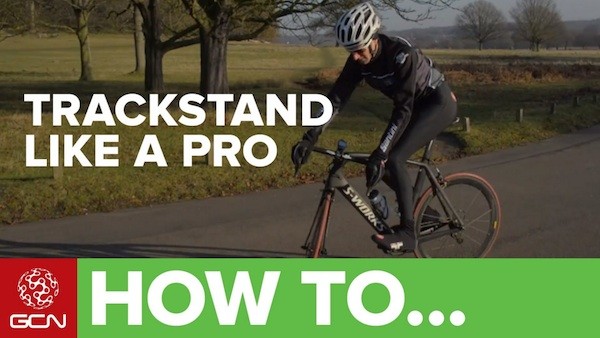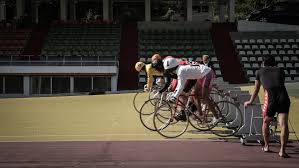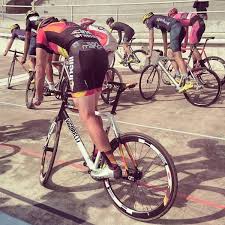
The trackstand is not a device, it’s a technique. If you’ve watched any velodrome racing, you’ve seen the trackstand many times, racers simultaneously doing the trackstand, waiting for the gun to go off.

The trackstand maneuver is a technique that builds confidence, balance, and makes you safer at busy intersections — or it can get you a date during group rides, because it’s that cool. The trackstand maneuver is a technique that you can learn at home, in your garage or anywhere else where you can practice out of traffic.
Old-School Maneuver
It sounds simple enough — a procedure of balancing your bike momentarily without removing your feet from the pedals. The maneuver has been around forever, aptly named the trackstand because of it’s original application on the track. It’s easier to do a trackstand on a fixed-gear bike, but it’s not the only game in town, road bikes are fine with it.
Anatomy of a Trackstand
Body, hand and wheel position, and practice area are all important when doing a trackstand. And unless you can unclip in an instant, don’t use clipless pedals. Flat pedals are recommended when learning the trackstand.
Uphill Grade
It’s beneficial for learning purposes, that the practice area have a slight uphill grade. A slight upgrade stalls the bike without using your brakes. Your bike should be in a middle cruising gear. Low gearing can launch you forward if you sneeze.
Stand Up
Ride into your practice spot, and allow the uphill grade to gradually slow down your bike. Stand up on the pedals. Legs slightly bent, pedals should be in the three and nine o’clock position, parallel with the ground. Be aware of your front pedal, don’t allow your foot to rub against the front tire.
Light Grip
Grip the handlebars firm, but not tight. Clinching the handlebars tenses your whole body, and it needs to stay somewhat relaxed.
Body Position
Focus on centering your weight over the bottom bracket. Too much weight forward throws your center of gravity out of whack.
Look Ahead
It’s very tempting to look down. but don’t watch your front tire. Looking down at your front tire disrupts your equilibrium. Look straight ahead.
Turn the Wheel
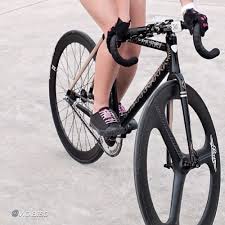
As your momentum declines to almost nothing, turn the front wheel in the direction of your front pedal. Apply enough pressure to the front pedal to hold your position. Don’t use your brakes unless you have to, feathering them only, don’t lock em up.
Roll Back
At this point you’ll probably feel unsteady. Lessen the pressure on the pedal. Allow the bike to roll backwards a few inches, but not more than about a foot, if necessary, and repeat ratcheting back and forth in this manner until you feel a balance.
Practice Makes Perfect
Don’t be discouraged if you’re not perfectly still, or can’t hold the position. Dismount and attempt it again until you get the feel for it. Practice at intersections with little traffic, or wherever.
Motionless Equilibrium
Once you’ve got the hang of it, and can balance with a minimum of movement, try to minimize it. They key is to stay relaxed. Apply only light pressure to your front pedal to keep yourself still. If you feel like you’re falling, apply more pressure to the forward pedal. If you feel like you’re falling in the opposite direction, ease the pressure. At some point you’ll feel perfect, motionless equilibrium.
Group Effort
If you’re involved with a cycling group, ride into a deserted parking lot and practice together. See who can hold the trackstand for the longest period of time. Trackstand experts can go for 30-minutes or more. The average cyclists might squeeze 3-to-5 minutes or more out of it. By comparing technique and equipment, the group trackstand gives you some idea of how your balance stacks up against the others, or what works, and what doesn’t work.


