As the driving force of the bike, your chain sees a lot of wear and tear. Over time, distance, and cycling conditions, the rivets and rollers begin to wear out, causing the chain to actually stretch in length. A brand new chain will measure 12 inches across 12 links, so if you measure your chain and it is 12 1/16 inches across 12 links then it’s time to replace it. If it is stretched even further, it has most likely damaged your cogs.
The first thing you’re going to need to know is the necessary length for your new chain. There are a few methods to accomplish this, which we will break down for you in this article.
Tools Needed
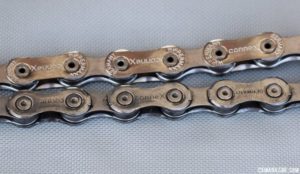
There are two main types of chains: master link and connection rivet chains. Master link chains use two removable outer chain links to connect the chain, whereas connection rivet chains use a special rivet to make the connection. The tools needed will vary depending on which type of chain you have.
- Chain tool – for cutting the chain.
- Master link pliers – to disengage chains with master links.
Methods to determine chain length
Method #1: Size to old chain (count links)
If your old chain was sized correctly, it can be used to determine the length of your new chain. To check if it was the correct size, shift the bike to the smallest sprockets and check the chain for any slack. There should be no slack in the chain, but the derailleur should not pull back far enough for the chain to make contact with itself.
Next, shift to the the largest front and rear sprockets. The chain should easily make this shift, and have two slight bends at each pulley.

Once you’ve determine your old chain was sized correctly, remove the chain and lay it out on a flat hard surface. You can either lay out the new chain next to the old one (ensuring that it is lined up link by link to eliminate any disparity due to chain wear) or simply count the links on the old chain, and cut the new chain to match the number.
Method #2: Largest cog and largest chainring method
The easiest way to determine bike chain length is the largest cog to largest chainring method.
- Once the old chain has been removed, shift the front derailleur to the largest
 chainring, and the rear to the smallest.
 - Wrap the new chain around th the largest chainring (at the rear), making that if the chain has an outer plate, it is routed toward the front chainring.
- Pass the chain through the front derailleur cage and onto the largest front chainring.
- Hold chain at the 5 o’clock position.
- If you are using a masterlink chain, install half the masterlink onto the front end of the chain to account for the extra half link the master link provides.
- Pull the lower section of the chain stug towards the front chainring, bypassing the derailleur altogether.
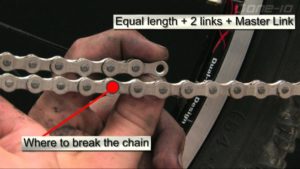
- Find the closest rivet where the two ends could be joined and add 2. This is your cutting point.
Method #3: Chain sizing by equation
It is possible to determine chain length from a simple equation before you even take your new chain out of the box. Remember, you can only join the inner plates to the outer plates of a chain, so you can only calculate to whole inch increments.
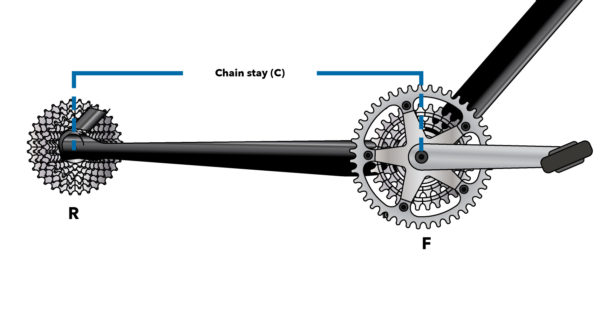
L = 2 (C) + (F/4 + R/4 + 1)

L = Length – your chain length in inches (rounded to the nearest inch).
C = Chain stay – the distance between the middle of the crank to the rear axle. Measure to the closest ⅛ and convert this to decimal form.
F = Front chainring – The number of teeth on the largest (front) chainring. This number is often printed on the sprockets and cogs, but if not you’ll have to count.
R = Rear cog – The number of teeth on largest rear cog. Again, this number is usually printed on the sprocket.
Once you have determined the proper chain length, the it’s time to replace your chain. For a step by step guide, see our article on installing a bike chain.